Introduction
Security has become personal. We all want to protect our homes, offices, shops, warehouses and properties — even when we’re not physically there. That’s where CCTV surveillance cameras come in.
But installing CCTV cameras is only half of the journey.
Being able to watch your cameras on your phone from anywhere in the world is the real win.
In this guide, I’ll break everything down in a simple, friendly way — so that you understand what you’re doing, why you’re doing it, and how everything connects together smoothly.
No complicated jargon.
No schematic diagrams.
Just real-world installation steps you can follow.
Let’s dive in.
Types of CCTV Systems You Can Install
Choosing the right system makes installation easier.
1. Wired CCTV System
Uses coaxial/ethernet cables.
Very stable and reliable.
2. Wireless CCTV System
Uses Wi-Fi signals.
Fast setup. No long cables.
3. IP Camera System
Runs fully on network.
Best video quality.
4. Hybrid Camera System
Mix of old and new tech.
The right choice depends on environment, budget, and coverage area.
Materials Needs
- 8-Channel DVR
- 2MP bullet Camera
- VGA to AV Converter
- 12V Power Supply Adapter
- HDMI cable
- BNC plugs
- DC Power Jack
- RG59 Coaxial Cable with power
If you prepare well,
installation becomes smooth.
Steps To Install CCTV surveillance Cameras with Remote Viewing
Step 1: Prep the Digital Recorder (DVR)
Before we start off; it is very important you set up the DVR and turn it on. Connect your mouse and your DVR power jack to the 12V supply output of the 12V adapter. Connect the VGA cable from the DVR to the monitor or TV using HDMI or VGA to AV converter. Allow it to boot, and watch its progress on a monitor or TV if you are using a VGA to AV converter.
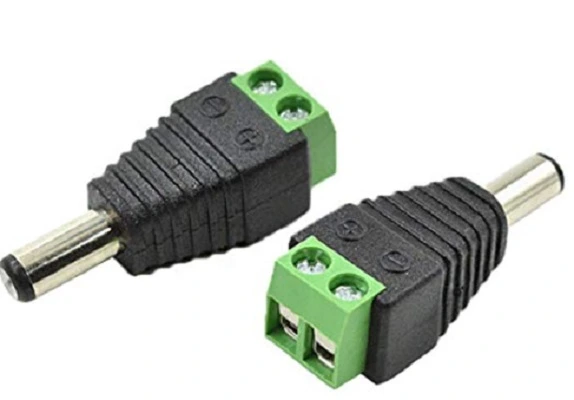
Step 2: Prep the Power Cable
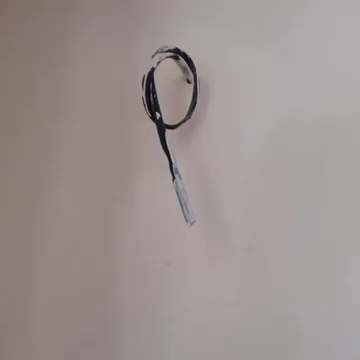
Then, there is little or no need to make any change as regards to where the cameras would be positioned. Otherwise, it would be good to choose positions where the cams would be somewhat hidden and have little or no blind spot views. So, if given the option for a surface wiring, identify these positions.
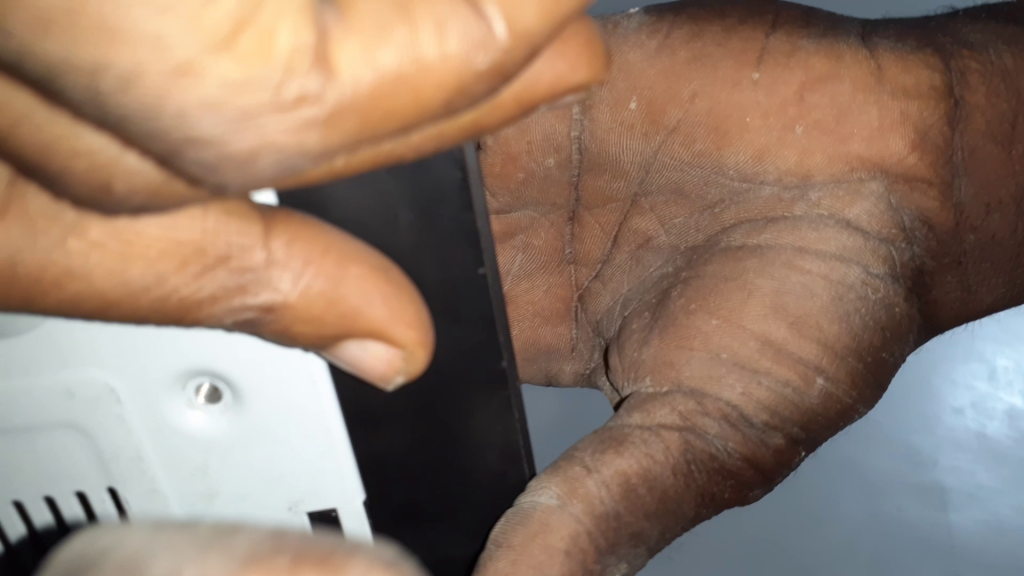
Use a wire crimping tool and peel off the wires as shown in the picture above. This is useful to connect the 12V power to the CCTV male power plug. This is done in a way that the positive (usually red color) +12V wire is connected to the point marked (+) whereas the negative wire (black colored) is connected to the port marked (-).
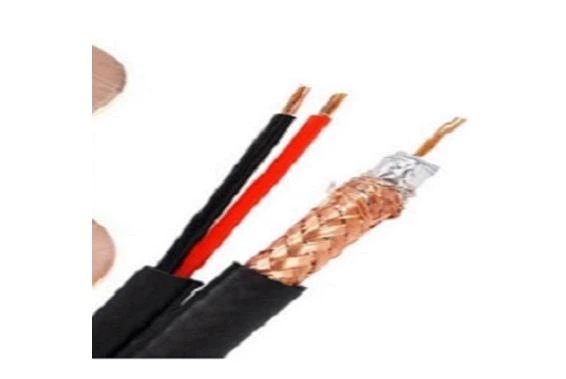
Step 3: Prep the RG59 Coaxial cable
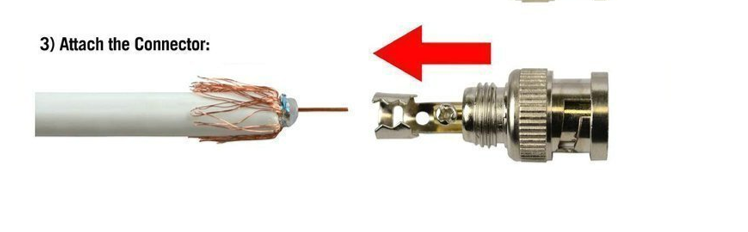
Take the BNC connect and unscrew the female-female couple. Push the end of the cable into the F- connector so the connector tube goes between the foil and the outer housing of the cable.

push the end until the white insulator is flush with the bottom of the connector. Use anything to expose 1/8 inch of the braid and foil by pinching and pulling off a piece of the out jacket. DO NOT ALLOW ANY OF THE COPPER SHIELDING TO TOUCH THE CENTER OF THE CONDUCTOR
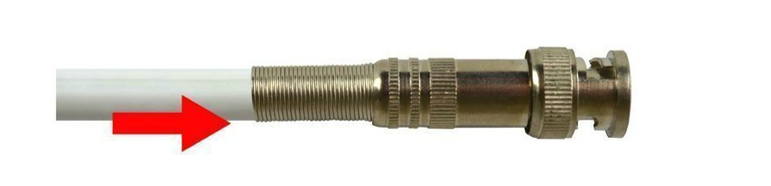
Slide the crimp ring inside over the bottom of the connector and screw on tightly. Using a crimping tool, pinch pinch the shield to secure a strong housing. Test the cable using a Cable tester after this.
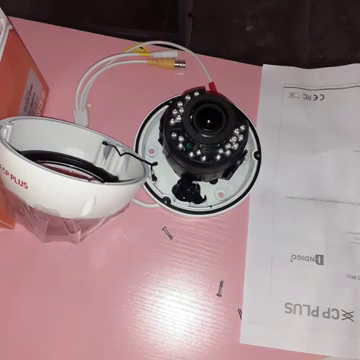
Step 4: Prep the CCTV Cameras
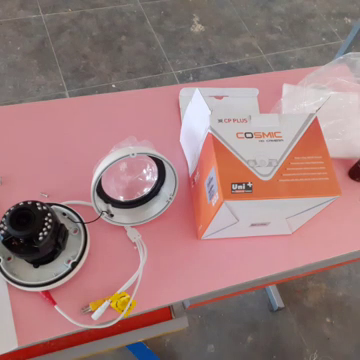
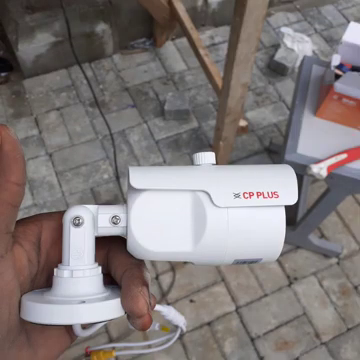
After you are done with the RG59 wiring; bring out the cameras from their packs.
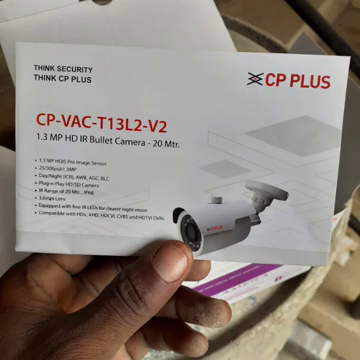
This blog post used CCTV Bullet cameras from CP plus industries. You can read more about their specifications at their product web page.
It is important to note that surveillance cameras with higher megapixel(MP) ratings tend to have better image capture and streaming than the one with lower MP ratings. For example this tutorial was made with cameras with 1.3MP and 2MP resolution qualities.
Alternatively, you have to choose cameras with Night vision attributes so that you can also watch your surveillance at night. And between HD720 and HD1080, always go for the latter.
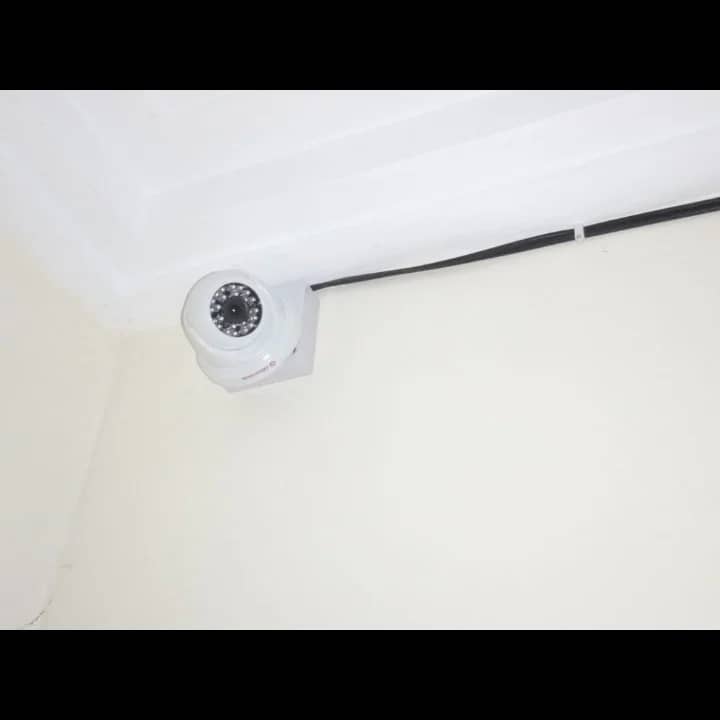
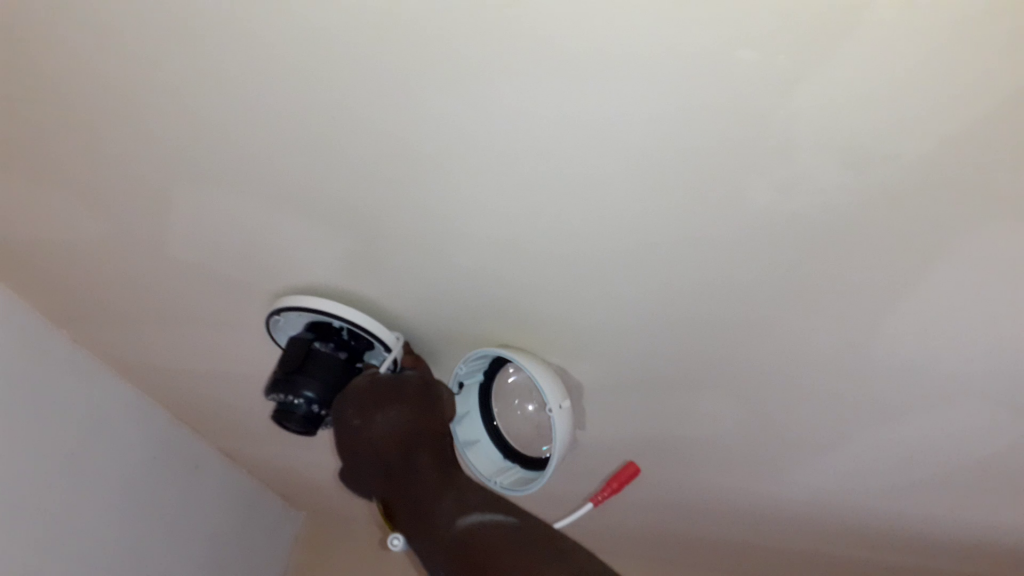
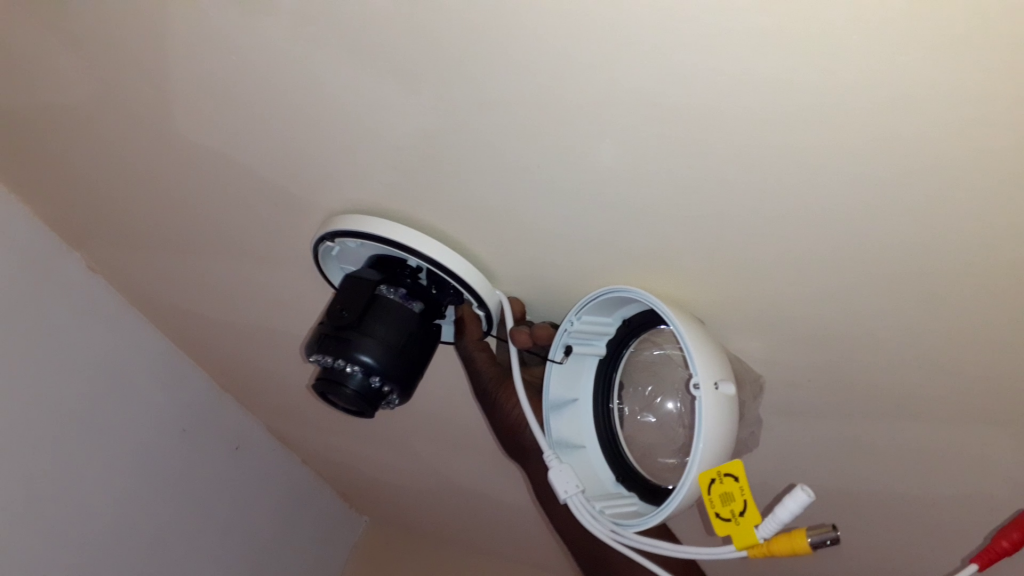
Remove the cameras from their packs and begin to unscrew them carefully. If you are planning to survey the outside surroundings of the place you are installing the CCTV surveillance; it is recommended to use the Bullet (or turret) type of camera for the outdoors and the dome type for indoor surveillance.
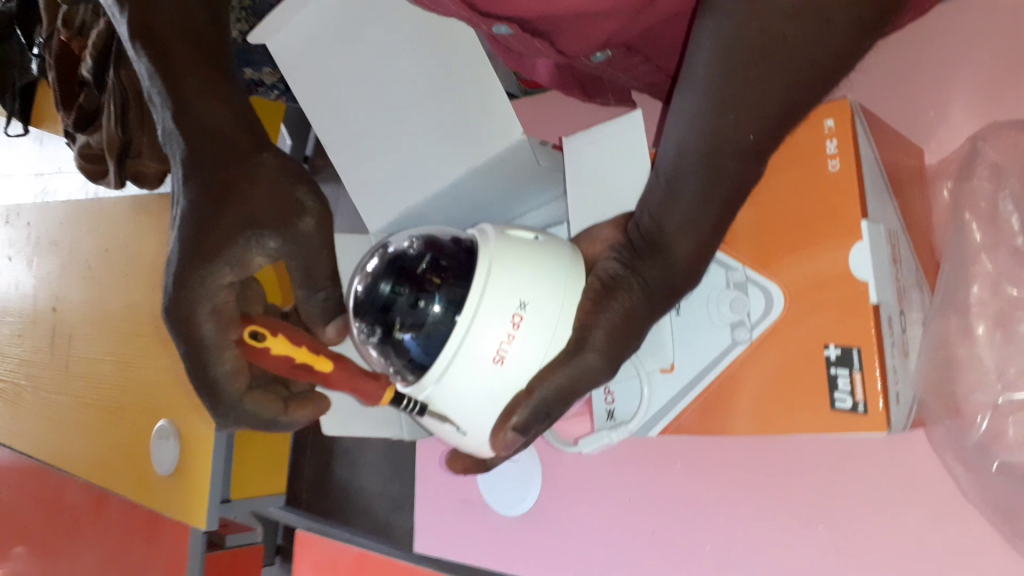
Each of the cameras comes with two plug and set connectors(other manufacturers might add a picture mode button, like in the case of CP Plus). This is where you would connect you BNC from your RG59 coaxial and your power.
These cameras run on 12V and about 250mA-350mA current rating. Ensure you have a stable power supply unit for this or get a 16-channel power supply used to power CCTV cams. This is what we used for this how to install CCTV surveillance cameras with a remote viewing wiki.
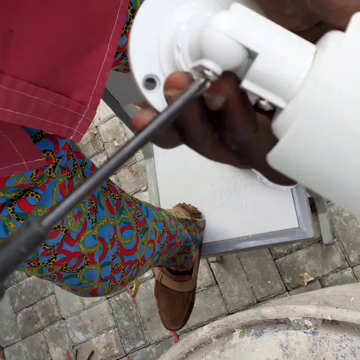
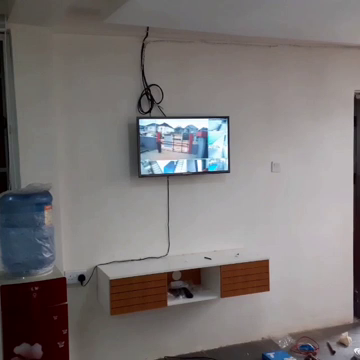
Step 5: Drill Holes For Wall Pegs
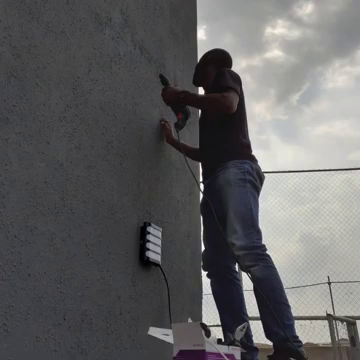
Remove the mount (drill) template for any of the cameras you wish to install and mark out the positions to drill for your pegs. There is need to go to each spot and measure out the exact spot and take note of this. Using a drilling machine with a good torque. Make holes and insert the wall pegs into these holes. These would serve as fastening points for the CCTV cameras.

Use your hand drill machine and drill these holes into the wall. Insert the pegs and then ensure that they are firm.
Place the base of your camera and use the screw to hold it firm.
Installing the Hard Disk (HDD) for Recording/Playback
Turn off the DVR for this process. And open the DVR by unscrewing the safety screws that held the cover.
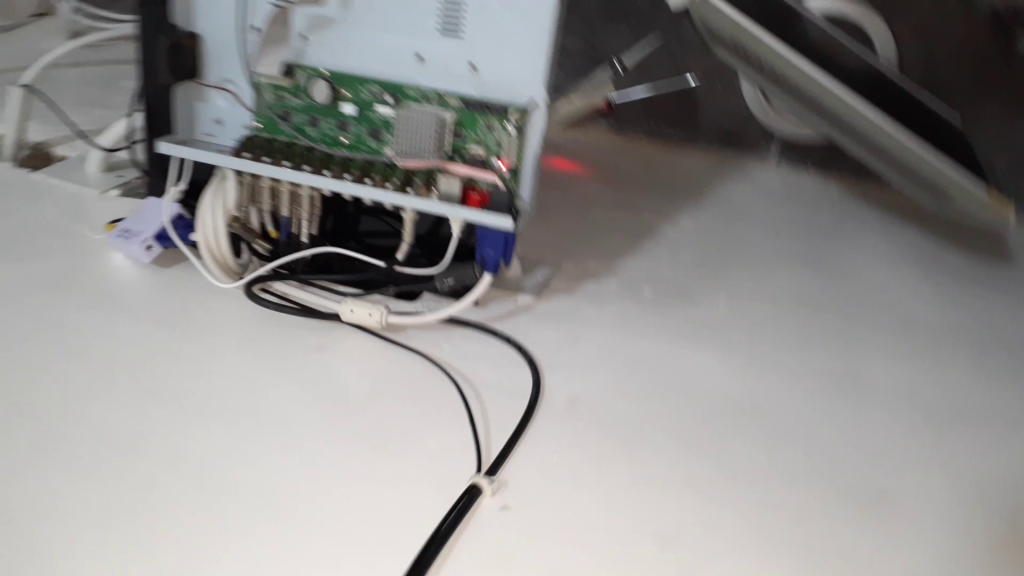
Install the HDD by connecting the HDD connectors to its appropriate sockets and hold the HDD in place by screwing from below.
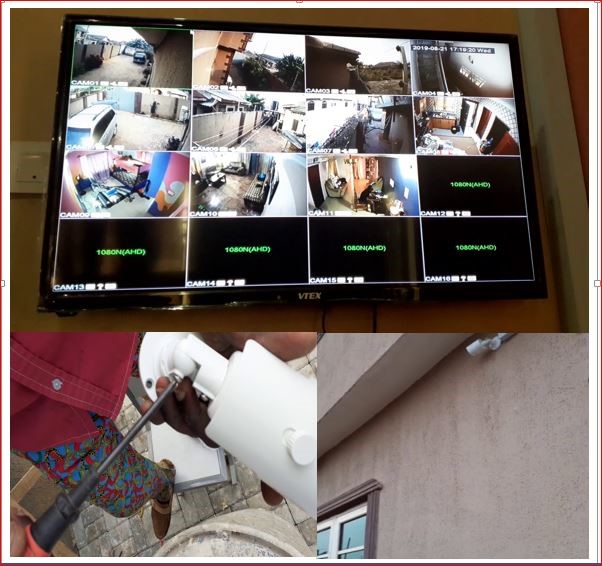
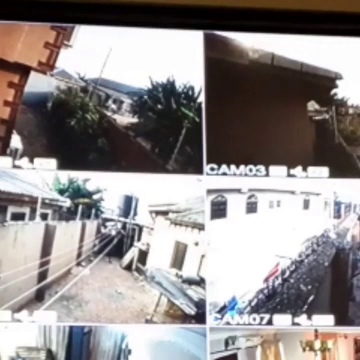
Go back to your screen on the monitor and start the recording by right clicking on the mouse and selecting “start recording“.
You should see the channels of cams connected showing together. Select any one and display its full view.
Configuring CCTV Camera For Remote Viewing
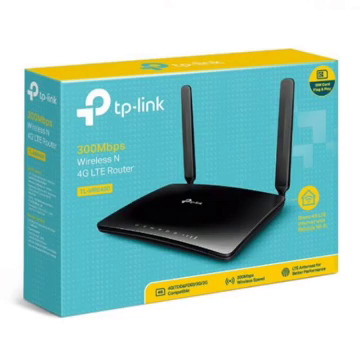
To view the surveillance view remotely, you would need a 4G router. You can get a TP-Link 4G router just like the one shown below:
Open your router pack and bring out the router. Push the SIM into its slot and power it up.
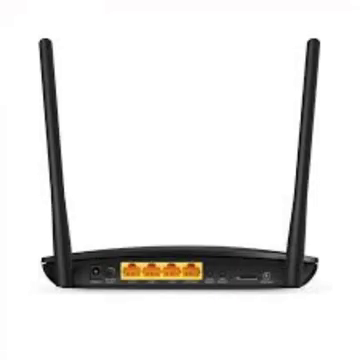
The rest of the steps is quite easy and straightforward. Just follow the installation guide on the pamphlet manual to complete the rest of the procedure that is needed.
The XMEye Mobile App
Next, download the XMEye app either from the Playstore or iTunes store and create a cloud-based account. Link the DVR to that router and connect it.
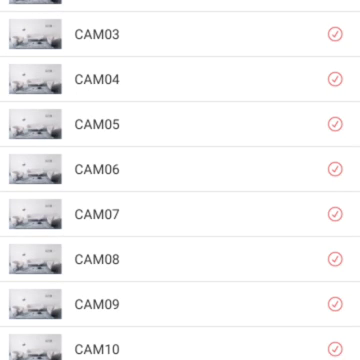
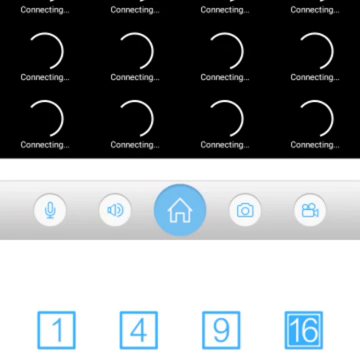
Getting the XMEye app to get started usually take some time. You have to wait for it to buffer and finish loading and you can enjoy your remote viewing.
Conclusion
Getting started with CCTV cameras and installation in this how to install CCTV surveillance cameras with a remote viewing guide. Let us know in the comment section if you followed this guide to achieve a successful remote surveillance for your home or office security monitoring. You can contact us on WhatsApp, Twitter, Telegram, Instagram to and send us pictures or ask questions too.
Read More
- HOW TO GENERATE ELECTRICITY WITH FOOTSTEPS
- SOLAR POWERED IRRIGATION SYSTEM PROJECT
- ESP32 CAMERA FOR HOME AUTOMATION
- REMOVE JAPANESE HACK VIRUS FROM YOUR WEBSITE
FAQs
1. What type of cameras should I choose for my CCTV system?
- The choice of cameras depends on your specific needs. Dome cameras are discreet and ideal for indoor use, while bullet cameras are more visible and suitable for outdoor areas. PTZ cameras offer the ability to pan, tilt, and zoom, making them versatile for large areas.
2. Can I use wireless cameras instead of wired ones?
- Yes, wireless cameras are an option if you prefer not to run cables. However, they require a stable Wi-Fi connection and may need to be placed within range of your router. Keep in mind that wireless cameras still require power, so consider how you’ll provide it.
3. How much storage do I need for my CCTV system?
- The amount of storage depends on the number of cameras, resolution, and recording settings. A 1TB hard drive can store several weeks of footage from multiple cameras at standard resolution. Consider larger drives if you need longer retention periods or higher resolution.
4. What should I do if I can’t view my cameras remotely?
- If you’re having trouble viewing your cameras remotely, ensure that your DVR/NVR is connected to the internet and that remote access is enabled. Double-check the network settings and make sure your mobile app or software is configured correctly. Rebooting your router and DVR/NVR can also help resolve connectivity issues.
5. Is it legal to install CCTV cameras on my property?
- Yes, it is legal to install CCTV cameras on your property for security purposes. However, you must respect the privacy of others and avoid recording areas that are not part of your property, such as public streets or neighboring properties. Be sure to check local laws and regulations regarding CCTV use.