Welcome, in today’s tutorial, we will learn how to update WordPress from cPanel. When there are issues on the WordPress dashboard at the backend, you may need to manually update your WordPress from cPanel. This won’t be possible at such times, because the website would have crashed and only the cPanel would be accessible. At this point, the only thing that can save you or assist you in restoring and recovering your crashed website is cPanel. We discussed this in the last tutorial.
Read More:
- Scientists Design and Program a Living Computer
- DIY Internet of Things Light Bulb Control
- New Drugs that Stops Bowel Cancer
Reasons for Updating WordPress From cPanel
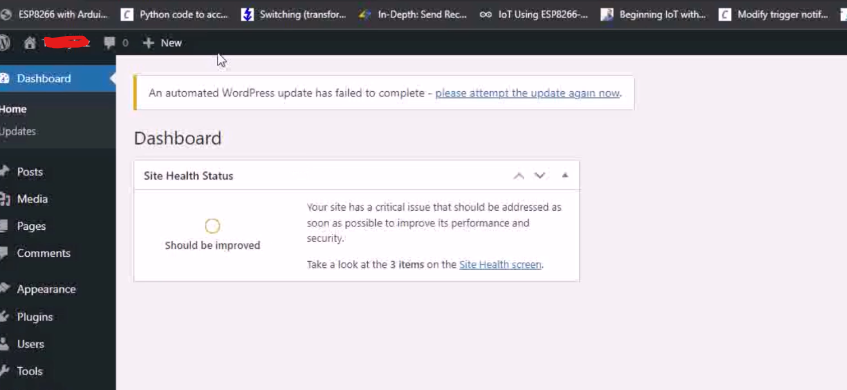
When the automatic WordPress update goes wrong, and it crashes, gradually causing website unresponsive. This will make the user experience bad at both the front end and the back end. Sometimes, the website won’t even allow users to see some pages.
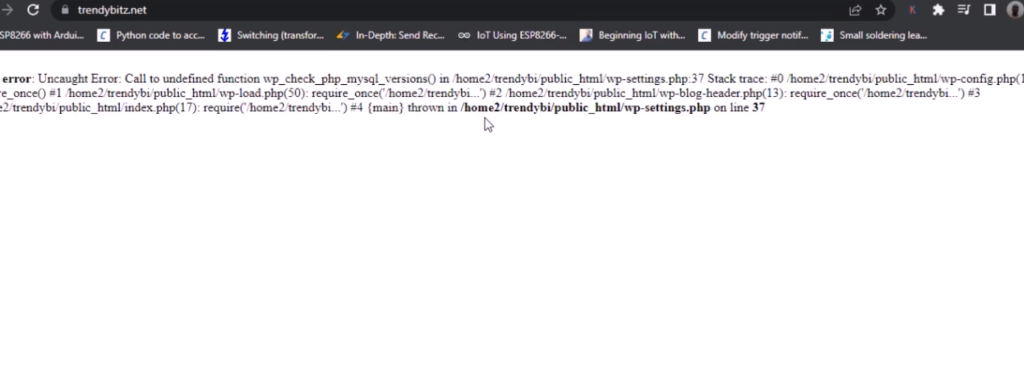
When a plugin update fails and it creates a broken or corrupt some files which fails to load up when the website is loaded the files to be retrieved crashes and the website becomes unresponsive to users.

When there a malware in the website, sometimes the best and only solution is to manually update the WordPress files by so doing; you are updating the WordPress directly from the cPanel dashboard.
Steps to How to Update WordPress From cPanel
To get started, we need to login into the cPanel dashboard of the affected website.
Step 1: Login to cPanel Dashboard
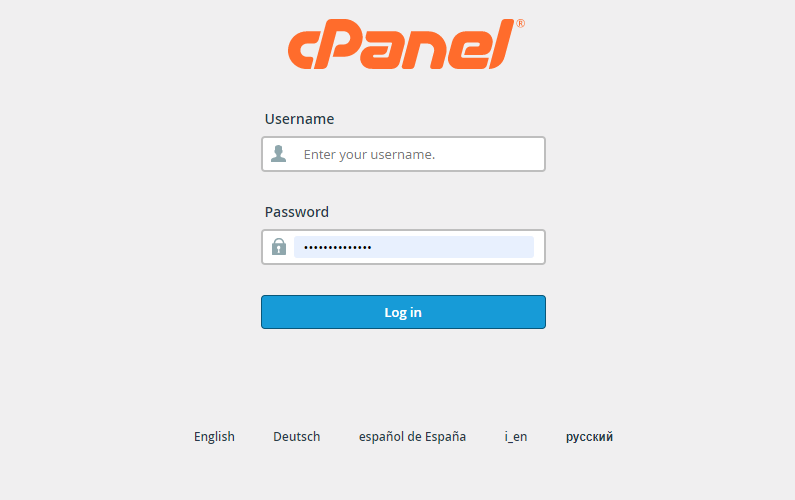
Login to your cPanel dashboard. Since the WordPress backend dashboard can’t be accessed due to this error. The other option is to work with cPanel. Once you have logged into the cPanel dashboard, take your time to look around. And then proceed to the next step.
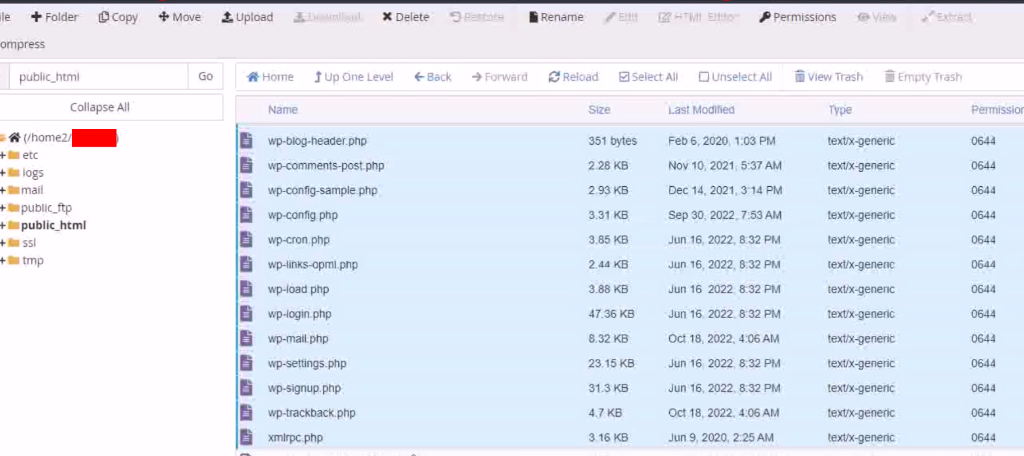
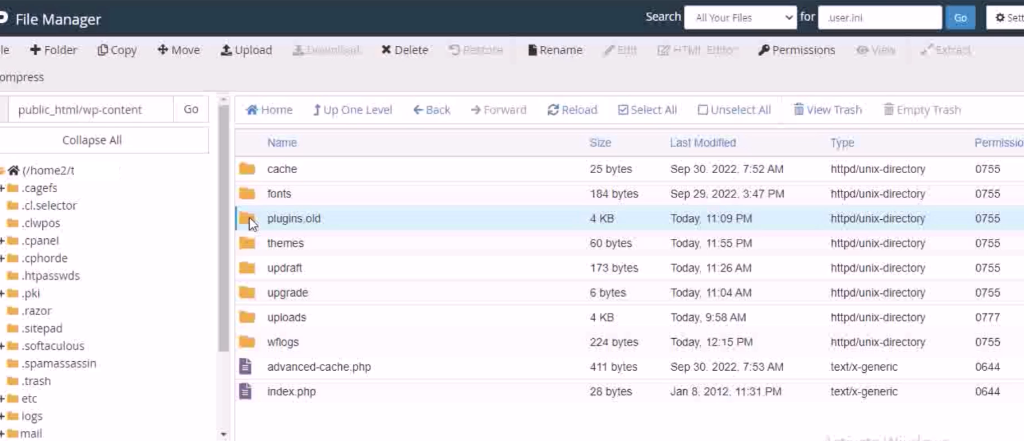
Step 2: Locate Your Public_html Folder
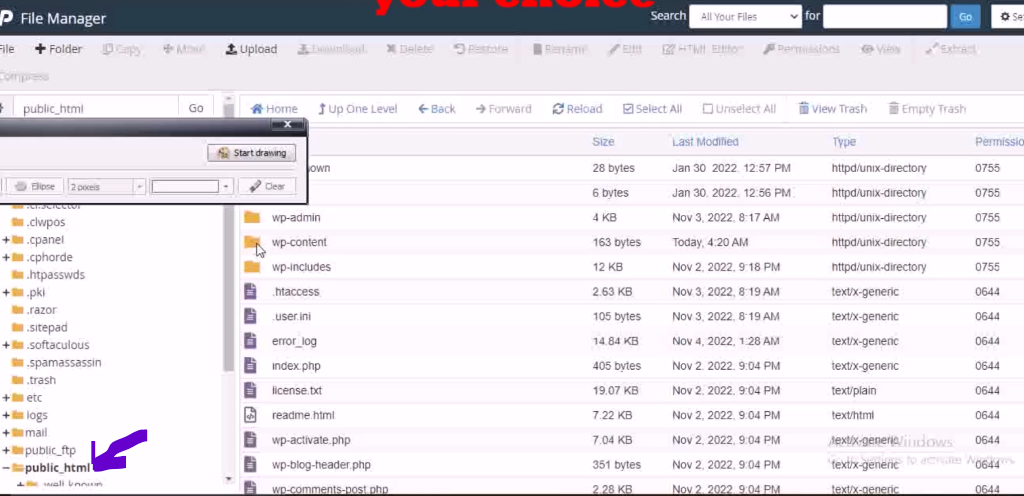
Click on files and locate your public_html folder under the left hand side of the list of folders available. click on this and it will open up a lot of other folders on the right hand side view. The main folders to watch out for is the “wp-admin” folder, the “wp-content” folder and the “wp-includes” folder.
Step 3: Deactivate your Plugins
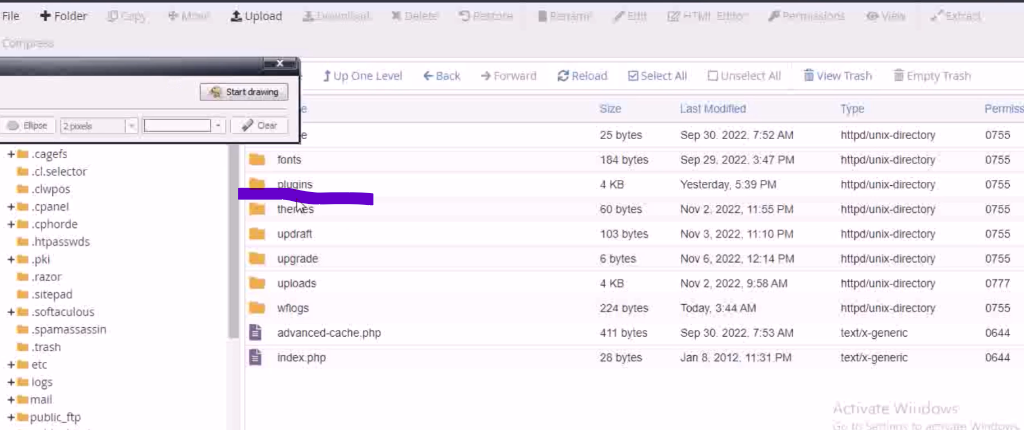
Deactivate the plugins. Go to the wp-content folder and open it by double clicking on it. There is other folders inside but our focus is the plugins folder. We will rename this folder to plugins_old

This would deactivate all the plugins found and used in your WordPress website.
Step 4: Create a New Folder

Create a new folder and call it any name you want. This folder would be used to house all the files and folders that are not needed in the WordPress folder. The whole idea is to manually update the WordPress folder.
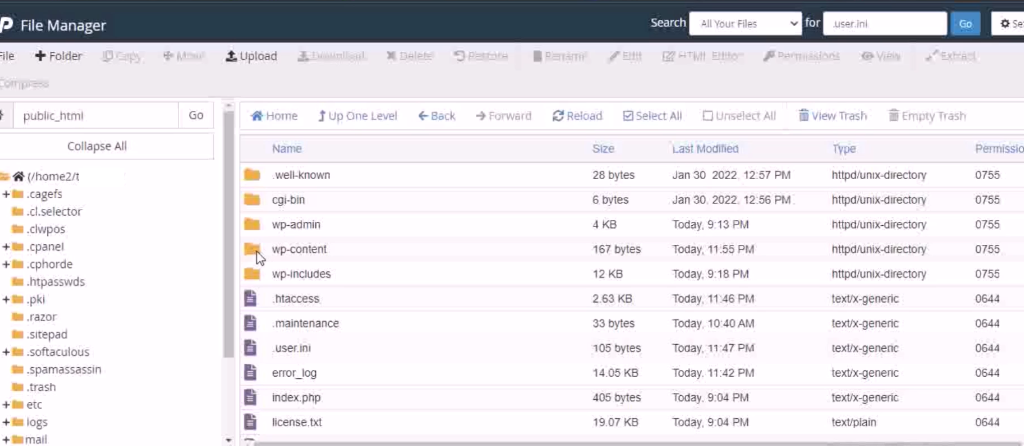
Step 5: Move All Your Files and Folders
Highlight all the folders and files in the public_html folder exlcluding the wp-content folder. Ten locate the move button button above and click this. The pop-up would request you type the folder destination. Just enter the name of the folder you just created. In out own case, this is the temp_folder. This would then move all the files and folders into this temp_folder.
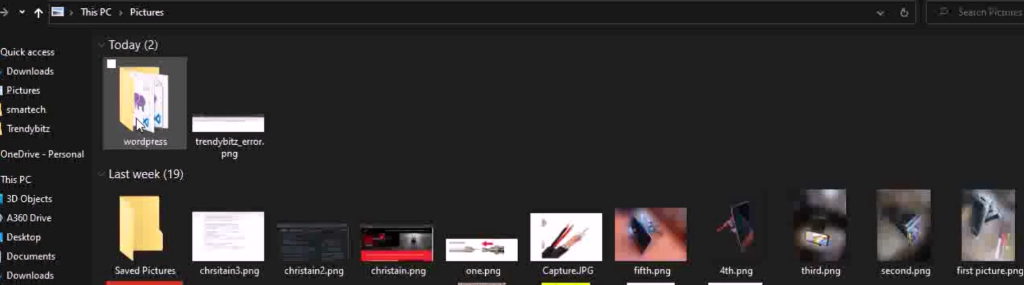
Step 6: Download WordPress Unto Your Local PC
We proceed forward by getting the WordPress downloaded manually. The first thing to do is to go to the WordPress Website.
Click on the Get WordPress button to get redirected to the WordPress Download page.
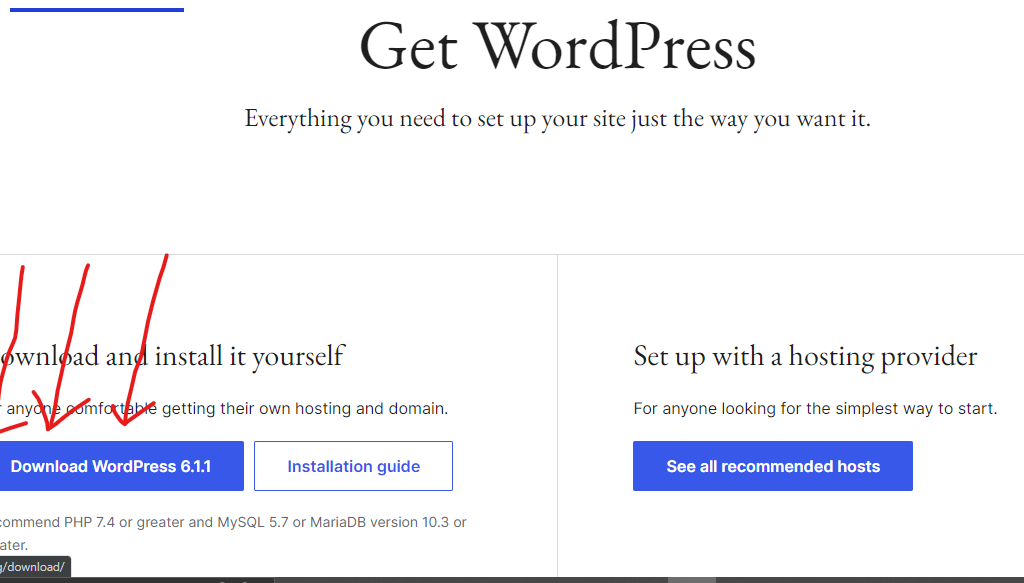
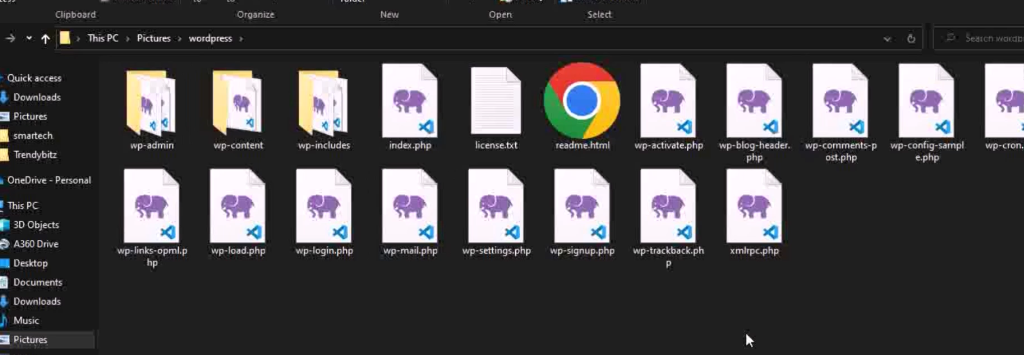
This would download a zip file onto your PC. This is the WordPress Folder. Using an application like winrar, it can be unzipped to the actual WordPress folder as shown below.
Once this was down, you should be able to see your WordPress folder. This when opened, you should be able to see all the recent folders just like the ones that were in the public_html folder when you opened it. Perfect.
Step 7: Transfer This folder to Your cPanel using FTP
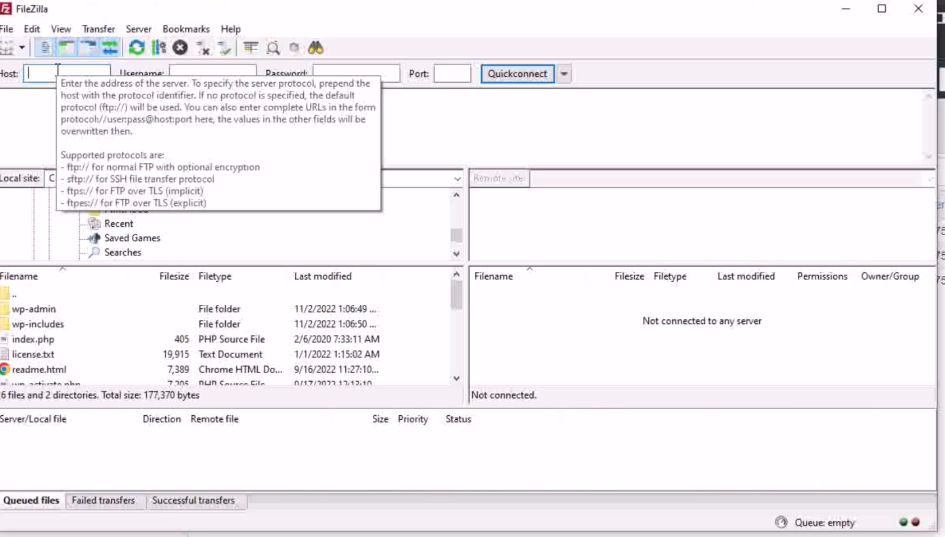
Using an File Transfer Protocol like Filezilla, you can open a port and transfer these folders into your public_html folder. Just input your username of of your cPanel into the hostname, the host is the cPanel address, the password is the password of your cPanel. The port is usually 21 or you can leave this empty. After inputting all of this, click on autoconnnect and watch the local host connect with the cPanel.
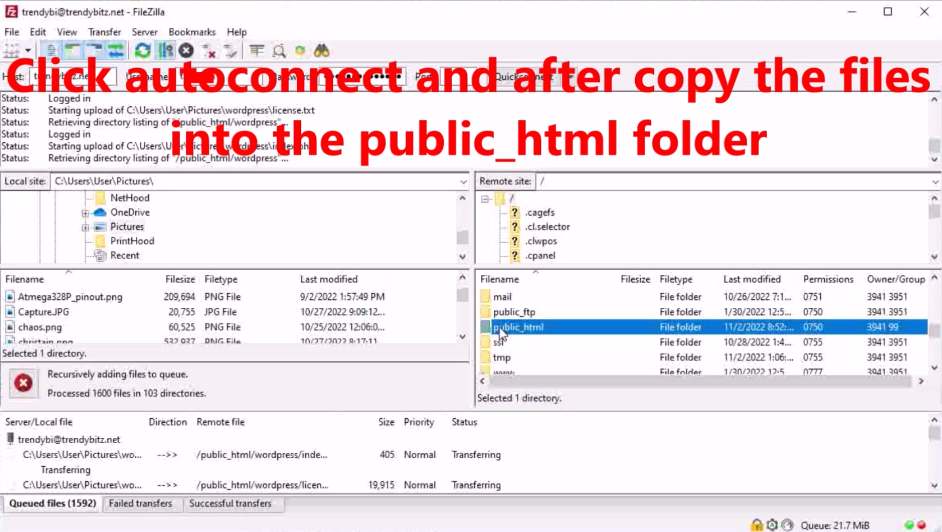
Wait until this process has been completed. The transfer may take long depending on your internet speed and PC processor speed.
Step 8: Rename Your Plugin Folder back to Normal Plugin
Change the name of the plugin folder from plugins_old to plugins. this would automatically activate the plugins back to active state.
Step 9: Refresh Your Website
Now that we are done transferring the files, we need to refresh the website. When we refresh the website, we will notice that the WordPress backend has been restored, and we can check the dashboard to see that all of the settings have been preserved.
Finally, we head back to the plugins tab and check the tabs. And since we have already renamed the plugin folder back to its original name. All the plugins would appear at their rightful places.
Conclusion
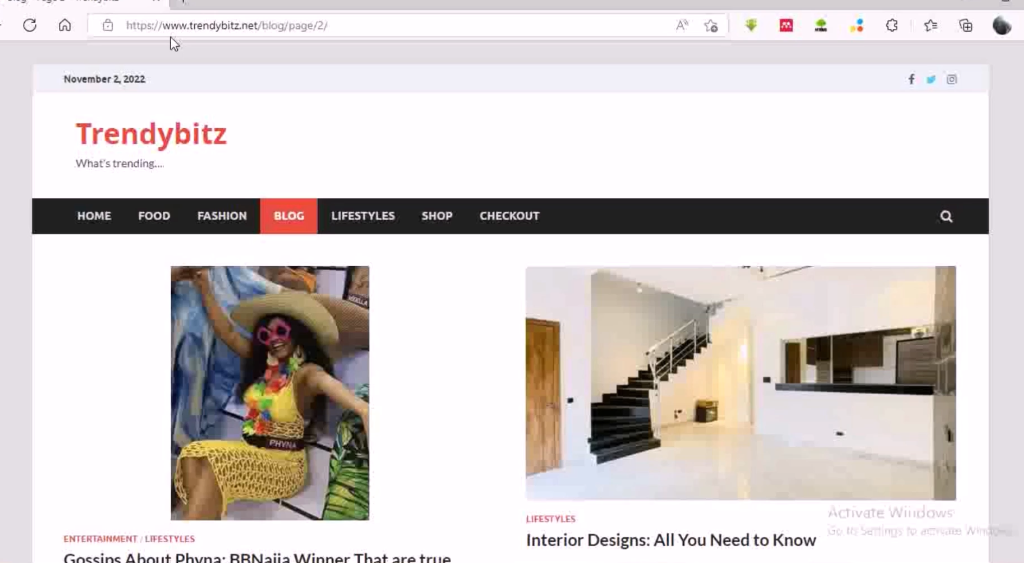
Even the front end for the visitors has been beautifully replaced and there are no more errors or crashed gibberish displaying. Just the WordPress Theme contents. This is how we update the WordPress from cPanel using this sample website as a case study.
Tell us what you think in the comment below. Do you have similar problem? Were you able to follow the steps outlined here and solve it yourself?
If you can’t solve the problem, you can reach us online for quick assistance.