Python is a popular programming language known for its simplicity and versatility. Whether you are a beginner or an experienced developer, Python can be a great choice for your coding projects. In this article, we will guide you through the process of how to install Python on Windows and getting started with programming Python in VSCode.
Installing Python on Windows:
1. Visit the official Python website at the Python Website here.
2. Click on the “Downloads” tab and choose the latest version of Python for Windows.
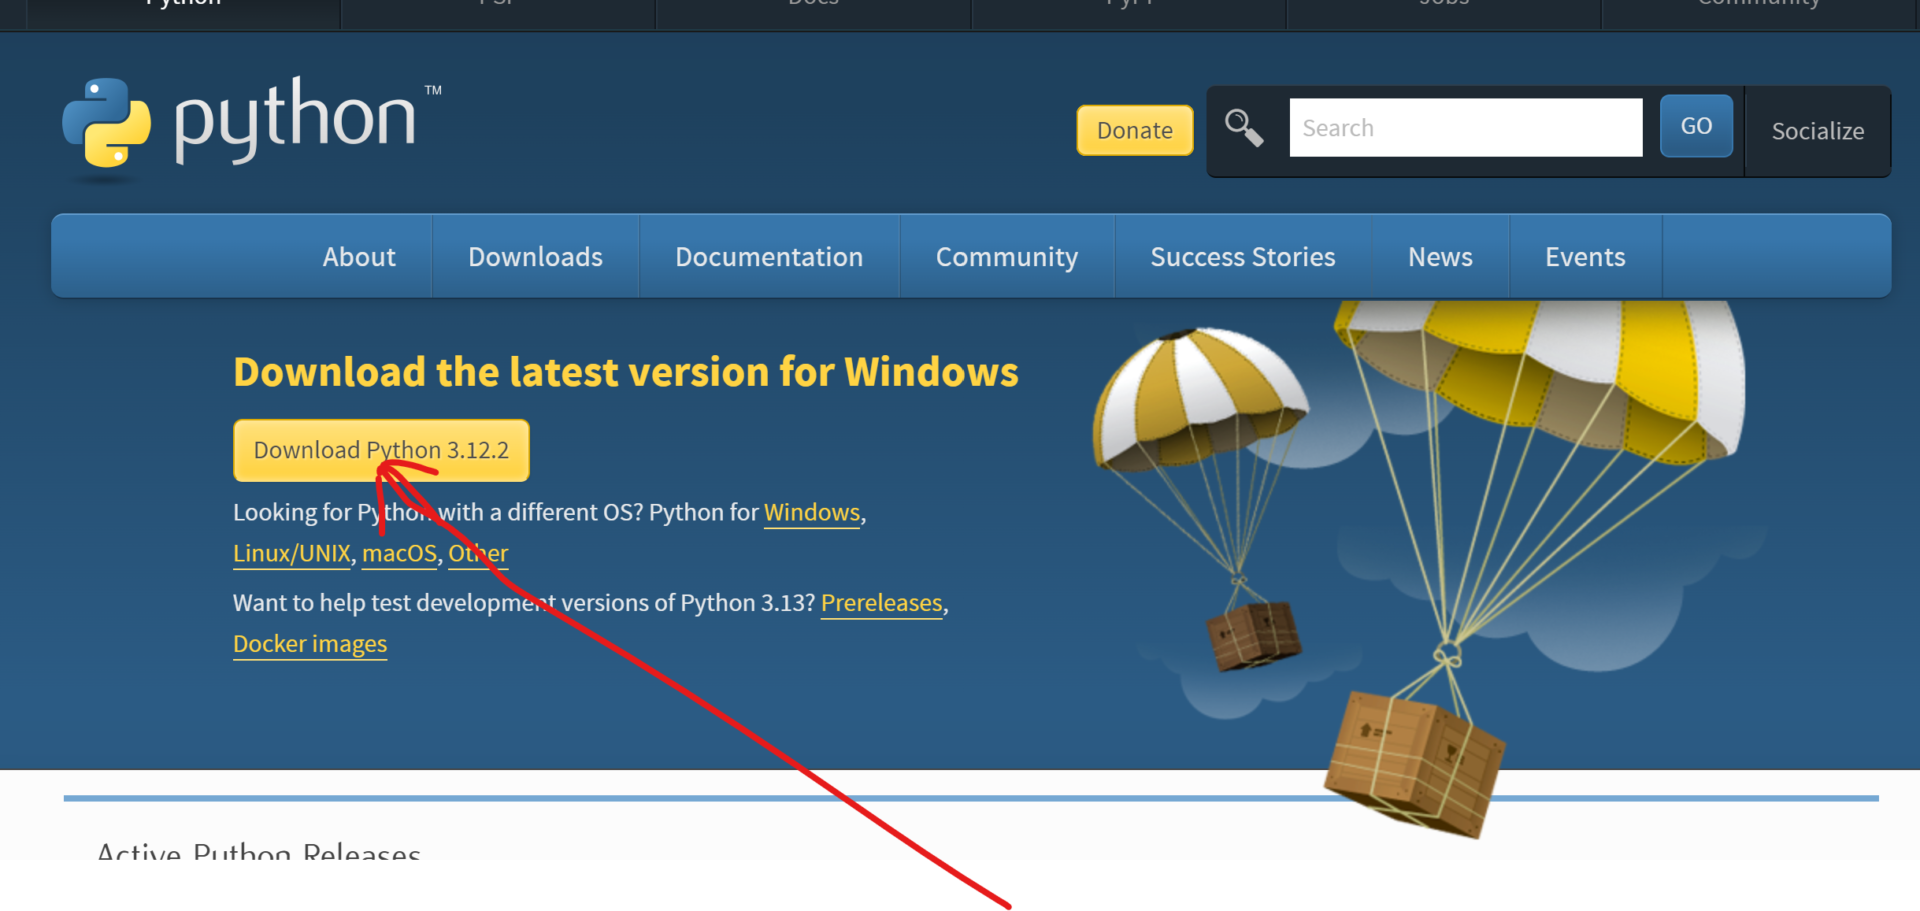
3. Scroll down and select the appropriate installer based on your system architecture (32-bit or 64-bit).
4. Click on the installer to start the download.
5. Once the download is complete, run the installer.
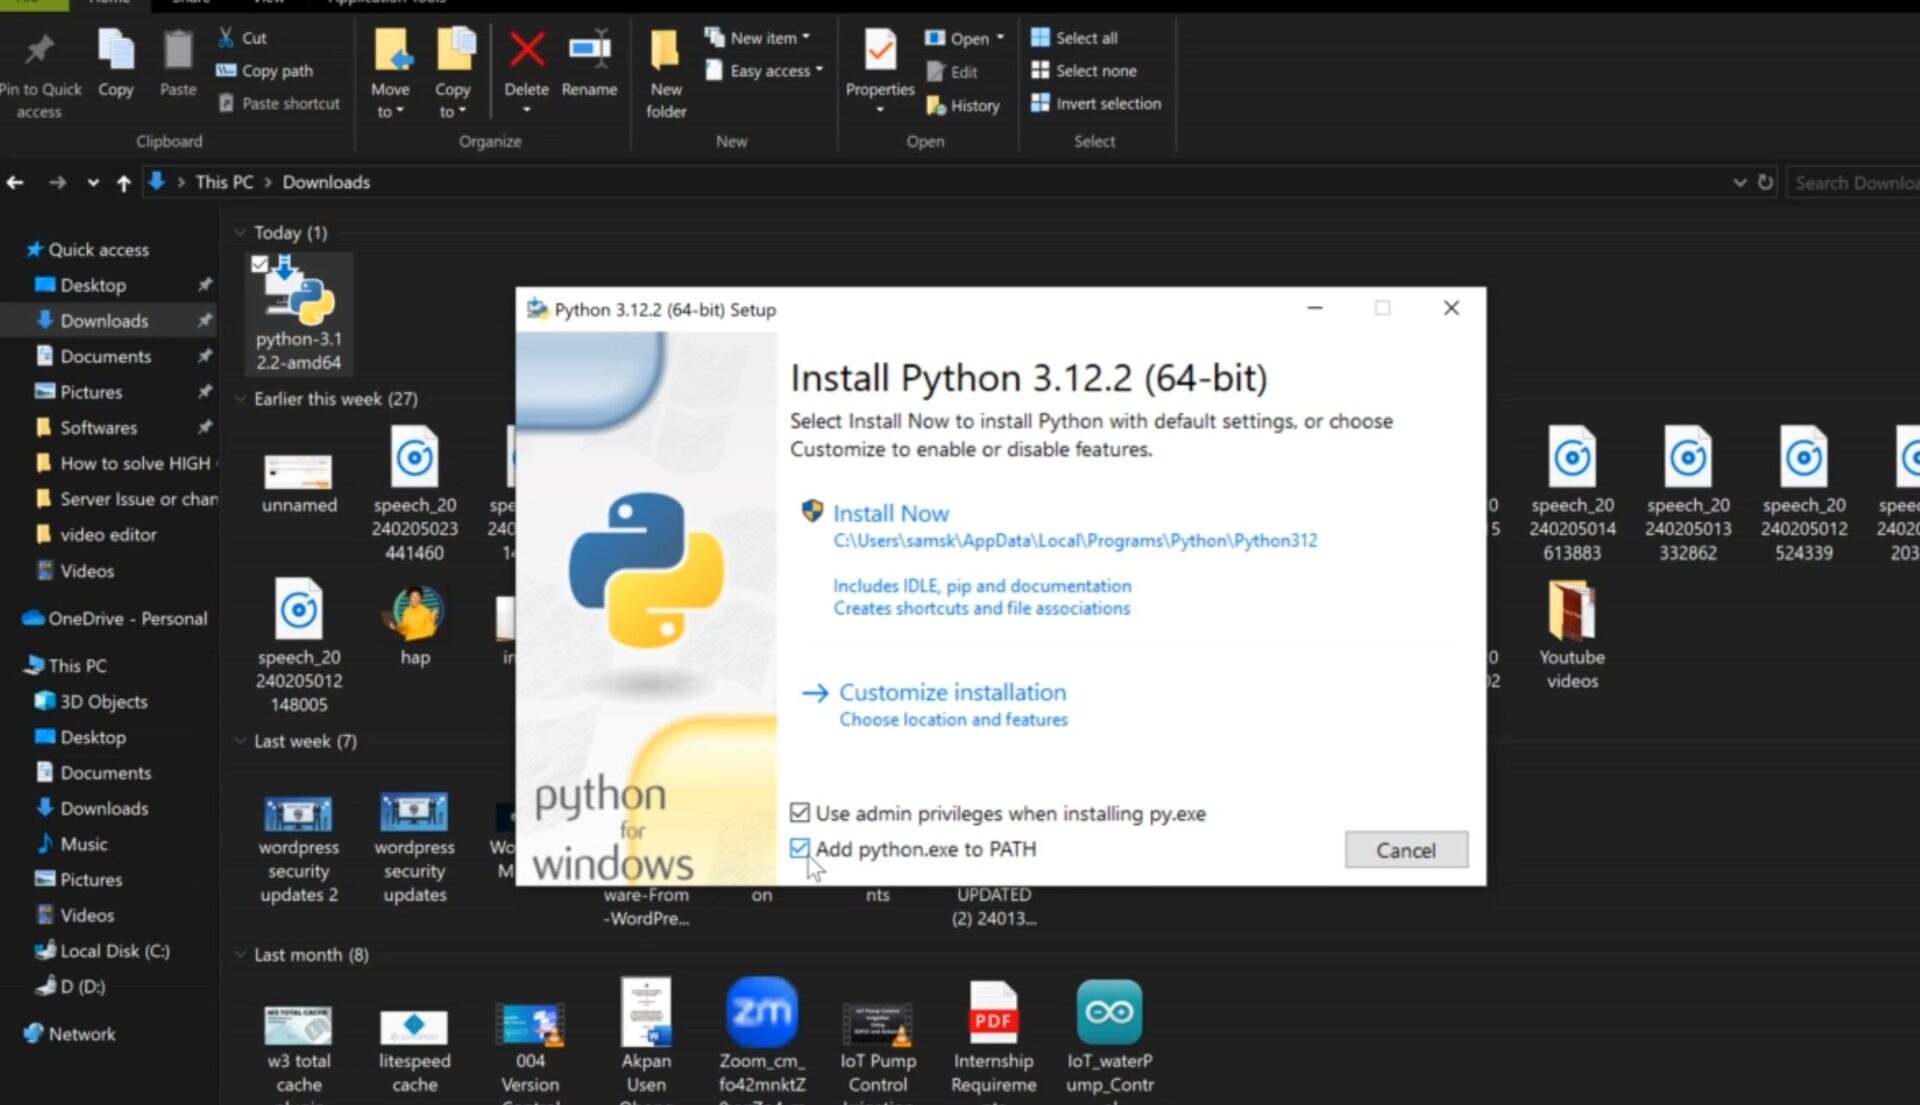
6. In the installation wizard, make sure to check the box that says “Add Python to PATH”.
7. Click on the “Install Now” button to begin the installation process.
8. Python will now be installed on your Windows system.
Setting up VSCode for Python
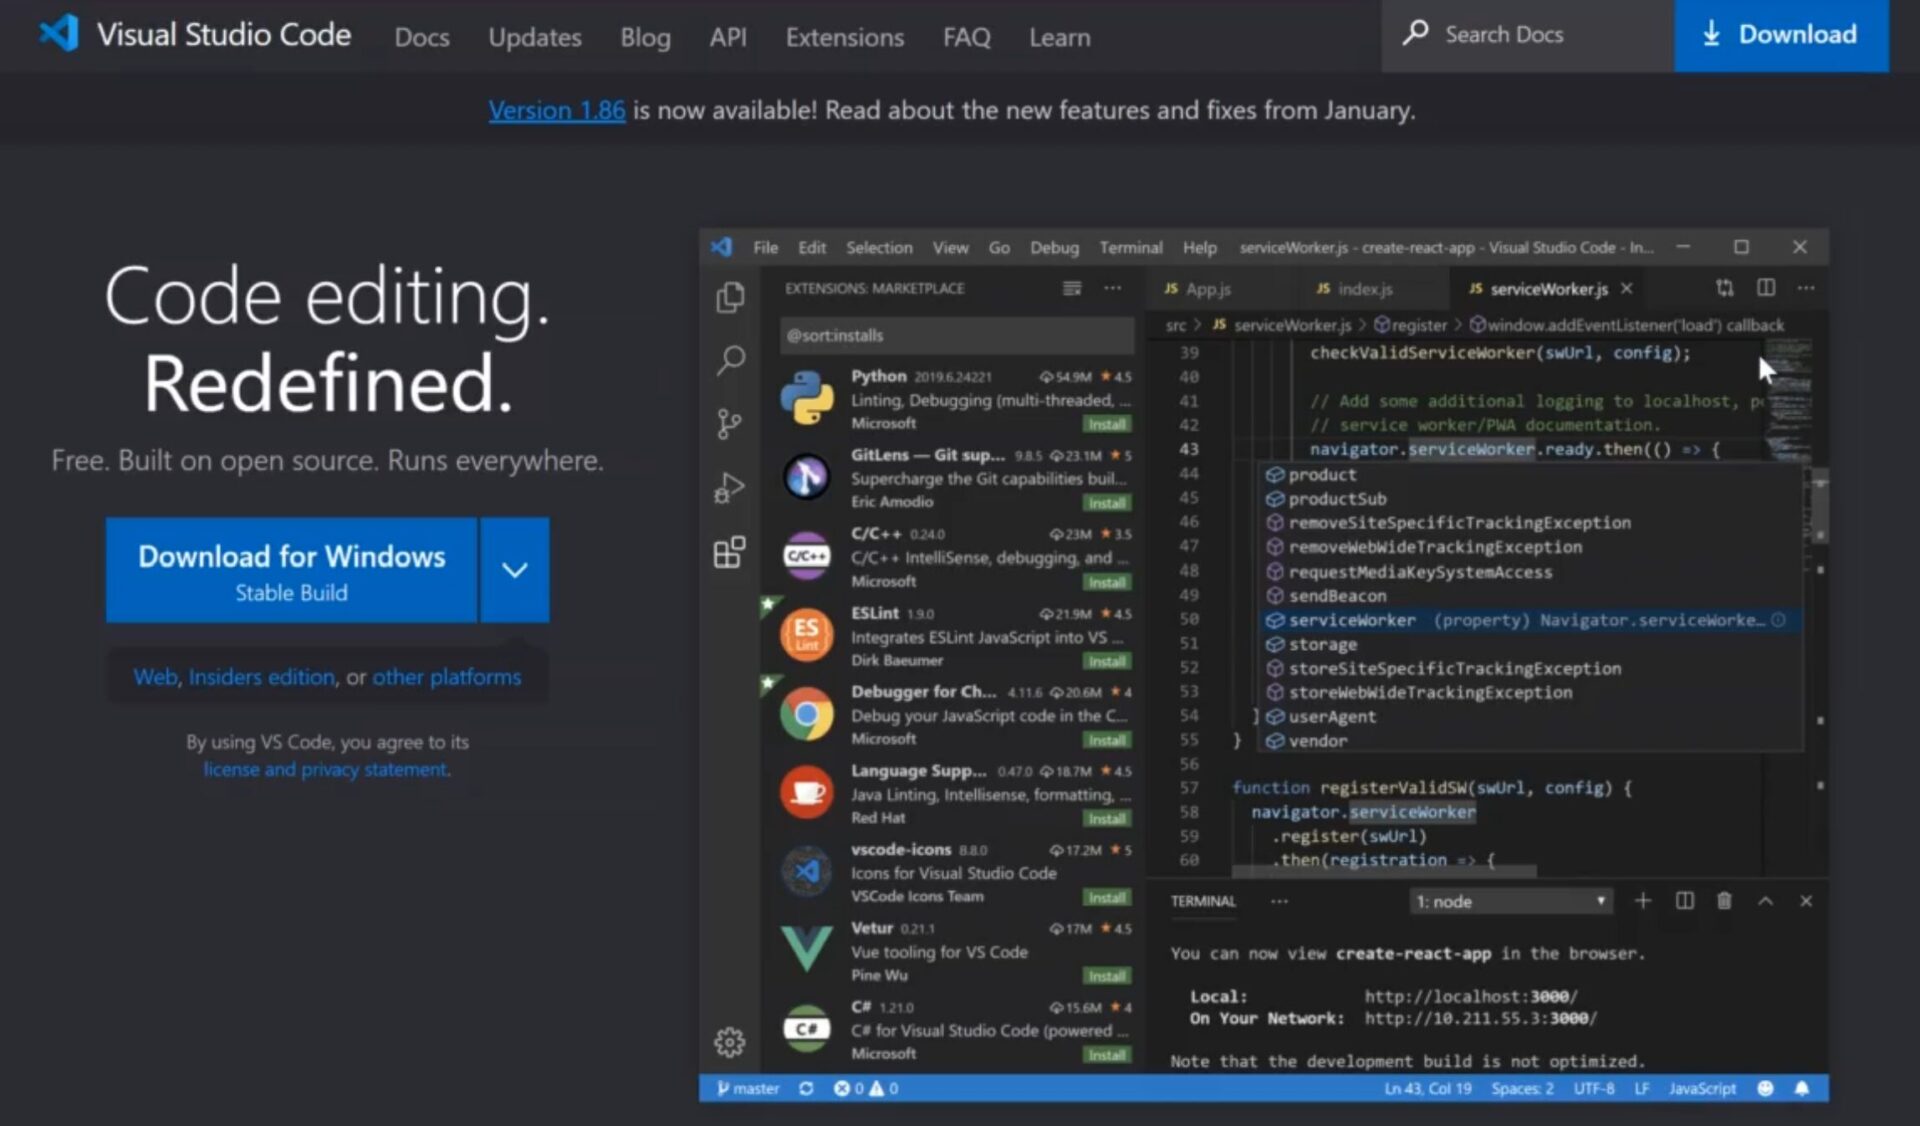
1. Download and install Visual Studio Code (VSCode) from the official website here.
2. Launch VSCode once the installation is complete.
3. Open the Extensions view by clicking on the square icon on the left sidebar or by pressing `Ctrl+Shift+X`.
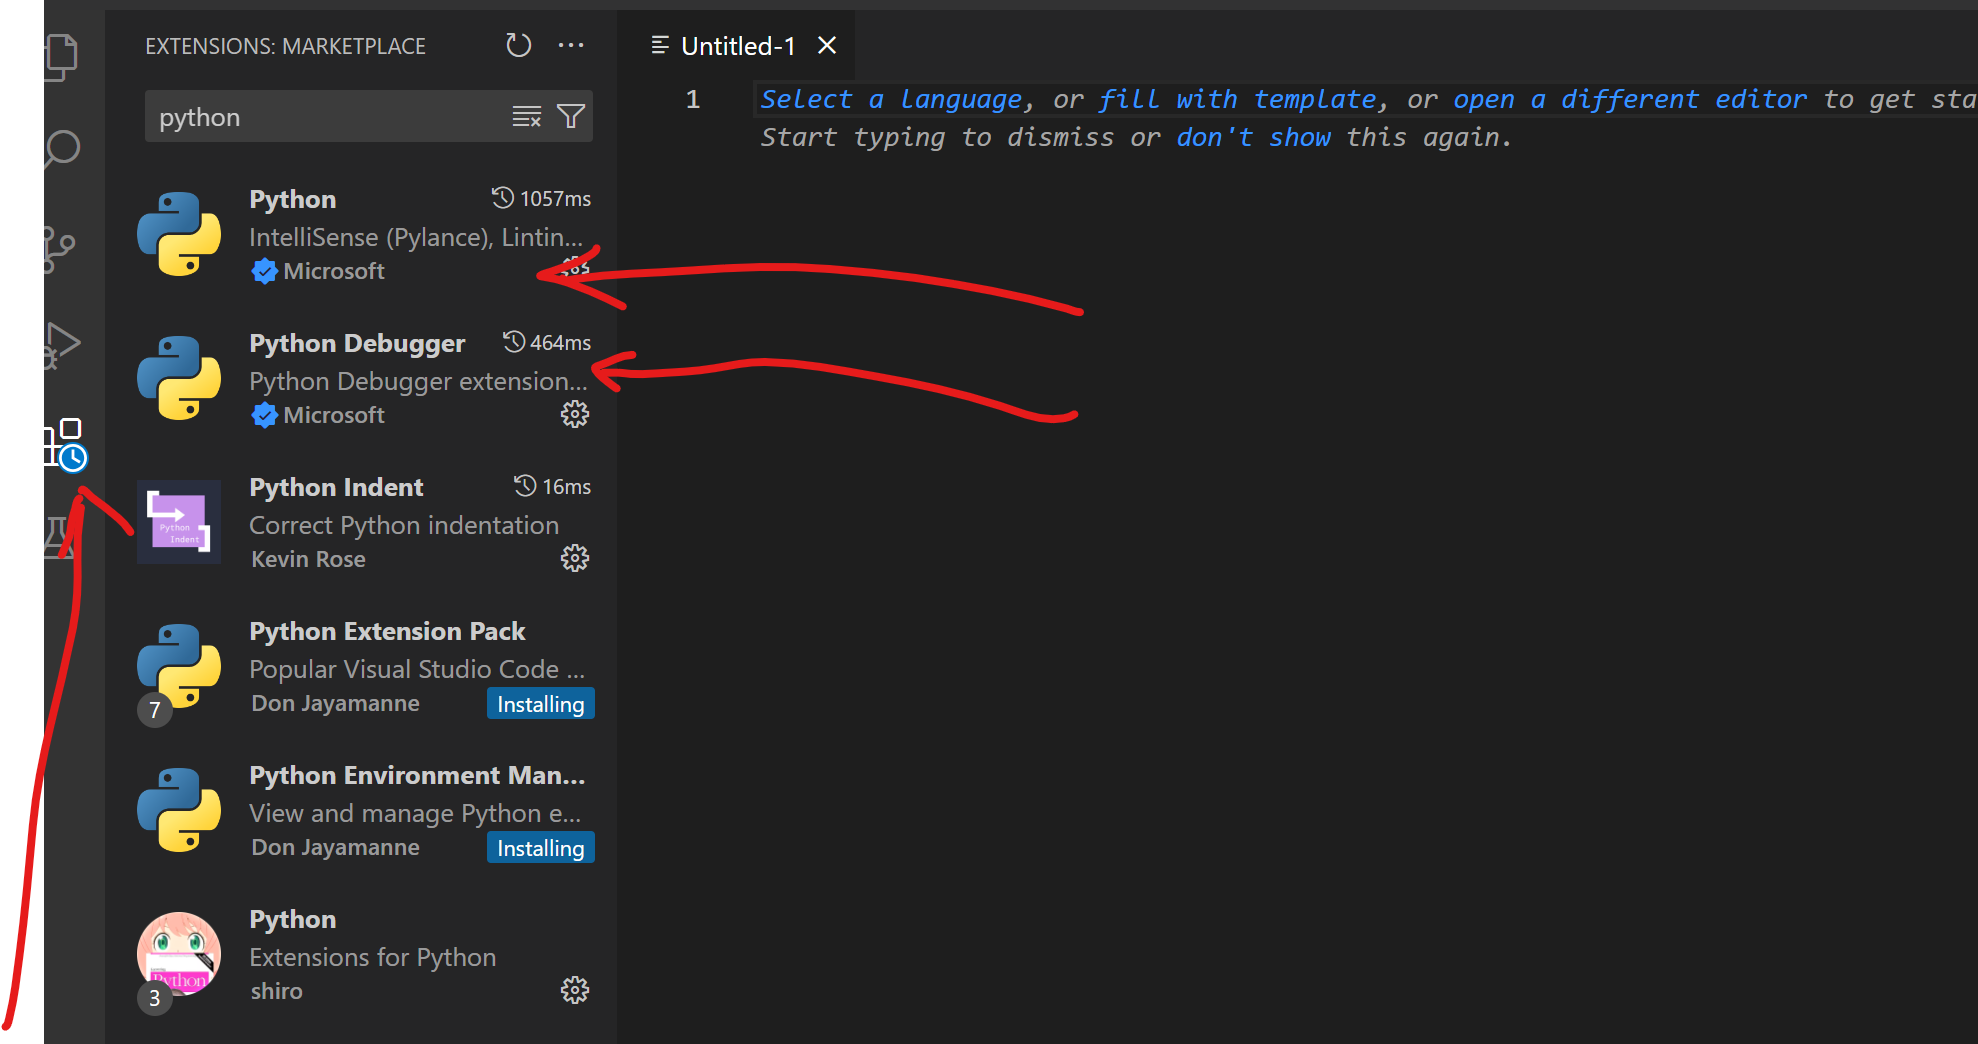
4. Search for the “Python” extension in the search bar.
5. Click on the “Install” button to install the Python extension.
6. Once the installation is complete, click on the “Reload” button to activate the extension.
7. You are now ready to start programming Python in VSCode.
Read More
- How to Build A Website
- How to Speed Up a WordPress Site: Make Your Website Load Faster
- How to Fix an Overloaded WordPress Website
Creating a Python file in VSCode
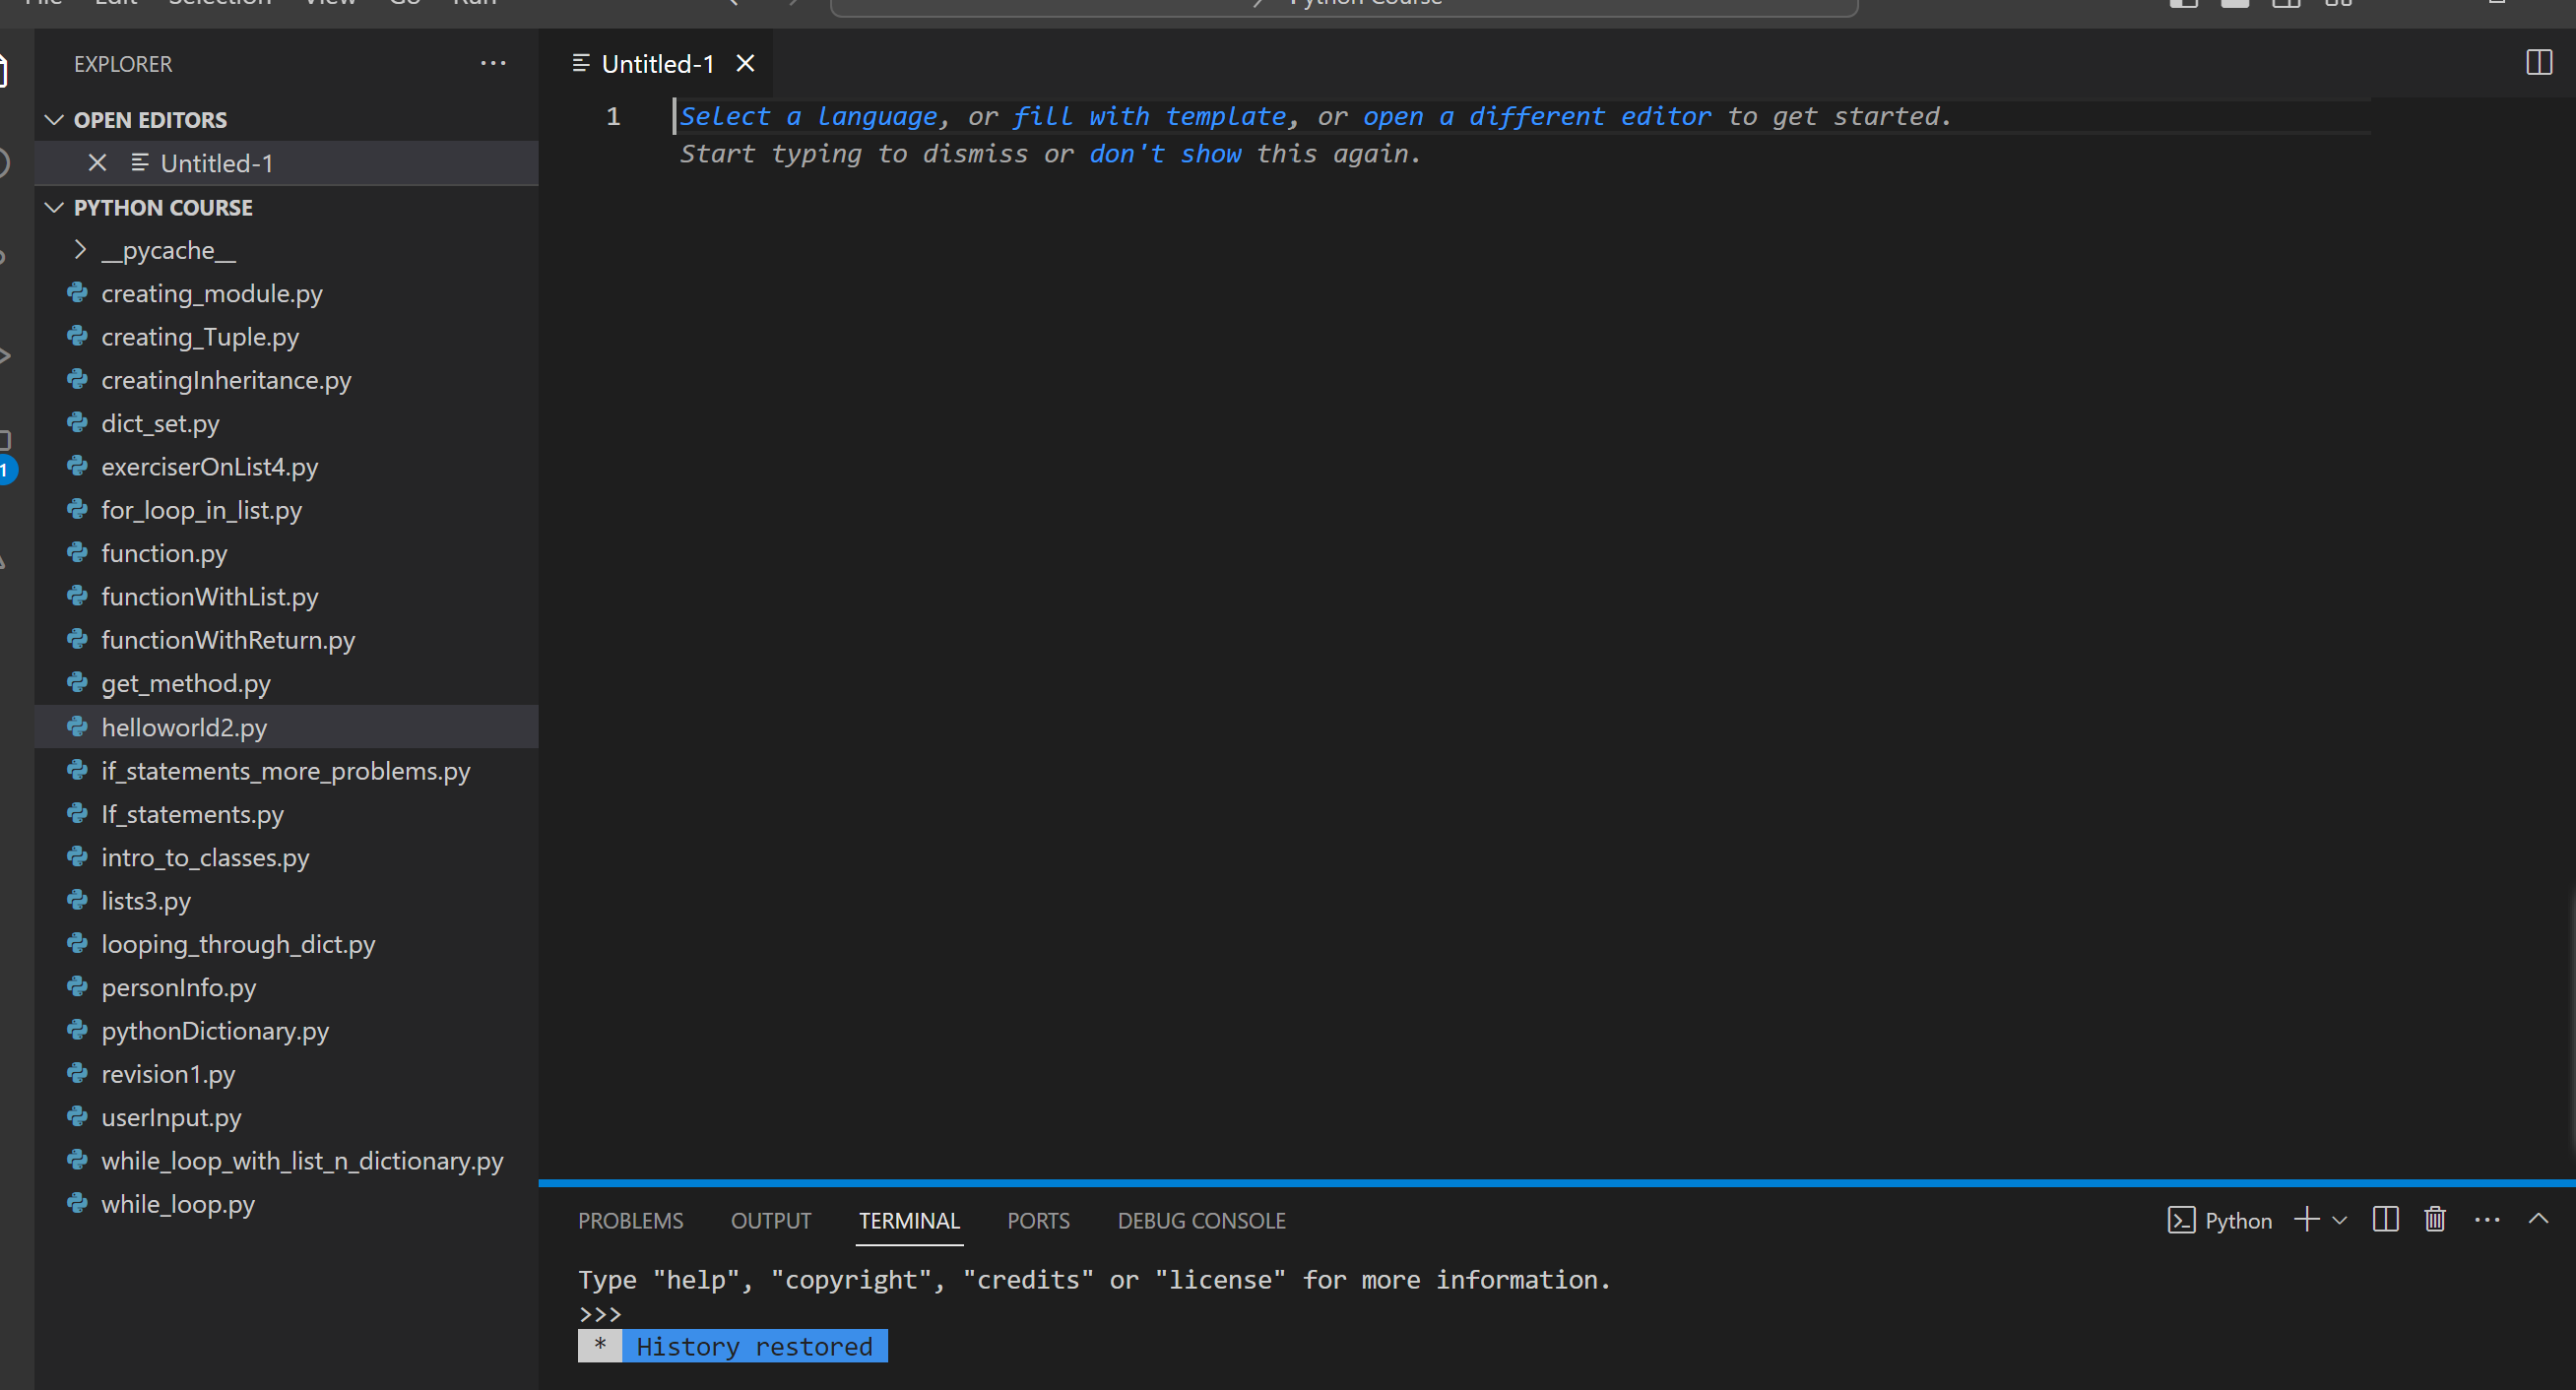
1. Open VSCode and click on “File” in the top menu.
2. Select “New File” to create a new file.
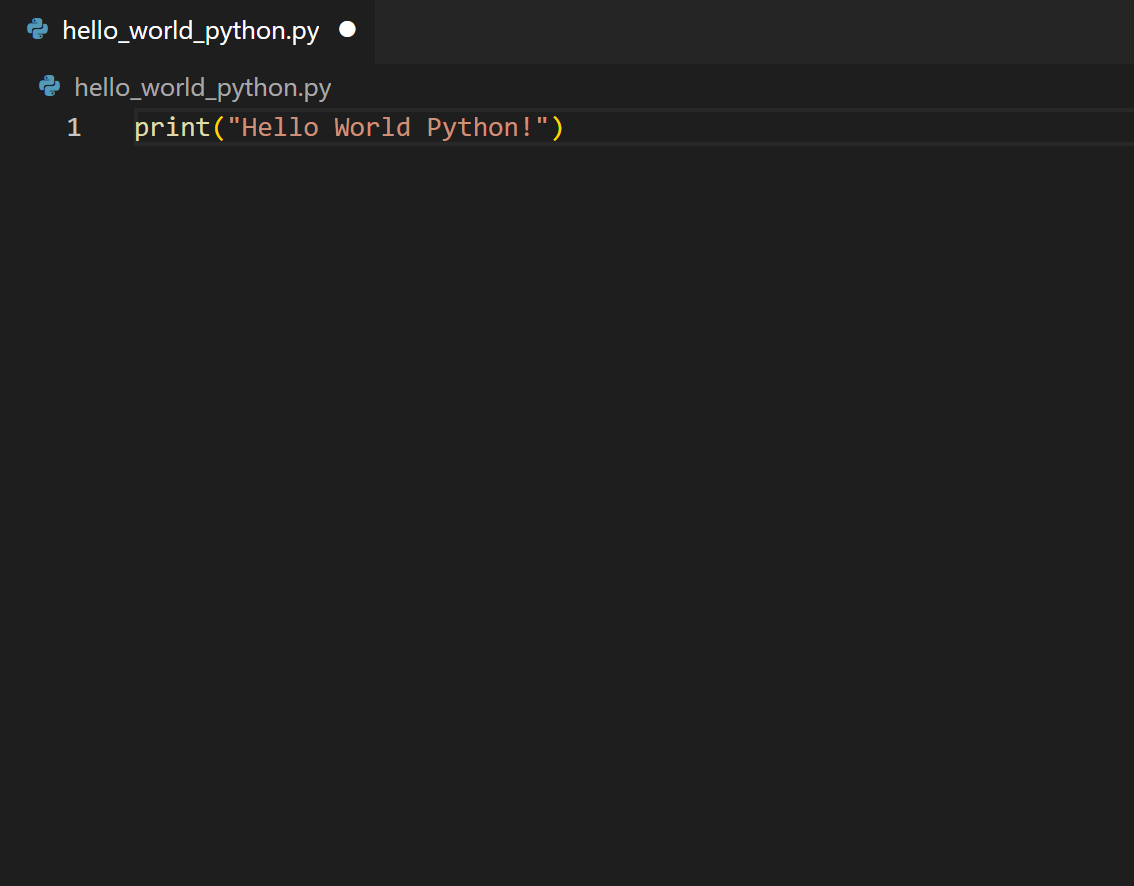
3. Save the file with a .py extension, for example, “hello_world_python.py”.
4. You can now start writing your Python code in the newly created file.
Running Python code in VSCode
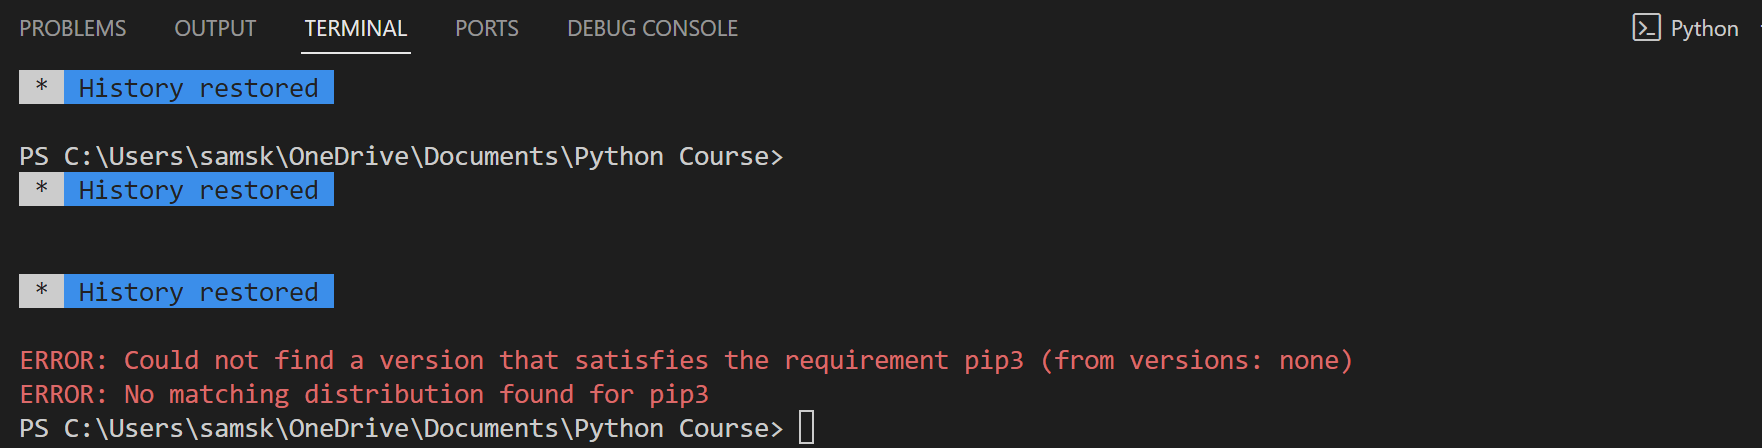
1. To run your Python code, open the terminal in VSCode by clicking on “View” in the top menu and selecting “Terminal” or by pressing `Ctrl+` backtick (`).
2. In the terminal, navigate to the directory where your Python file is located using the `cd` command. For example, if your file is in the Documents folder, you would use the command `cd Documents`.
3. Once you are in the correct directory, type `python` followed by the name of your Python file. For example, if your file is named “hello.py”, you would type `python hello.py`.
4. Press `Enter` to run the Python code.
5. The output of your Python program will be displayed in the terminal.
Additional Tips
– To install Python packages or libraries, you can use the package manager called pip. Open the terminal in VSCode and type `pip install ` to install a package.
– VSCode provides various features and extensions to enhance your Python programming experience. Explore the VSCode marketplace to discover useful extensions for Python development.
Conclusion
Installing Python on Windows and setting up VSCode for Python programming is a straightforward process. Once you have completed the installation and configuration steps, you can start coding in Python using the powerful features of VSCode. Remember to save your Python files with the .py extension and use the terminal to run your code. Happy coding!