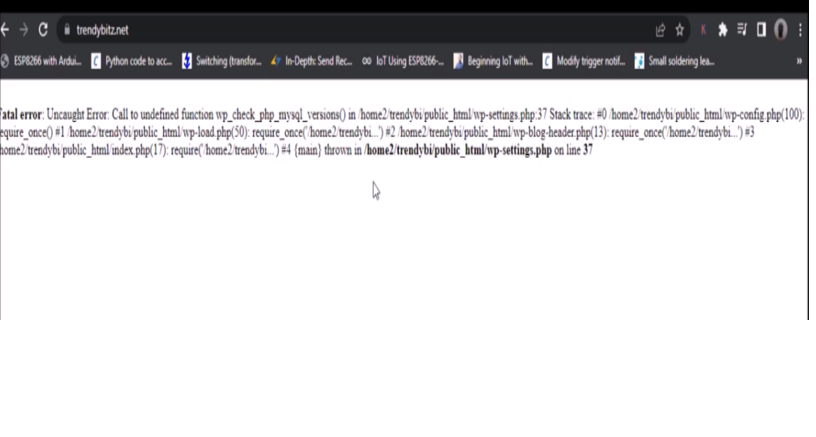
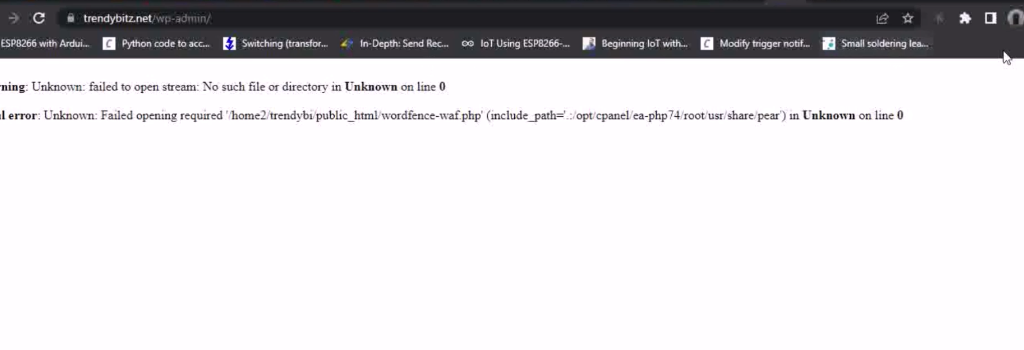
Welcome, in today’s tutorial, we will learn how to restore and recover your crashed WordPress website. When your website crashes due to a WordPress update that went bad, you will see an error log on this screen as much as this one shown below. The error log will read: “Fatal Error: Uncaught Error, Call to undefine function…” will be written in the error log
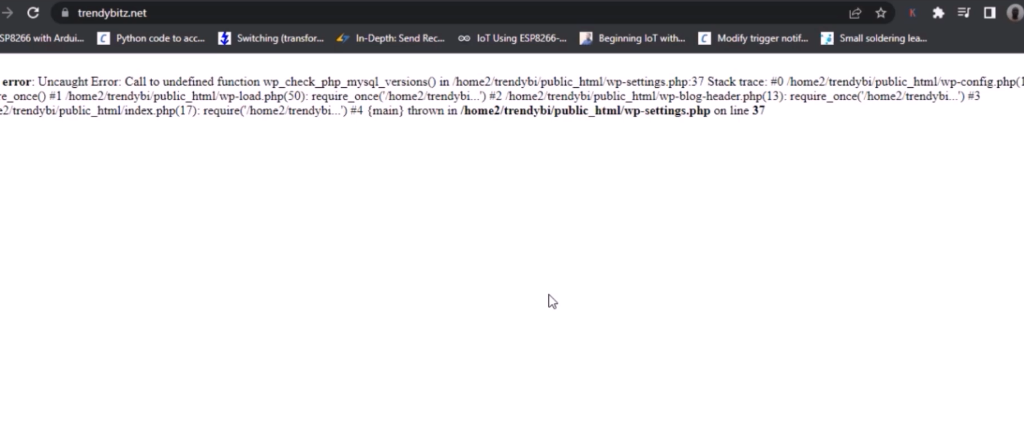
We do come to this dead-end when we are trying to do an automatic WordPress update and it went wrong, thereby corrupting most of the WordPress files and the website breaking or going down to both the visitors (front end) and the admin back end view sides. Don’t worry, we will take the time to solve this problem and recover your crashed website in no time. Just ensure you read until the end.
Fatal Error: Uncaught Error, Call to undefine
As much as this is a pain in the a*s or a sore sight to see in any website. It can also help you to trace your problem. Not always though. Looking at the picture below as a case study, we can trace that some of the error is emanating from wp_config folder.

As stated earlier, this is a result of a WordPress update that went wrong and thereby corrupted the WordPress folder. The following steps below explains it.
Read More:
- Scientists Design and Program a Living Computer
- DIY Internet of Things Light Bulb Control
- New Drugs that Stops Bowel Cancer
Steps to Restore and Recover Your Crashed Website
Step 1: Login to cPanel Dashboard
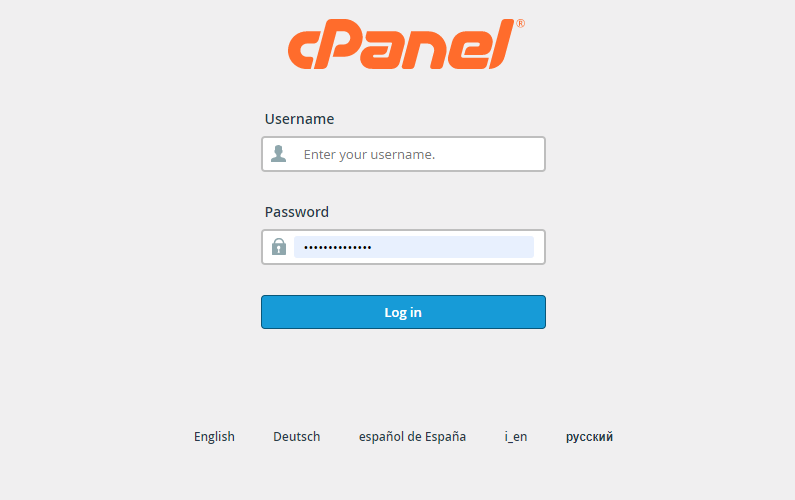
Login to your cPanel dashboard. Since the WordPress backend dashboard can’t be accessed due to this crash. The other option is work with the cPanel. Once you have logged into the cPanel dashboard, take your time to look around. and do the next step.
Step 2: Locate Your Public_html Folder
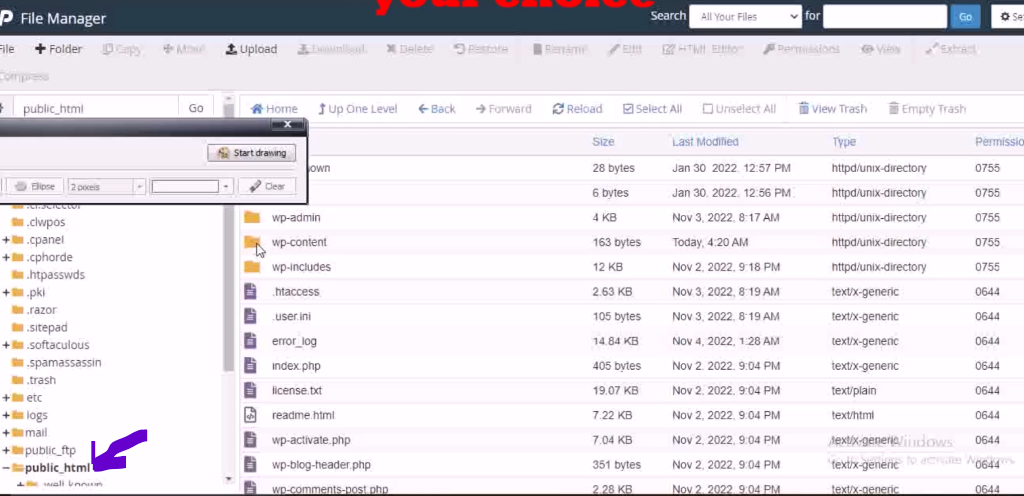
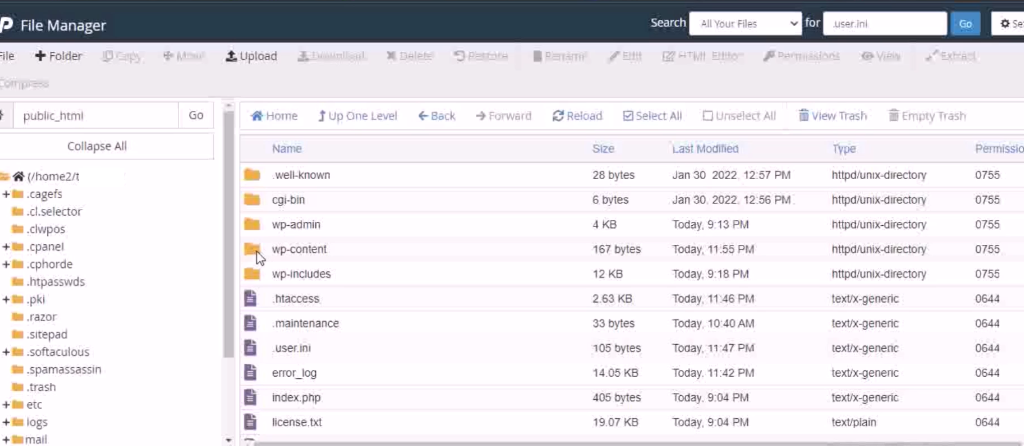
Click on files and locate your public_html folder under the left hand side of the list of folders available. click on this and it will open up a lot of other folders on the right hand side view. The main folders to watch out for is the “wp-admin” folder, the “wp-content” folder and the “wp-includes” folder.
Step 3: Deactivate your Plugins
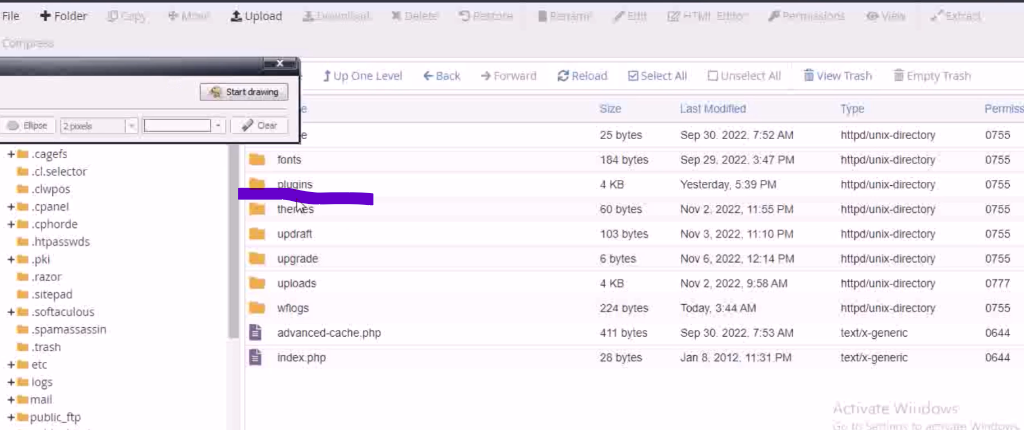
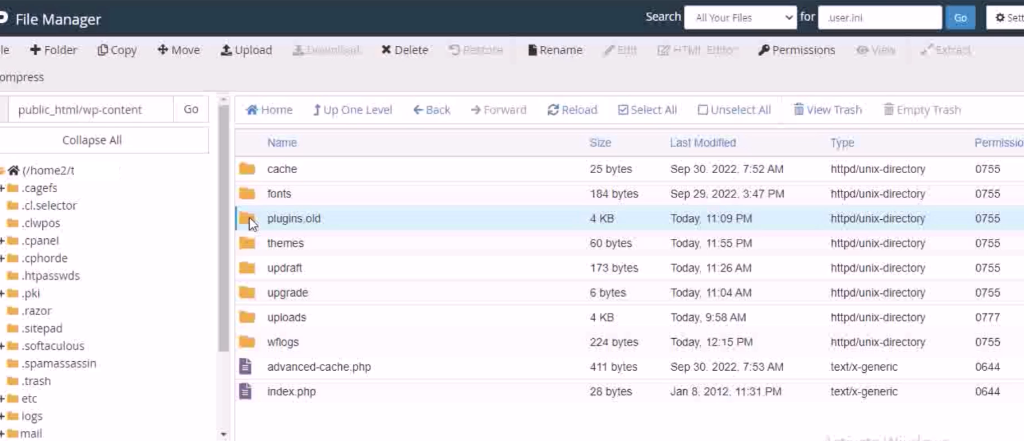
Deactivate the plugins. Go to the wp-content folder and open it by double clicking on it. There is other folders inside but our focus is the plugins folder. We will rename this folder to plugins_old

This would deactivate all the plugins found and used in your WordPress website.
Step 4: Create a New Folder

Create a new folder and call it any name you want. This folder would be used to house all the files and folders that are not needed in the WordPress folder. The whole idea is to manually update the WordPress folder.
Step 5: Move All Your Files and Folders
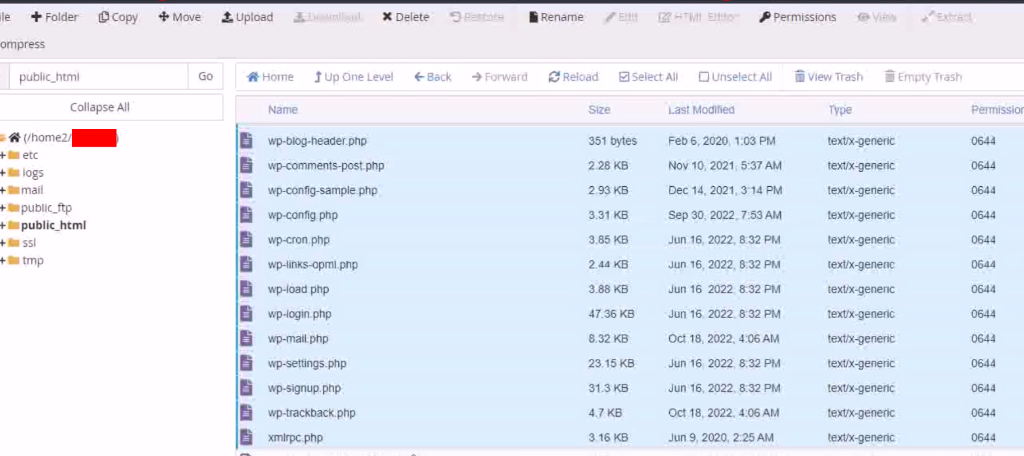
Highlight all the folders and files in the public_html folder exlcluding the wp-content folder. Ten locate the move button button above and click this. The pop-up would request you type the folder destination. Just enter the name of the folder you just created. In out own case, this is the temp_folder. This would then move all the files and folders into this temp_folder.
Step 6: Download WordPress Unto Your Local PC
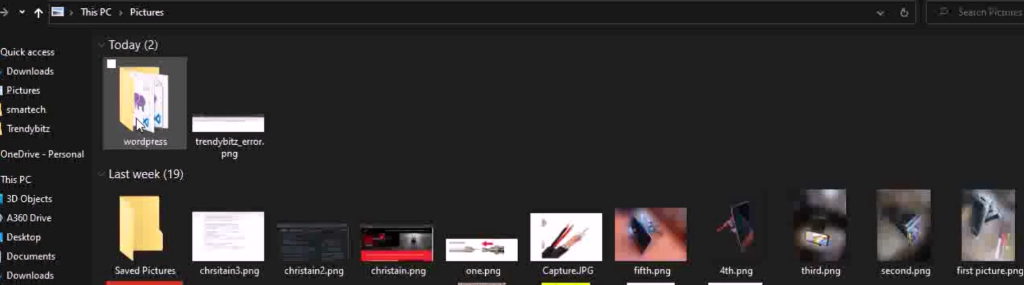
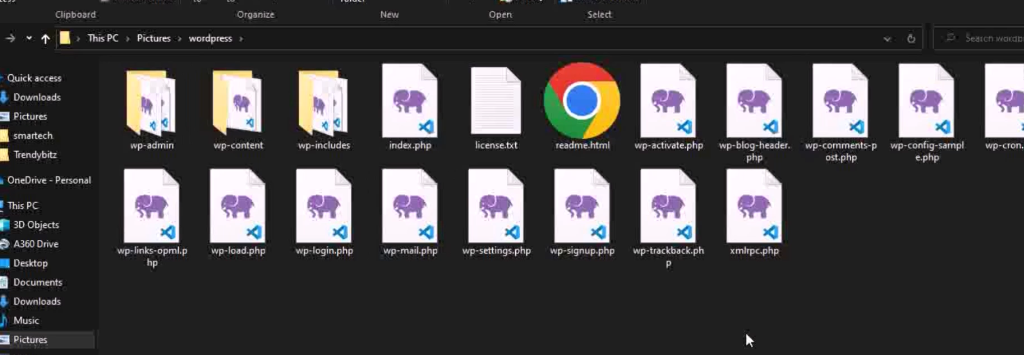
Go to the WordPress website and download the latest version on WordPress. This usually come in the zip format. You will need something like 7zip to unzip. Once this was down, you shoud be able to see your WordPress folder. This when opened, you should be able to see all the recent folders just like the ones that were in the public_html folder when you opened it. Perfect.
Step 7: Transfer This folder to Your cPanel using FTP
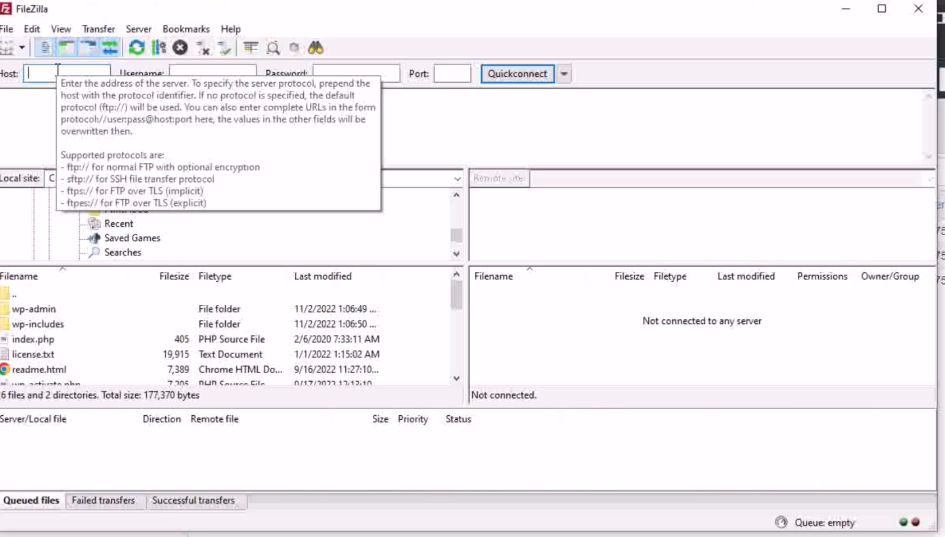
Using an File Transfer Protocol like Filezilla, you can open a port and transfer these folders into your public_html folder. Just input your username of of your cPanel into the hostname, the host is the cPanel address, the password is the password of your cPanel. The port is usually 21 or you can leave this empty. After inputting all of this, click on autoconnnect and watch the local host connect with the cPanel.
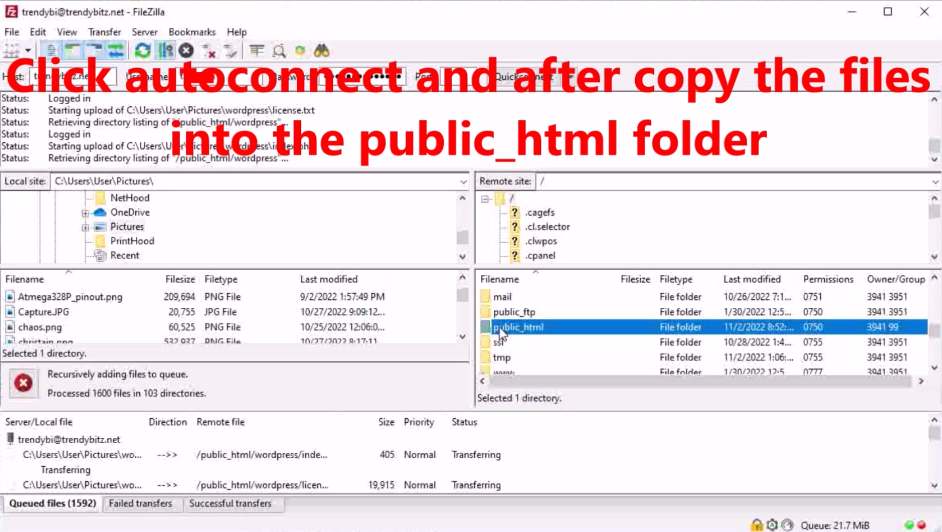
Wait until this process has been completed. The transfer may take long depending on your internet speed and PC processor speed.
Step 8: Rename Your Plugin Folder back to Normal Plugin
Change the name of the plugin folder from plugins_old to plugins. this would automatically activate the plugins back to active state.
Step 9: Refresh Your Website
Now when are done transferring the files, we will see that the error status has actually reduced a lot . Although, the goal is to restore and recover your crashed website, We are one step away from achieving that. this is good news. Now we are very close.
Studying the error calls it seems the error is addressing to the Wordfence plugin installed. This is because we have have activated all plugins back to functionality.
Removing all Traces of Wordfence Plugin from cPanel
Step 1: Go to the php Tree
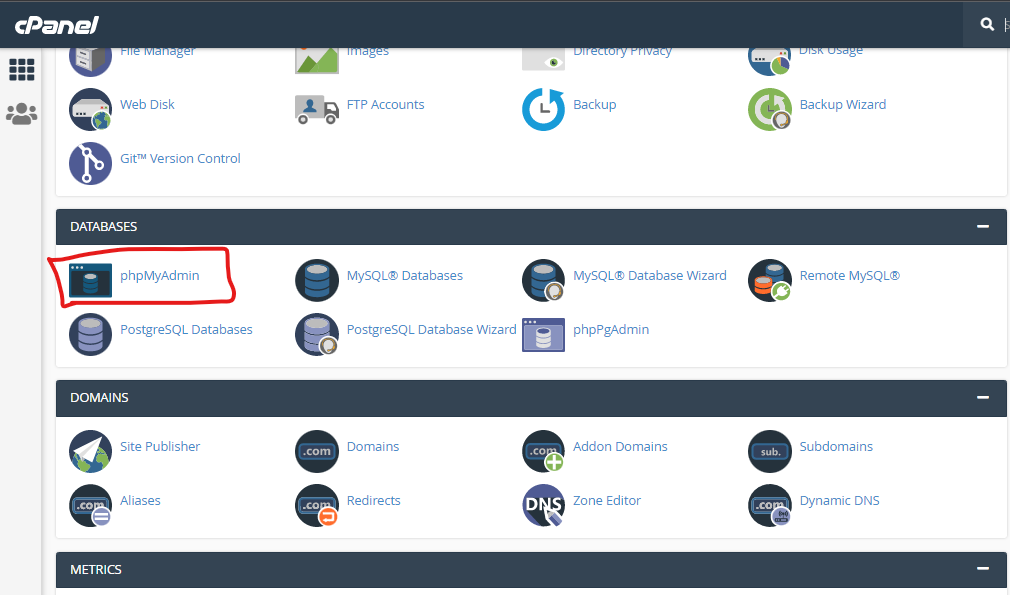
In order to restore and recover your crashed website, you need to delete all instances of Wordfence plugin phpMyAdmin database. To do this, go to the cPanel dashboard, click on phpMyAdmin as shown above. It will open a new tab in which you can select Database. You should be able to see your cPanel username in the left-hand pane.
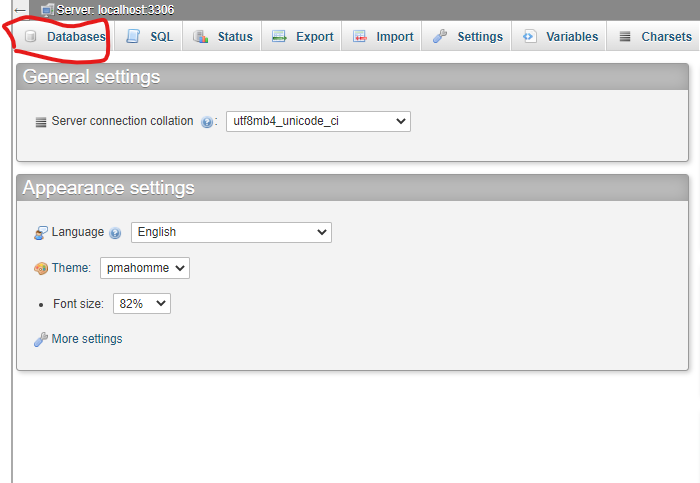
Step 2: Identify and all that .wf extension tree in the DB
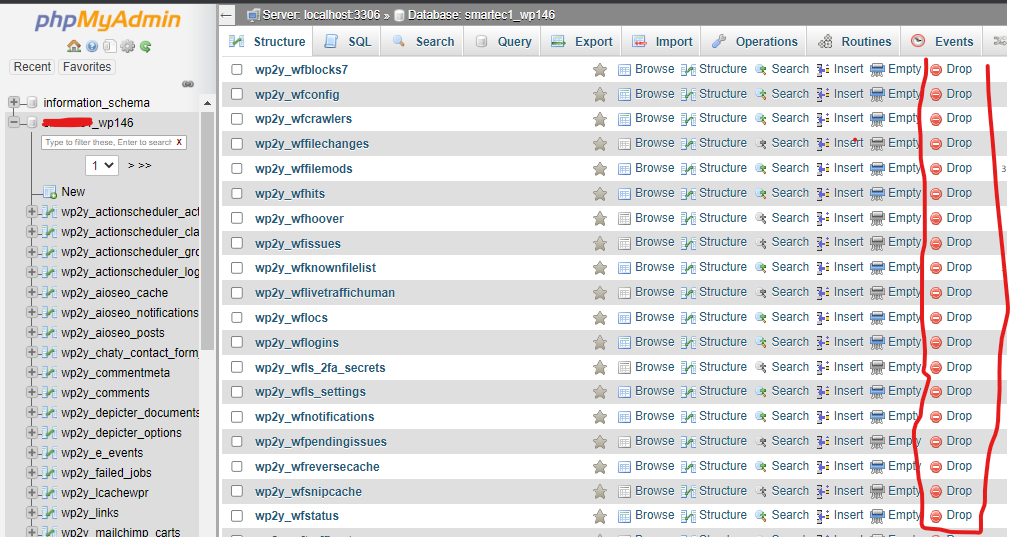
Click on the left pane with your username. This will pop up the DB structures, and then you cn see all the plugin trees. locate the tree with _wf extensions. Click on each of these individually and drop them on the right hand side as highlighted, and once this is done, proceed to the next step.
Step 3: Delete the Wordfence Folder in the Plugin Folder
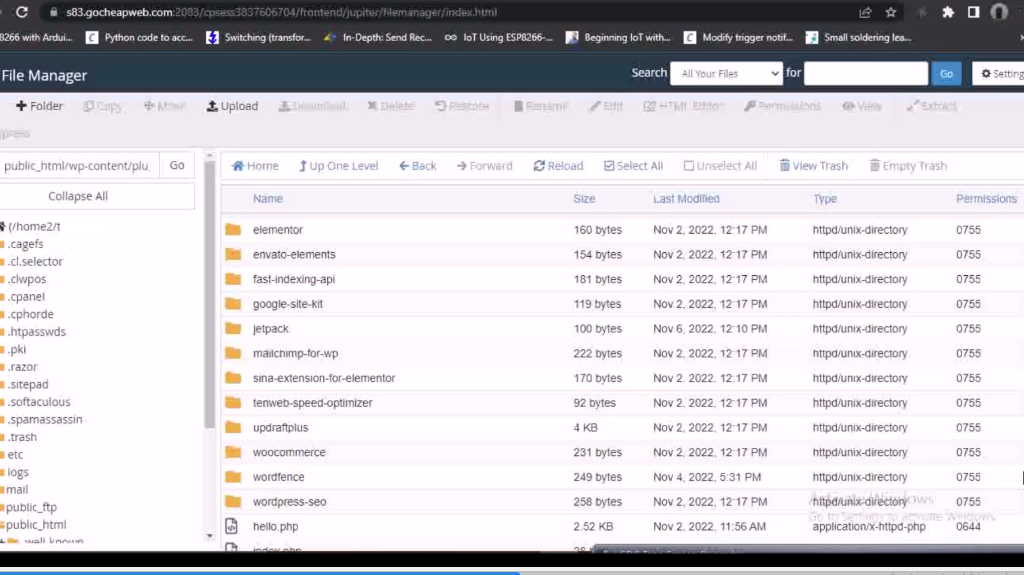
Head over to the wp-content folder and double click on the plugins folder. Down the line, you will find the Wordfence folder. Delete this folder.
Step 4: Delete Wordfence Code Lines in Hidden File
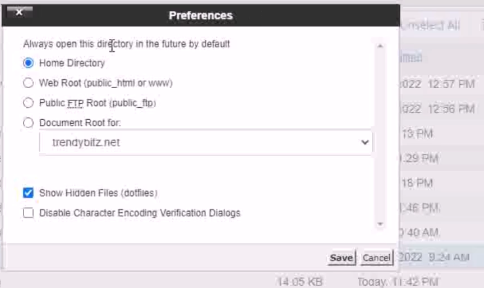
Based on the error shown in the image earlier, the error came from the files user.ini and wordfence-waf.php . What we will do is to search for these files on the cPanel search. After we have enabled the show hidden file option as shown above. This would then show us the file.
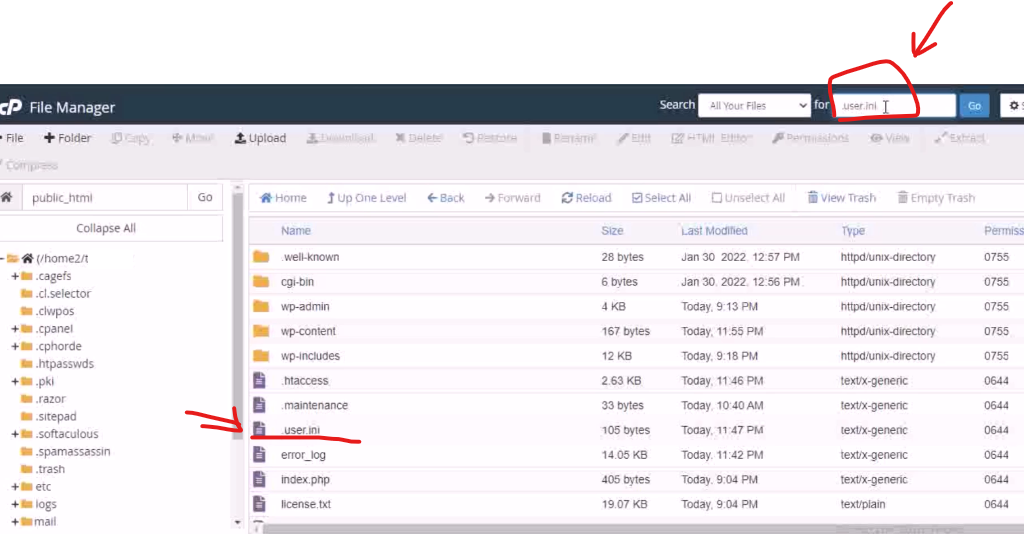
Double click on this file and open with UTF-8 encoding. The go and locate the code line that reads auto_prepend_file = ‘/home2/xxxx/public_html/wordfence-waf.php’. Once located, comment out this line of code by placing a # in front of it as shown below. Save the changes and move to the next step of restoring and recovering your crashed website.
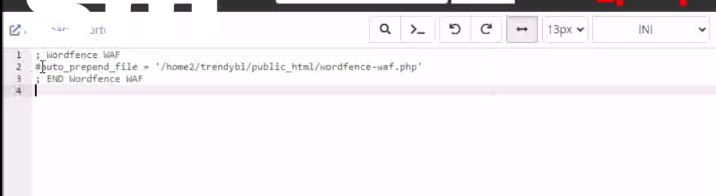
Next the other file wordfence-waf.php, do the same search for this on the search box, and open it like the first one. Locate the line of code that read php_value auto_prepend_file = /home2/xxxx/public_html/wordfence-waf.php’ and comment out the lines of code there.

Save the changes made on these two files and then go back to your website and refresh it again.
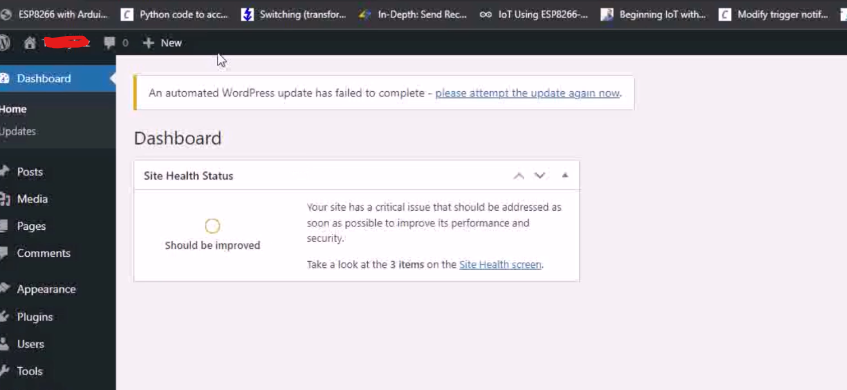
On refreshing, this error disappears and we have control of our WordPress backend dashboard again. As shown below.
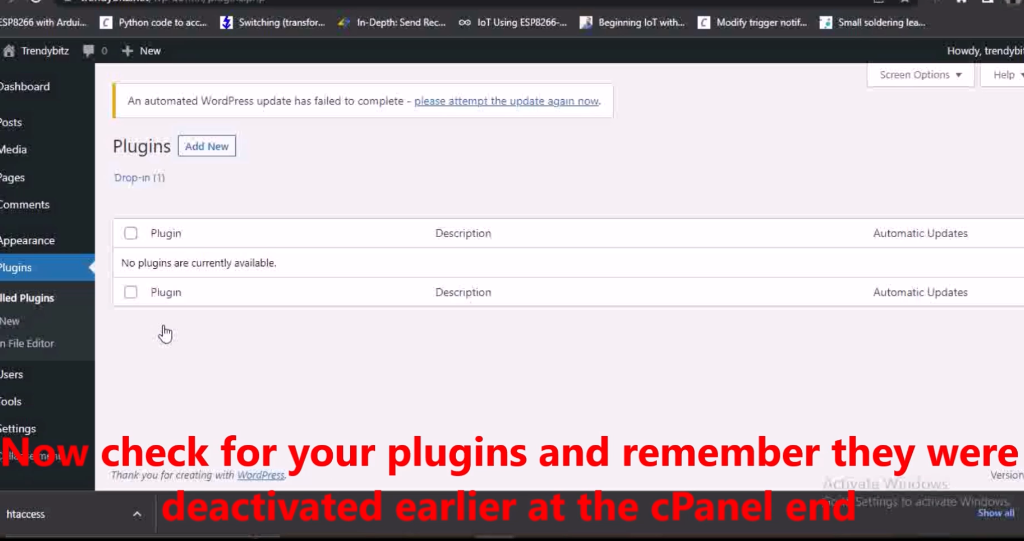
Finally, you have learnt what can cause Fatal Error: Uncaught Error in a website and also how to Restore and Recover Your Crashed Website with these few steps. Bravo! Just a couple of more things to tidy up. Remember the plugins were all deactivated and removed earlier, when you click on the plugins, there will be no plugins to show.
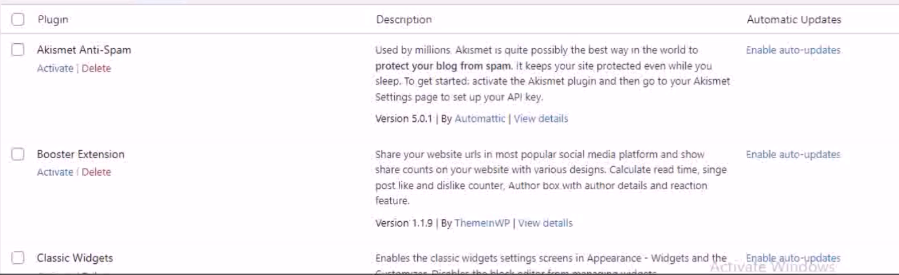
Head back to cPanel and change the name back to plugins and save it and refresh the page of your WordPress Dashboard and all your plugins will reappear, with the exception of the Wordfence plugin because it has been deleted. You can install this plugin again if you need it.
Conclusion

Even the front end for visitors has been beautifully replaced, and no errors or crashed gibberish are displayed. Just the WordPress theme contents. This is how we have solved the Fatal Error: Uncaught Error restored and recovered your crashed website, using this sample website as a case study.
Tell us what you think in the comment below. Do you have a similar problem? Were you able to follow the steps outlined here and solve it yourself?
If you can’t solve the problem, you can reach us online for quick assistance.