Setting up a surveillance system yourself can be a cost-effective way to enhance security.
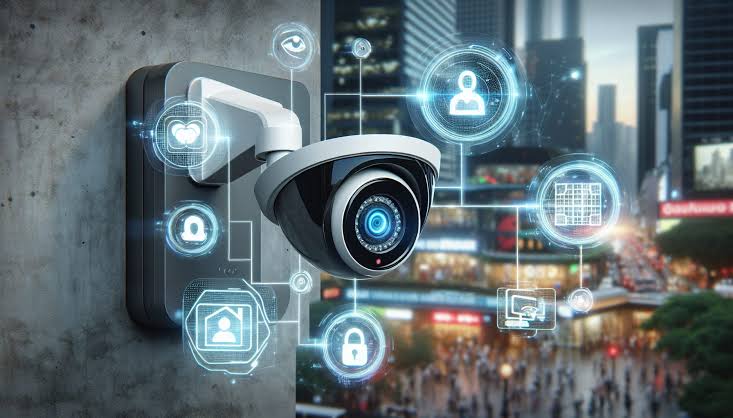
Read More: The Role of AI in Modern Surveillance Systems
Whether for your home or business, a DIY installation allows for customization and control. Follow these steps to successfully install your CCTV system.
1. Plan Your Surveillance Setup
Before installation, determine key areas to monitor. Focus on:
- Entry points such as doors, windows, and garages
- Driveways, backyards, and parking areas
- Indoor spaces with high foot traffic
- Blind spots that intruders might exploit
Consider whether you need 24/7 monitoring or motion-triggered recording.
2. Choose the Right CCTV System
Select a system based on your needs:
- Wired Systems: Offer reliability but require professional-level installation.
- Wireless Systems: Easy to install and connect to Wi-Fi but may have signal interference.
- IP Cameras: Provide high-resolution video and remote access via apps.
Ensure the cameras support night vision, motion detection, and cloud or local storage.
3. Gather Installation Tools and Equipment
You’ll need:
- A drill, screws, and mounting brackets
- Power cables or rechargeable batteries
- Network cables (for wired setups)
- A DVR/NVR for recording footage
- A smartphone or PC for configuration
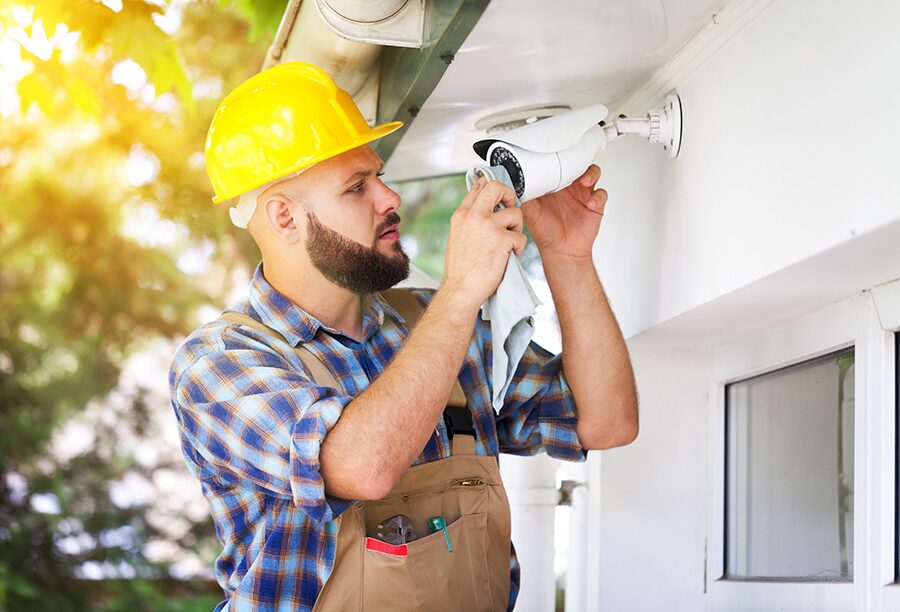
4. Install the Cameras
Mount cameras at least 8–10 feet high to prevent tampering while ensuring a clear view. Angle them toward entry points and high-risk areas, avoiding obstructions like trees or walls. Use weatherproof housings for outdoor cameras.
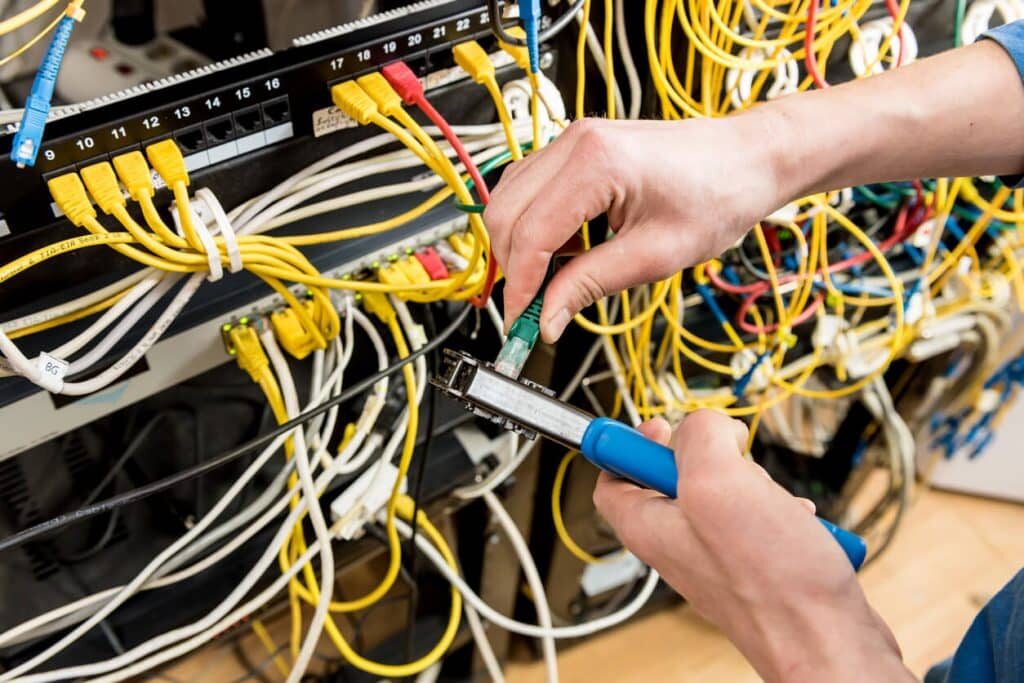
5. Run Cables and Connect the System
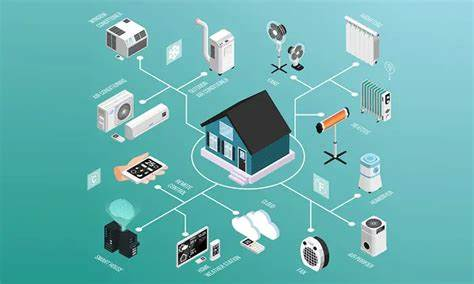
Read More: How to Integrate Your Surveillance System with Smart Home Devices
For wired setups, route cables discreetly along walls or ceilings. If using a wireless system, ensure a stable Wi-Fi connection and minimal interference.
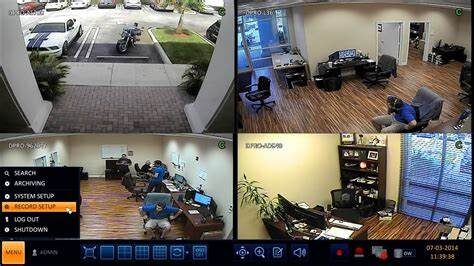
6. Set Up Storage and Monitoring
- DVR/NVR: Best for wired setups with large storage capacity.
- Cloud Storage: Allows remote access but may require a subscription.
- SD Cards: Convenient for standalone wireless cameras.
7. Test and Adjust the System
- Verify video quality and camera angles.
- Test night vision and motion detection.
- Set up remote access via a mobile app.
Conclusion
A DIY surveillance system is an affordable way to boost security. With proper planning and installation, you can effectively monitor your property without professional assistance.