Introduction
Why Pay More to Feel Safe?
DIY camera system, ever put you in a position thought, “I wish I had security cameras at home, but it’s just too expensive”? You’re not alone. The good news? You don’t need a fat wallet to protect your home. With a little DIY spirit and some smart tech, you can build a budget-friendly home surveillance system that keeps your peace of mind intact.
What Is a DIY Home Surveillance System?
Simple Definition
It’s just a security setup that you create and install yourself no pros, no high bills.
Why Go DIY?
DIY camera system, will make you save money, customize everything, and learn a few tech tricks along the way.
Planning: Know What You Need to Watch
Indoors or Outdoors?
Decide where you need coverage. Think entrances, backyards, or even that shady garage corner.
Wired vs Wireless
- Wired = more stable, but trickier to install.
- Wireless = easier, portable, and great for renters.
Budget Basics: What You’ll Need
1. Cameras

Look for budget IP cameras with motion detection and night vision. Brands like Wyze, TP-Link, and Blink are solid.
2. Storage

Use cloud storage or go with a microSD card in each cam if you want to avoid monthly fees.
3. Wi-Fi Connection

A good router means smoother streaming. A weak signal? No footage. Simple as that.
4. Power Sources

Opt for USB-powered cameras or battery-operated ones. Solar panels? Even better for outdoor cams.
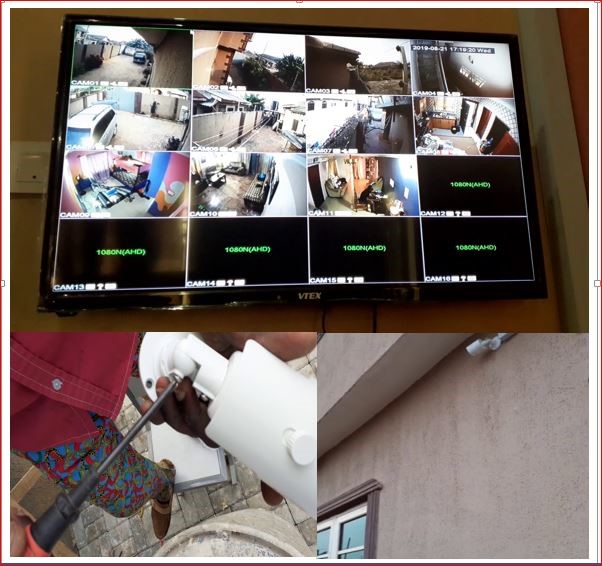
Setup: Step-by-Step Like a Pro
Step 1: Pick the Right Spots
Corners give wider views. Mount cameras above door frames or hidden in everyday items (hello, flowerpot cam!).
Step 2: Mount and Secure
Use adhesive mounts or basic drills. Make sure the angle covers the target area no pointing at the wall!
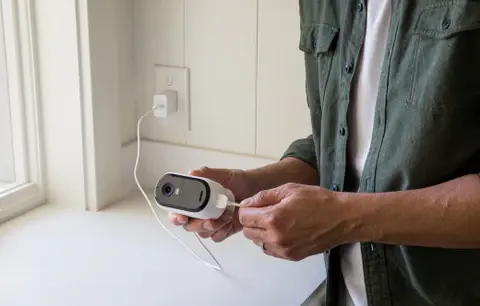
Step 3: Connect to Wi-Fi
Follow app instructions. Most cameras sync in under 5 minutes.
Step 4: Test Everything
Walk by the camera. Does it record? Is the image clear? If yes, you’re golden.
AI-Powered Freelancing: How to Use AI to Boost Your Freelance Hustle in 2025
Smart Add-Ons (If You Have Some Extra Cash)
Motion Sensors
Pair them with cameras for real-time alerts.
Smart Lights
These light up when motion is detected great for driveways.
Maintenance: Keep It Running
Clean the Lens
Dust = blurry footage. Wipe it down monthly.
Check Battery Levels
Don’t let your camera die just when you need it.
Title: The Most Iconic Hairstyles of Korean Movie Stars That Made Headlines
Final Thoughts: Security Doesn’t Have to Break the Bank
You don’t need a $500 system to feel safe. With today’s tech, even $100 can get you a solid DIY setup. Think of it like setting up your home’s digital watchdog loyal, alert, and always on duty.
FAQs: DIY Surveillance Questions Answered
1. Can I use my old smartphone as a security camera?
Yes! Apps like AlfredCamera turn old phones into real-time streaming cameras.
2. Is cloud storage necessary?
Nope. Many budget cameras let you save footage on a microSD card.
3. Will my cameras work without internet?
Most won’t stream live, but they can still record locally if supported.
4. What’s the best place to hide a camera?
Common spots include bookshelves, behind plants, or on high shelves.
5. How many cameras do I really need?
Start with 2–3 for key entry points. You can always expand later.