Streetlights have been a hallmark of urban development for decades. Yet, as energy consumption grows, the quest for sustainable solutions becomes critical. Enter the Arduino IoT Smart Streetlight, powered by footstep energy — an innovation blending renewable energy, automation, and smart technology. Imagine lighting your streets as people walk, harnessing their kinetic energy to power streetlights intelligently and efficiently.
What Is an Arduino IoT Smart Streetlight?
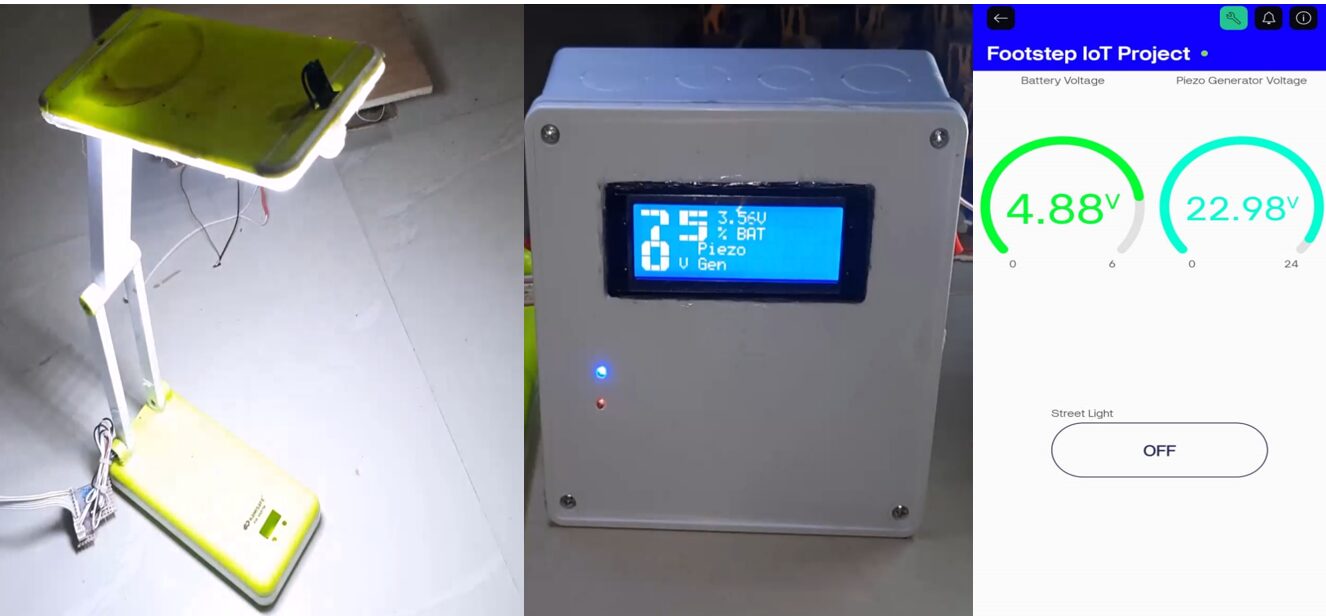
Let’s break it down. An Arduino IoT Smart Streetlight is a modern street lighting system that:
- Utilizes an Arduino microcontroller to process data.
- Integrates Internet of Things (IoT) technology for remote monitoring and control.
- Employs footstep energy harvesting to generate electricity.
This setup minimizes energy wastage while promoting sustainable urban living.
Read Also: Smart Doorbell for Home Automation Arduino ESP32 Cam
How Does Footstep Energy Harvesting Work?

Ever heard of energy being generated as you walk? That’s precisely what footstep energy harvesting does. Here’s how it works:
- Piezoelectric Sensors: Placed beneath walking surfaces, these sensors convert mechanical pressure from footsteps into electrical energy.
- Energy Storage: The generated electricity is stored in batteries for later use.
- Power Supply: This stored energy powers streetlights and other connected devices.
Key Components of the Project
To build this smart streetlight system, you’ll need the following components:
1. Arduino Board
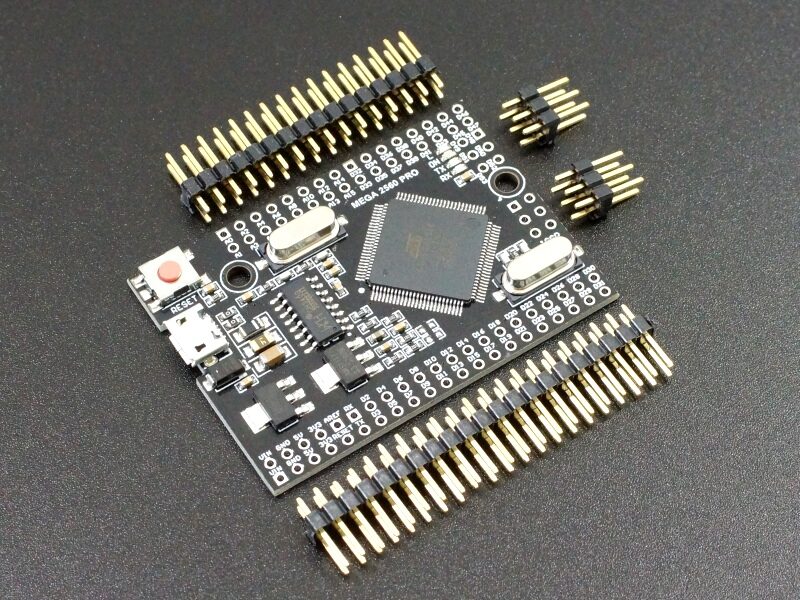
The brain of the system, an Arduino board processes sensor data and controls the streetlight’s operation.
2. Piezoelectric Sensors

These sensors capture the mechanical energy from footsteps and convert it into electrical energy.
Precision Agriculture Techniques for Enhancing Organic Farming
3. IoT Module, ESP8266-12E (ESP-01)
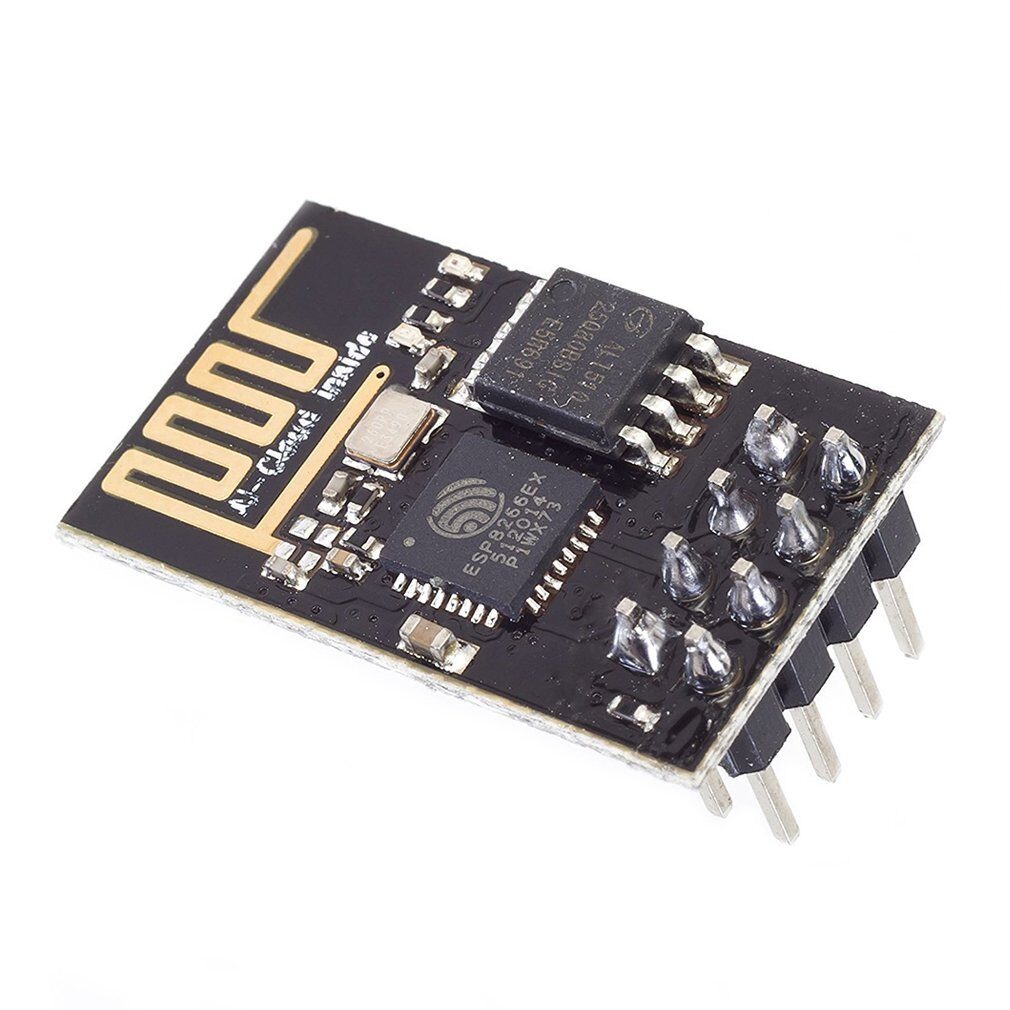
An IoT module enables wireless communication, allowing remote monitoring and control of the system.
4. LED Streetlights

LEDs are energy-efficient and ideal for smart streetlight systems. For this project design model, we used an old Lontor reading lamp LEDs to construct the LED arrays for the street light.
5. Rechargeable Battery
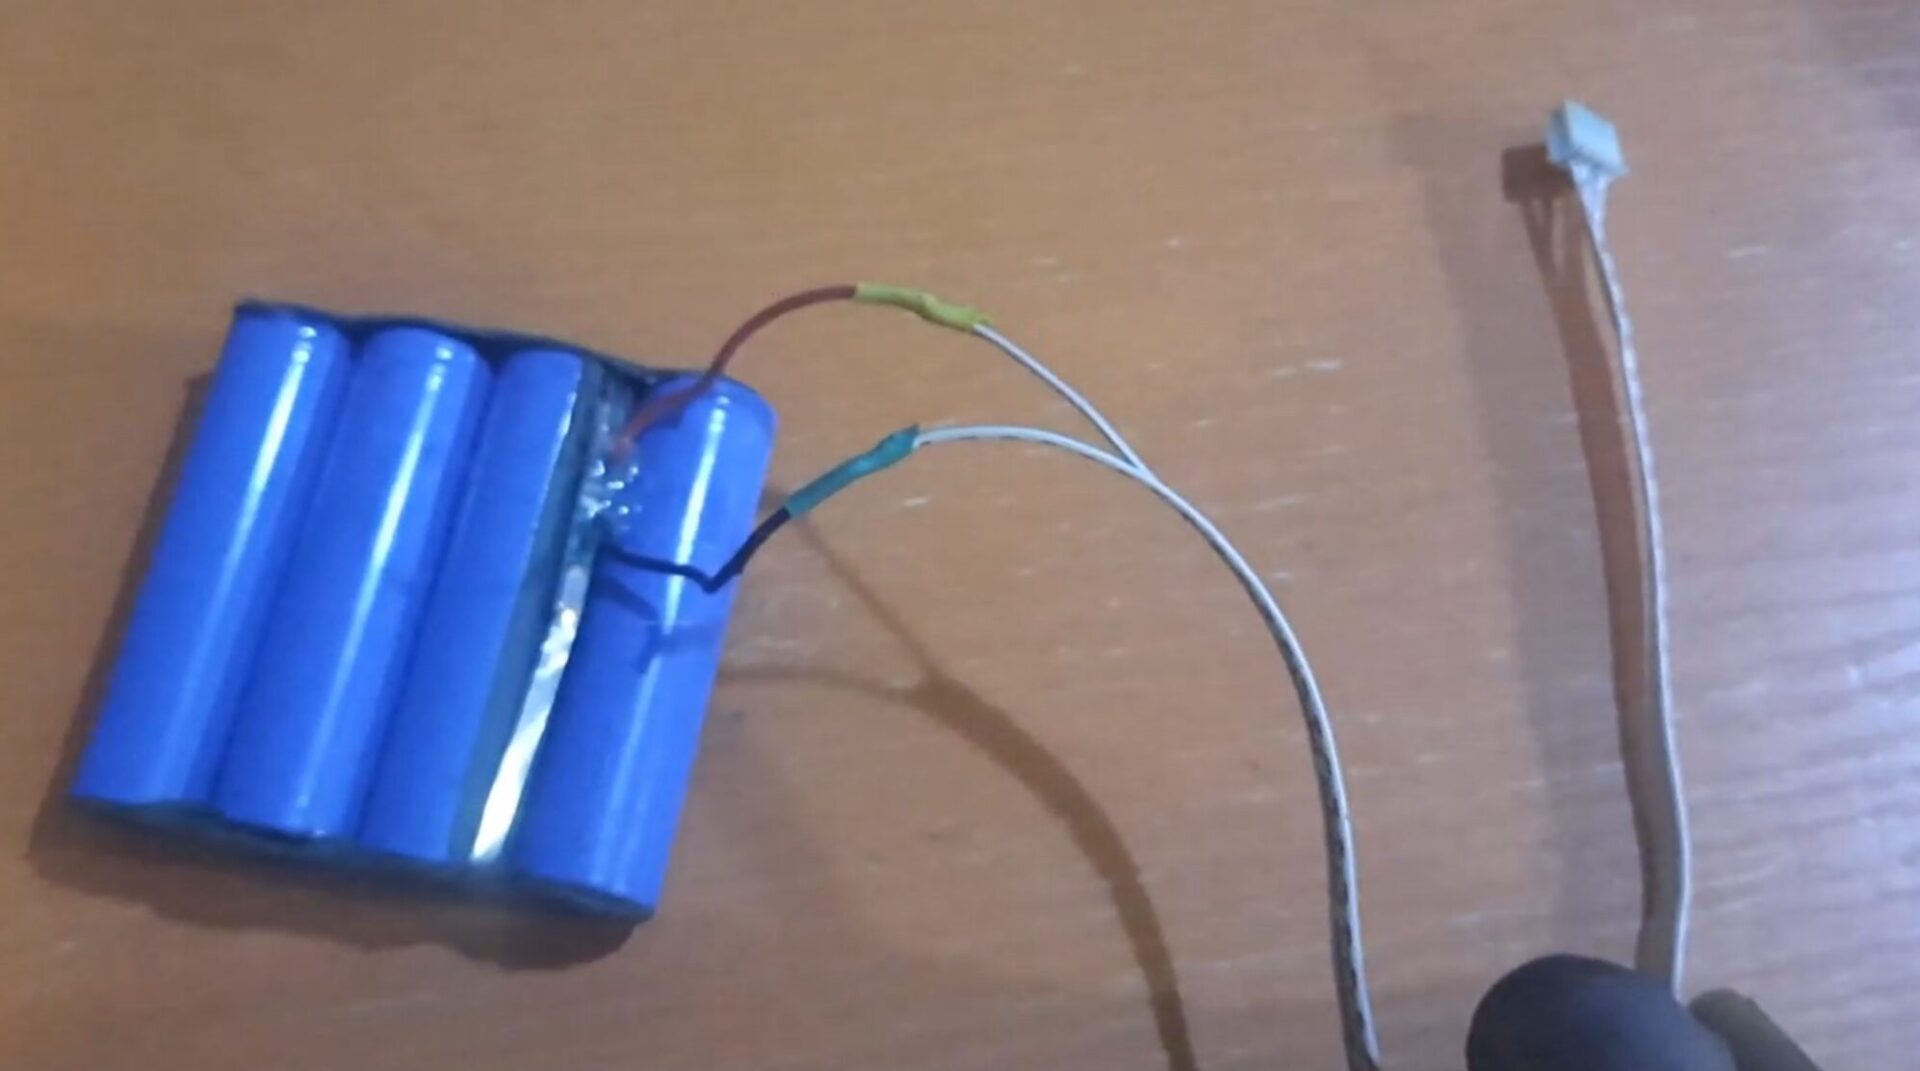
Stores the energy generated by footsteps to power the streetlights. We used a 3.7V 3800mAH capacity that were 4 pieces connected in series configuration.
6. PIR Motion Sensor
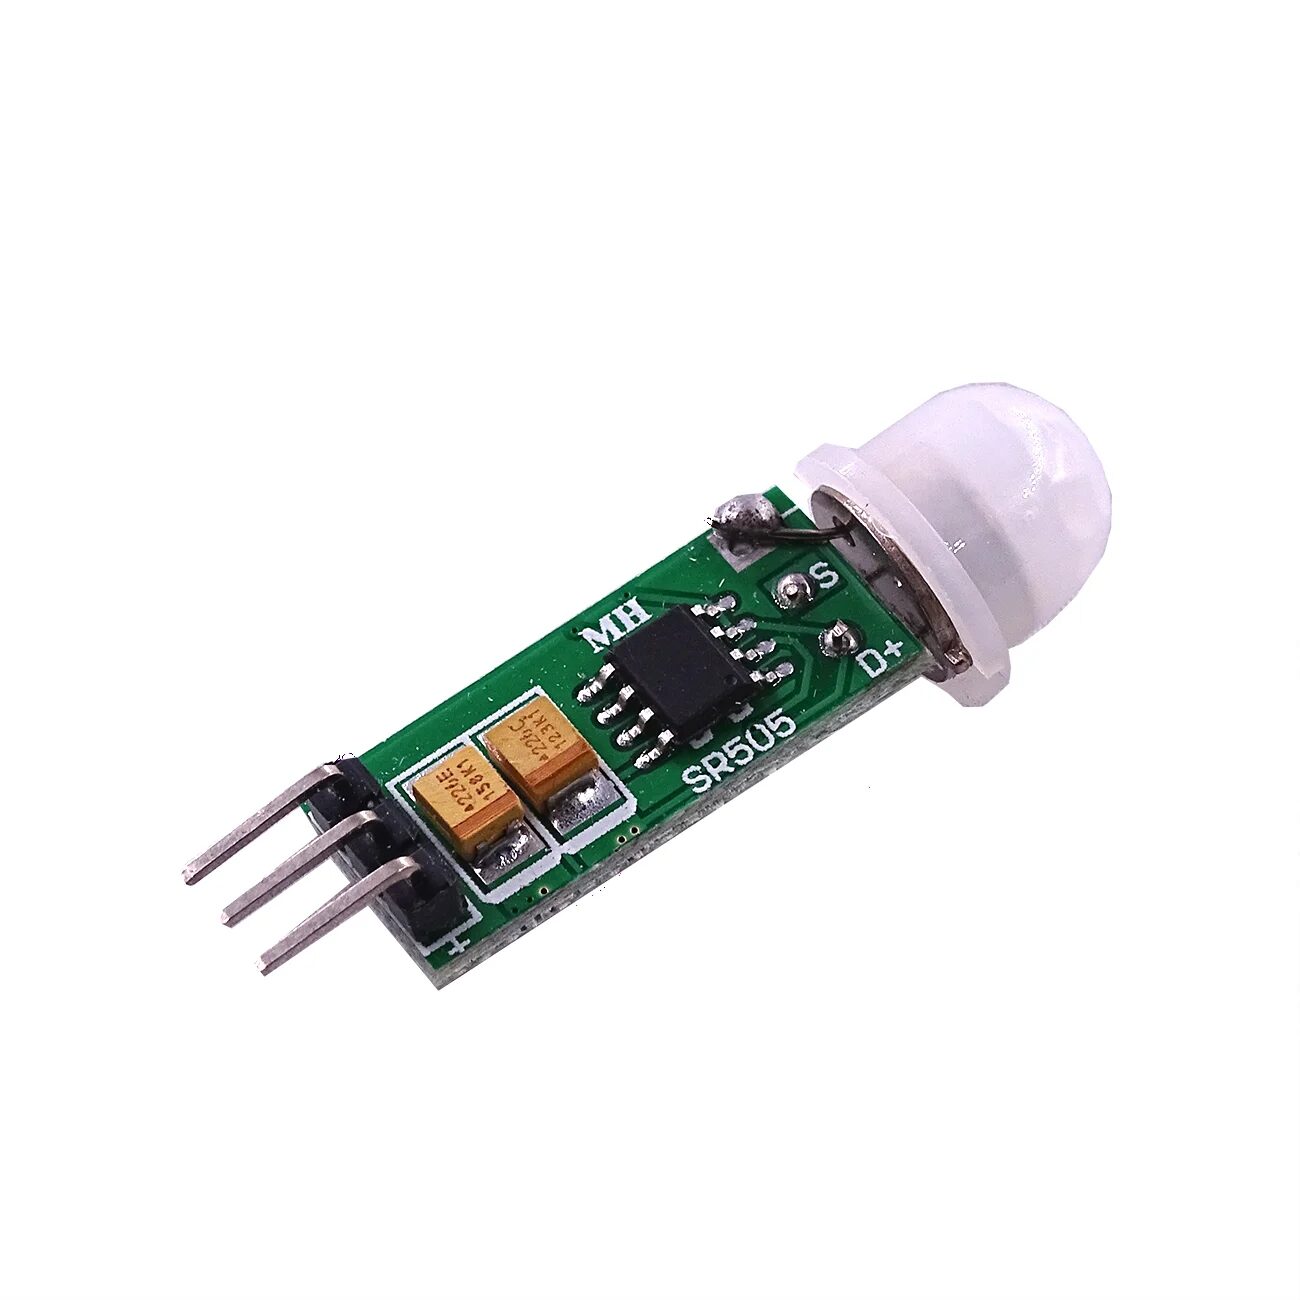
These sensor detects movement and trigger the streetlight only when needed. The PIR motion sensor makes the project smart, making us to conserve energy by illuminating the path at maximum only when needed.
7. DC-DC Buck Converter as Voltage Regulator
This ensures a stable voltage supply to the components.
How to Build an Arduino IoT Smart Streetlight Powered by Footstep Energy
Step 1: The Circuit Diagram
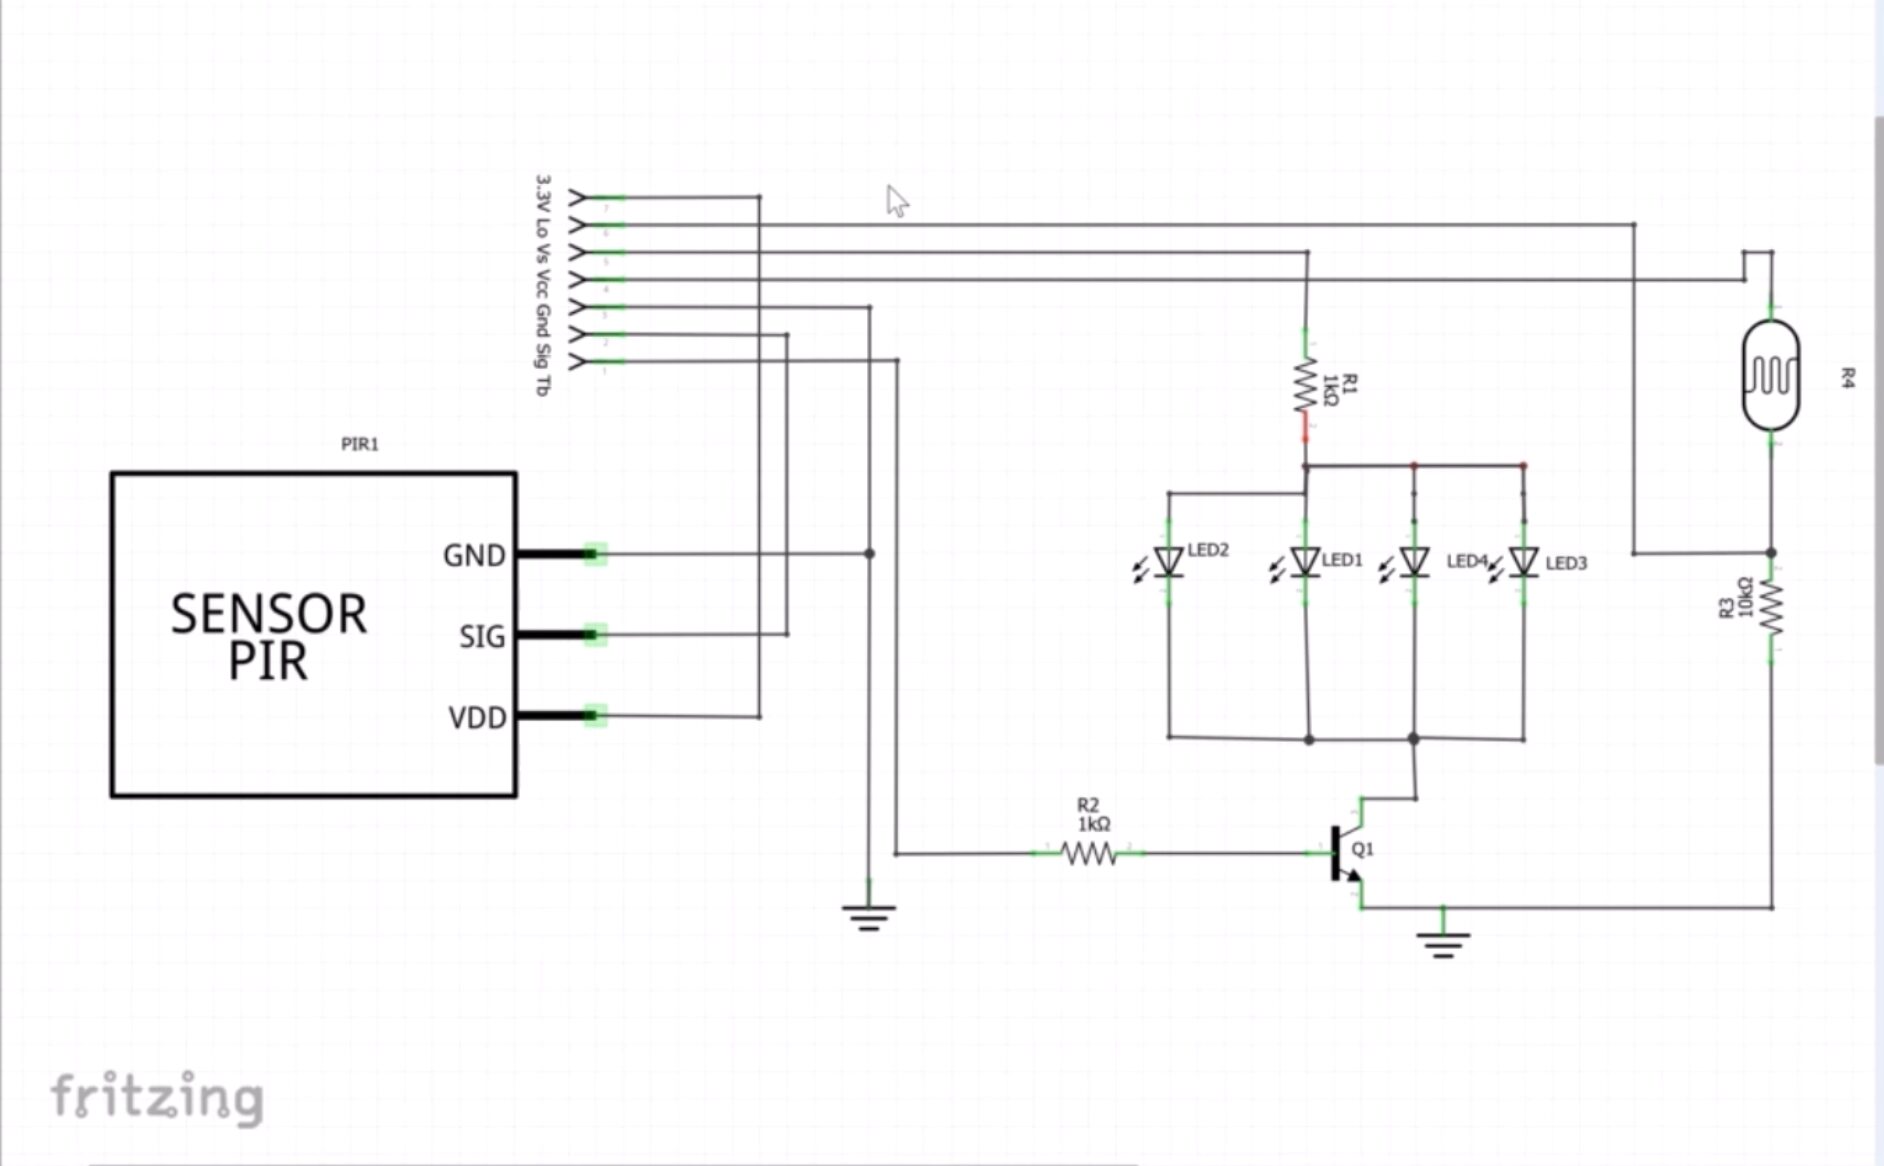
Explanation of the Circuit Diagram
The schematic diagram is shown the connection of the motion sensor and its connection through a header to the Arduino board. Also how an NPN transistor was used to amplify the current flowing through the LEDs. We also attached an LDR to check for night time and day time.
- Begin by connecting your Arduino board to a computer.
- Install the Arduino IDE software for coding and uploading sketches.
Step 2: Integrate Piezoelectric Sensors
- Place piezoelectric sensors under a pressure-sensitive surface (e.g., a walkway tile).
- Connect the sensors to a rectifier circuit to convert AC to DC power.
- Attach the output to a rechargeable battery for energy storage.
Step 3: Connect the IoT Module
- Use an ESP8266 or ESP32 module to enable internet connectivity.
- Program the module to transmit data, such as energy usage and system status, to a cloud platform.
Step 4: Add LED Streetlights
- Connect LED streetlights to the Arduino board as shown in the circuit diagram
- Use a relay module to manage the on/off operation of the lights.
Step 5: Integrate Motion Sensors
- Install motion sensor to detect pedestrian movement.
- Configure the Arduino to turn on the streetlights only when motion is detected.
Step 6: Programing the Arduino IoT Smart Streetlight
#include <SoftwareSerial.h>
/*ESP-01 pins are GPIO, Tx is GPIO1 (here define as 1, code line 6),
*/
#define rxPin 0 // GPIO0 is the pin next to the ESP-01 Rx pin. The Rx (GPIO3), the Tx (GPIO1)
#define txPin 2 //GPIO2
#define pumpVirtualPin 1
#define pumpVirtualPin1 3

SoftwareSerial nodeMCU(rxPin, txPin);
#define BLYNK_TEMPLATE_ID "TMPL23r_9ngTn"
#define BLYNK_TEMPLATE_NAME "Footstep IoT Project"
#define BLYNK_AUTH_TOKEN "_lxtDgv0m1Ihzc6-w_003KNlfpa6usiX"

/* Comment this out to disable prints and save space */
#define BLYNK_PRINT Serial

int Button, Button1;

#include <ESP8266WiFi.h>
#include <BlynkSimpleEsp8266.h>

// Your WiFi credentials.
// Set password to "" for open networks.
char ssid[] = "Galaxy A51 917E";
char pass[] = "tosin@345";

BlynkTimer timer;

char c;
String dataIn;
int8_t indexOfA, indexOfB,indexOfC, indexOfD;
String data1, data2, data3, data4;

BLYNK_WRITE(V2) {
  Button = param.asInt();
    if (Button==1){
      digitalWrite(pumpVirtualPin, HIGH);
    }
else if(Button==0){
 digitalWrite(pumpVirtualPin, LOW);
    }
}

BLYNK_WRITE(V3) {
  Button1 = param.asInt();
    if (Button1==1){
      digitalWrite(pumpVirtualPin1, HIGH);
    }
else if(Button==0){
 digitalWrite(pumpVirtualPin1, LOW);
    }
}

void setup(){
  // Debug console
  Serial.begin(115200);
  nodeMCU.begin(115200);

  pinMode(pumpVirtualPin, OUTPUT);

  Blynk.begin(BLYNK_AUTH_TOKEN, ssid, pass);
   // Setup a function to be called every second
  //timer.setInterval(1000L, parse_data);
}

void recvData(){
  while(nodeMCU.available() >0){
  c = nodeMCU.read();

   if( c == '\n'){
    break;
  }

  else{
    dataIn += c;
  }
}

if(c == '\n'){
  //Serial.println(c);
  parse_data();

  Serial.println("data 1= " + data1);
  Serial.println("data 2= " + data2);
  Serial.println("............................");

  c = 0;
  dataIn = "";
  }
}

void loop(){
  recvData();

  Blynk.run();
  timer.run();

}

void parse_data(){
  indexOfA = dataIn.indexOf("A");
  indexOfB = dataIn.indexOf("B");


  data1 = dataIn.substring(0, indexOfA);
  data2 = dataIn.substring(indexOfA+1, indexOfB);


   float ch1 = data1.toFloat();
   float ch2 = data2.toFloat();

    Blynk.virtualWrite(V0, ch1);
    Blynk.virtualWrite(V1, ch2);

}
Explanation of Arduino Code

- Upload the program in Arduino IDE to manage the entire system.
- The Arduino code includes:
- Real-time monitoring.
- Dynamic control of streetlights.
- Data logging for energy efficiency analysis.
Step 7: Test the System

- Simulate pedestrian movement to verify energy generation and streetlight operation.
- Check remote access via the IoT dashboard for seamless monitoring.
Why Use Footstep Energy for Smart Streetlights?
1. Renewable and Sustainable
Footstep energy is a clean, renewable source that minimizes reliance on non-renewable power.
2. Cost-Effective
While the initial setup might seem pricey, the long-term savings on electricity bills are significant.
3. Encourages Physical Activity
What better way to incentivize walking than knowing your steps contribute to lighting the streets?
Applications of Arduino IoT Smart Streetlights
1. Urban Streets and Pathways
Perfect for cities aiming to reduce carbon footprints while ensuring safety.
2. Parks and Recreation Areas
Enhances green spaces with sustainable lighting solutions.
3. Smart Campuses
Ideal for universities and tech parks promoting sustainability.
4. Remote Areas
Brings lighting to areas with limited access to grid electricity.
Advantages of the System
1. Energy Efficiency
Motion-activated lights and renewable energy reduce wastage.
2. Real-Time Monitoring
IoT integration ensures seamless control and data analysis.
3. Eco-Friendly
Reduces dependency on fossil fuels, aligning with green initiatives.
Challenges and Limitations
1. High Initial Costs
Setting up piezoelectric sensors and IoT systems can be expensive.
2. Maintenance
Regular upkeep is essential to ensure system efficiency.
3. Energy Output Variability
Footstep energy generation depends on pedestrian traffic, which may fluctuate.
Future Scope and Innovations
- Enhanced Energy Harvesting: Using advanced materials for higher energy conversion rates.
- AI Integration: Predictive analytics for optimized energy usage.
- Scalability: Expanding applications to power other smart city components like CCTV cameras and Wi-Fi hotspots.
FAQs
1. Can footstep energy alone power streetlights?
Yes, but it depends on pedestrian traffic. Energy storage ensures consistent power availability.
2. How does IoT enhance the system?
IoT enables remote monitoring and control, ensuring real-time updates and efficient operation.
3. What are the costs involved?
While initial costs are high due to sensor and IoT module installations, long-term savings on electricity bills offset the investment.
4. Is the system weather-dependent?
No, footstep energy harvesting works regardless of weather conditions, unlike solar or wind energy.
5. Can the system be scaled for larger areas?
Absolutely. With sufficient sensors and energy storage, the system can illuminate large spaces effectively.
The Arduino IoT Smart Streetlight powered by footstep energy is a step toward a sustainable future, blending innovation with practicality. As we move towards smarter cities, such projects pave the way for greener, more efficient urban living. So, are you ready to revolutionize your streets?
