Introduction
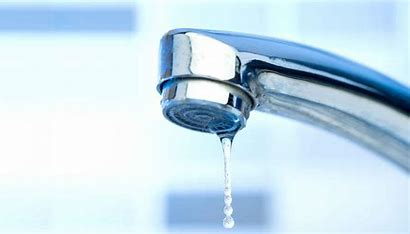
If you’ve ever experienced the constant “drip, drip, drip” of a leaky faucet, you know how irritating it can be. But don’t worry! Today, we’re going to explore the world of fixing a leaky faucet while keeping things as natural as a spring meadow. So, put on your gloves, grab your tools, and let’s start this plumbing journey together.
Step 1: Understanding the Drip Symphony
Before we take action, let’s pause and listen to the unique music of your leaky faucet. Each drip has a story – maybe it’s a story of worn-out washers or a damaged valve seat. Get close and listen, as finding the cause of the drip is our first step to natural repair.
Step 2: Assemble Your Tools and Materials
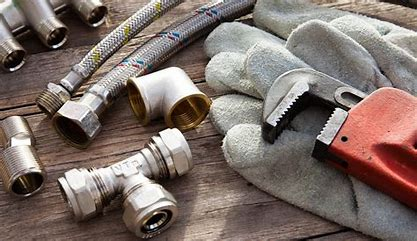
Just like a cook collects fresh ingredients before making a tasty dish, we need to collect our tools and materials. Here’s what you’ll need:
- Adjustable wrench
- Screwdriver
- New washers and O-rings
- Pipe thread sealant
- Plumber’s tape
- Towel or cloth
READ MORE
Personal Brand: How To Build A Strong Personal Brand
Step 3: Turn Off the Water Symphony
Think of your faucet as a natural fountain – you don’t want it to run endlessly. Find the shut-off valves under your sink and turn them clockwise to stop the water flow. This step is crucial for a clean repair.
Step 4: Disassembly with Care
Now, let’s get to work, but remember, we’re working with skill, not force. Gently remove the faucet handle using your screwdriver and wrench. Treat it like you’re handling fragile petals in a garden.
Step 5: Identify the Culprit
As you go deeper into the faucet’s inner parts, you’ll probably find the source of the leak – a faulty washer or O-ring. Gently remove them, just like picking a fading leaf from a plant, and replace them with new ones. Apply some pipe thread sealant to make sure they fit well.
Step 6: Reassemble with Love
With your new washer and O-ring in place, carefully reassemble the faucet. Tighten the parts, but remember not to over-tighten – think of it like embracing an old friend. You want it cozy, not tense.
Step 7: Embrace the Flow
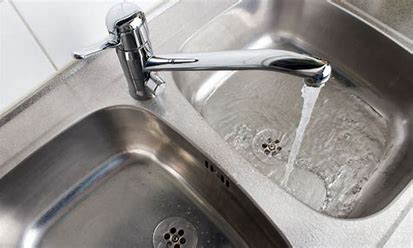
Turn the water back on gently, enjoying the moment as the once-drippy faucet now flows smoothly. Listen to the peaceful silence, your reward for your natural DIY efforts.
Conclusion
Fixing a leaky faucet is not just about stopping a bothersome noise. It’s about embracing the flow, caring for your home, and creating a harmonious atmosphere. So, next time you hear that familiar drip, don’t panic. Grab your tools and approach it with the natural touch of a true content creator. Happy fixing!