Imagine a computer sculpted to your exact needs. No more fighting pre-built bloatware or settling for mediocre specs. Building your own PC (personal computer) unlocks a world of customization and power, tailored to your gaming, creative, or everyday computing desires. But where do you even begin? Fear not, aspiring PC architects! This comprehensive guide will equip you with the knowledge and confidence to navigate the exciting world of DIY PC building.
Demystifying the Parts: A Breakdown of Essential Components
Think of your PC as a high-performance orchestra, where each component plays a crucial role in the symphony of performance. Here’s a breakdown of the key instruments you’ll need:
- Central Processing Unit (CPU): The brain of your PC, responsible for processing instructions and calculations. Consider core count, clock speed, and compatibility with your chosen motherboard (more on that later). Popular CPU brands include Intel and AMD.
- Motherboard: The foundation that connects all your components. Choose a motherboard compatible with your CPU socket type and offering features like desired RAM slots and expansion slots for future upgrades.

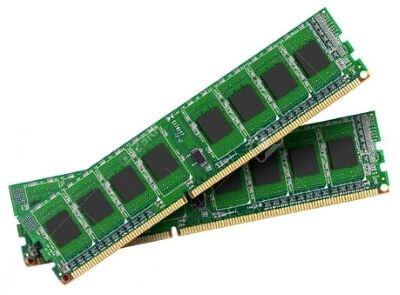
- Random Access Memory (RAM): Think of RAM as your PC’s short-term memory. More RAM allows for smoother multitasking and handling demanding applications.
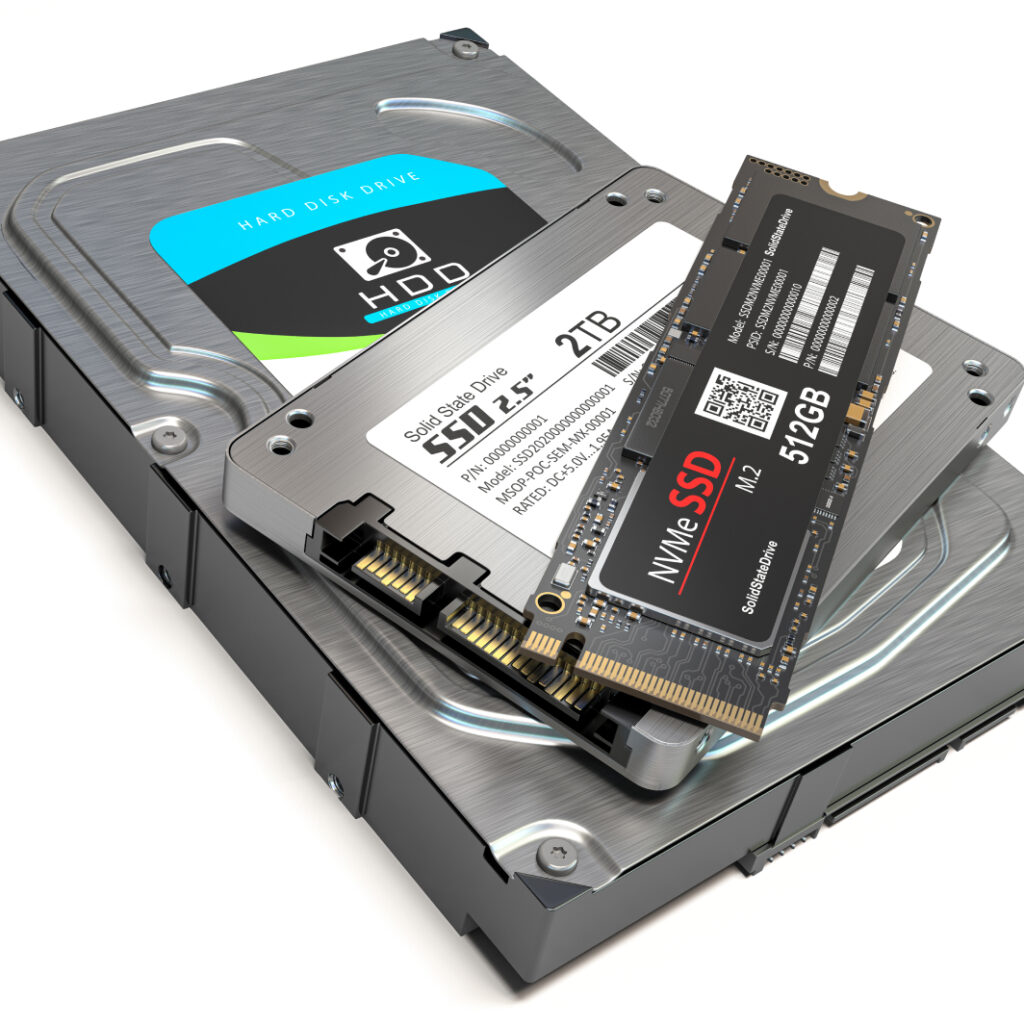
- Storage: This is where your data and operating system reside. Solid-state drives (SSDs) offer blazing-fast speeds, while traditional hard disk drives (HDDs) provide ample storage space at a lower cost. Consider a combination of both for optimal performance and storage capacity.
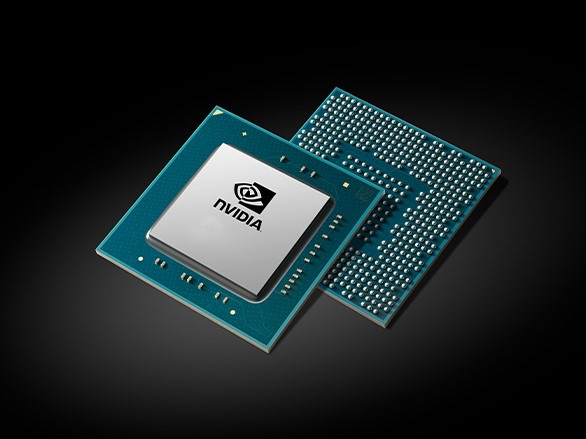
- Graphics Processing Unit (GPU): The heart of your visual experience, crucial for gamers and creative professionals. Integrated graphics on some CPUs can handle basic tasks, but dedicated GPUs offer significantly better performance for demanding workloads.
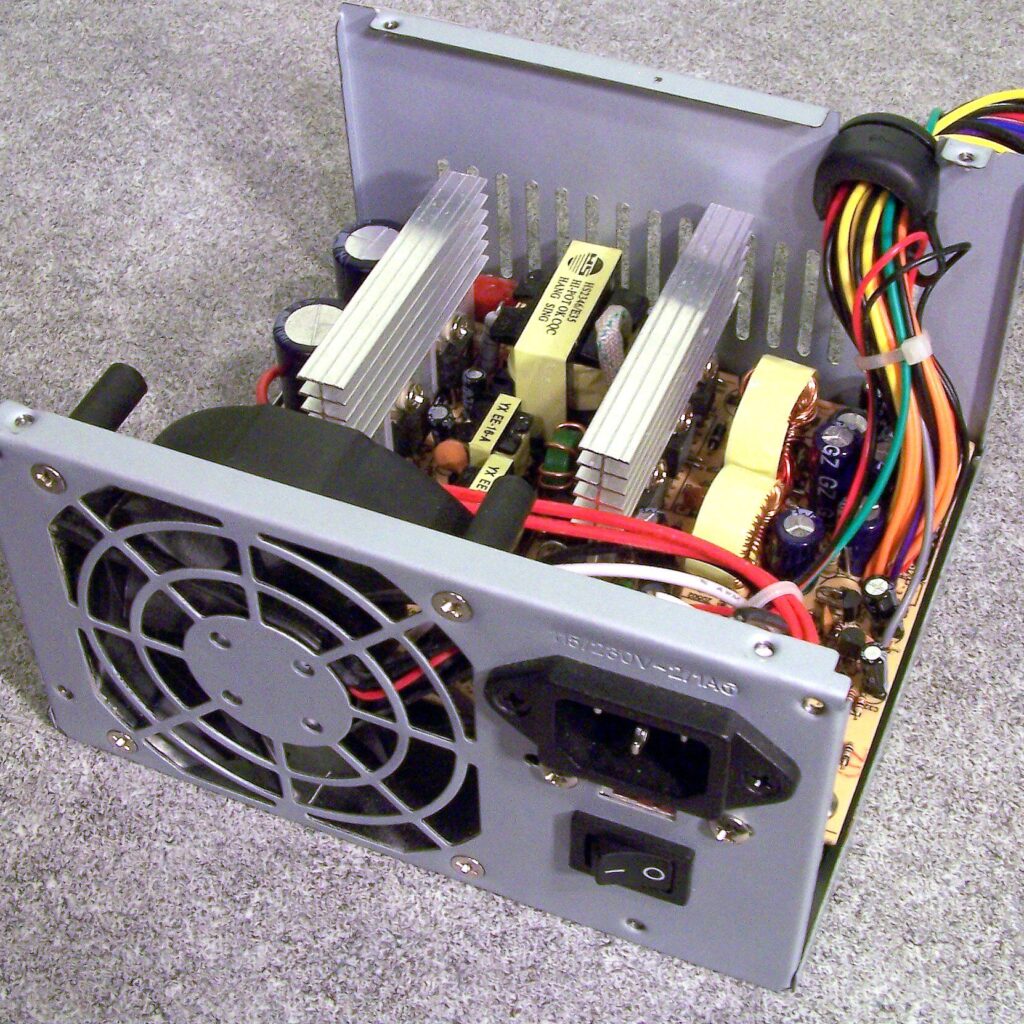
- Power Supply Unit (PSU): The unsung hero, converting AC power from the wall to DC power usable by your components. Choose a PSU with enough wattage to handle your entire system’s power needs.
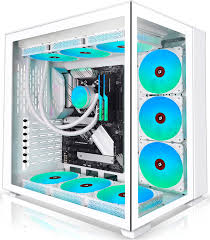
- Case: The stylish housing for your PC components. Consider factors like size, airflow, and aesthetics when choosing a case.
Beyond the Essentials: This isn’t an exhaustive list. Depending on your needs, you might consider additional components like CPU coolers, additional fans for improved airflow, and aesthetic elements like LED lighting strips.
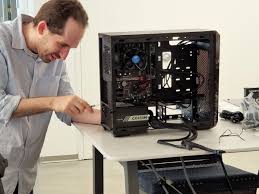
Assembling Your Masterpiece: A Step-by-Step Guide
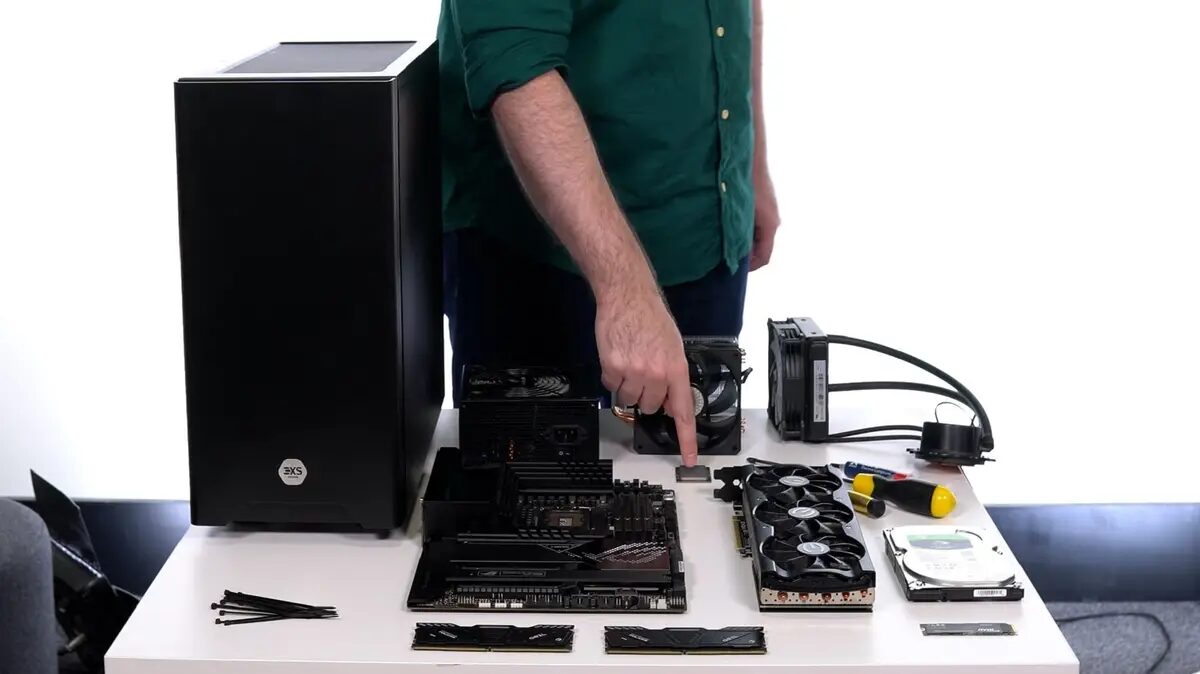
With your components gathered, it’s time to bring your PC to life! Here’s a simplified step-by-step guide:
- Prepare your workspace: Find a clean, well-lit area with ample space. Anti-static measures like a grounding wristband are recommended to prevent accidental damage to sensitive components.
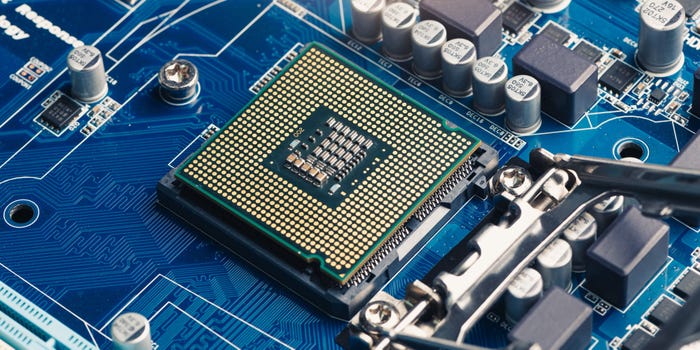
- Install the CPU: Carefully locate the CPU socket on your motherboard and gently place the CPU in the correct orientation. Secure it with the lever mechanism.
- Mount the CPU Cooler: Apply thermal paste (a heat-conducting material) to the CPU and attach the cooler according to the manufacturer’s instructions.
- Install the RAM: Locate the RAM slots on your motherboard and gently insert the RAM sticks, ensuring they click into place securely.
- Prepare the Case: Mount the motherboard onto the case using the provided screws and standoffs.
- Install Storage Drives: Secure your SSD or HDD into designated bays within the case.
- Connect the Power Supply: Install the PSU in the designated slot within the case and connect the necessary power cables to your motherboard, CPU, and other components. Refer to your motherboard manual for specific cable connections.
- Connect Peripherals: Connect your monitor, keyboard, mouse, and any other peripherals to the designated ports on the back of your case.
- Power Up! Connect the power cable to your PSU and take a deep breath. It’s time to flip the switch and witness your creation come to life!
Troubleshooting Tips: Don’t panic if your PC doesn’t boot up on the first try. Double-check cable connections, ensure all components are properly seated, and consult your motherboard manual for troubleshooting steps.
Unleashing the Potential: Setting Up Your PC
Congratulations! You’ve successfully assembled your PC. Now comes the fun part – setting it up. Here are some essential steps:
- Install your operating system: Popular choices include Windows, macOS (for compatible hardware), and Linux. Each has its own installation process, so follow the manufacturer’s instructions.
- Install Drivers: These are software programs that allow your operating system to communicate with your hardware components. Download and install the latest drivers for your motherboard, graphics card, and other components.
- Personalize Your Experience: Install your favorite software, customize desktop settings, and get ready
Now that you understand the core components and assembly process, let’s delve deeper into selecting the perfect parts for your customized PC build.
Matching Your Needs with Specs:
- Gamers: Prioritize a powerful CPU with high core count and clock speed, a dedicated GPU with ample video memory (VRAM), and fast RAM (ideally DDR4-3200 or higher).
- Content Creators: Similar to gamers, content creators benefit from a powerful CPU and GPU combo. Consider additional RAM (32GB or more) for handling large files and software like video editing suites. Opt for an SSD with high read/write speeds for faster file transfers.
- Everyday Users: For basic tasks like browsing, email, and document editing, a mid-range CPU, integrated graphics, and 8GB of RAM might suffice. However, consider a budget-friendly dedicated GPU if you anticipate any light gaming or photo editing.
Understanding Compatibility:
Not all components are created equal! Here are crucial compatibility factors to consider:
- CPU Socket Type: Ensure your chosen CPU matches the socket type of your motherboard. Common socket types include LGA (Intel) and AM4 (AMD).
- RAM Speed and Type: Check your motherboard’s manual for supported RAM speeds (e.g., DDR4-3200) and ensure your RAM modules match.
- Power Supply Wattage: Choose a PSU with sufficient wattage to handle the combined power draw of all your components. Online wattage calculators can help you estimate your system’s power needs.
Finding the Balance: Performance vs. Budget
Building a PC is a balancing act between desired performance and budget limitations. Here are some tips for optimizing your build:
- Prioritize essential components: Allocate a larger portion of your budget towards the CPU, GPU, and RAM, as these have the most significant impact on performance.
- Consider used components: Purchasing gently used components from reputable sources can be a great way to save money without sacrificing quality.
- Look for sales and bundles: Retailers often offer discounts on PC components, especially during holiday seasons or clearance sales. Keep an eye out for CPU-motherboard bundles that can save you money.
Don’t Forget Aesthetics: While performance is crucial, aesthetics can add a personal touch to your PC. Choose a case with a design you love, and consider incorporating LED lighting strips or custom paint jobs to create a visually stunning masterpiece.
Gearing Up for Success: Essential Tools and Resources
Building a PC doesn’t require a fancy workshop, but having the right tools can simplify the process:
- Phillips head screwdriver: For securing components with screws.
- Anti-static wristband: Protects your components from electrostatic discharge (ESD).
- Flashlight: For illuminating those hard-to-reach nooks and crannies inside your case.
- Cable ties: For managing cables and maintaining a clean internal look.
- Zip ties: For securing larger bundles of cables.
- Thermal paste: Conducts heat away from your CPU to the cooler.
Beyond the Tools:
- Motherboard Manual: Your holy grail for component installation instructions and troubleshooting.
- Online Tutorials: Numerous online resources offer visual guides and detailed explanations for building a PC.
- PC Building Communities: Forums and online communities are great places to ask questions, get advice from experienced builders, and share your creation.
Power Up Your Knowledge: Essential PC Building Terms
Feeling overwhelmed by technical jargon? Let’s break down some essential PC building terms you’ll encounter:
- Overclocking: Pushing a CPU or GPU beyond its factory-rated speed for increased performance (comes with risks and requires advanced knowledge).
- BIOS/UEFI: The basic input/output system, a low-level program that instructs your PC hardware during startup.
- Form Factor: The size and layout of your motherboard, case, and other components. Common form factors include ATX (full-size) and Micro ATX (compact).
- Benchmarking: Running software tests to measure your PC’s performance.
- Bloatware: Unnecessary software pre-installed on some pre-built PCs.
This is just a starting point! Familiarize yourself with these terms and explore online resources for a deeper understanding of PC building terminology.
Conquering the Curve: Common Challenges and Solutions
Building a PC can be a rewarding experience, but it’s not without its challenges. Here are some common roadblocks and how to overcome them:
- Compatibility Issues: Double-check compatibility between components before purchasing. Utilize online part picker tools or consult with knowledgeable staff at computer stores to ensure all your chosen components work together seamlessly.
- Cable Management: Managing cables within your case can be a task in itself. Utilize cable ties, zip ties, and designated cable routing channels within your case for a clean and organized look. This also improves airflow and prevents overheating issues.
- Thermal Paste Application: Applying thermal paste between your CPU and cooler requires a pea-sized dollop placed in the center of the CPU. Too little or too much paste can affect cooling performance. Consult your CPU cooler’s instructions for specific application details.
- Post-Build Troubleshooting: If your PC doesn’t boot up on the first try, don’t panic! Common culprits include loose cable connections, incorrectly seated components, or faulty RAM. Consult your motherboard manual for troubleshooting steps like checking for error codes displayed during boot. Online communities and forums can also be a valuable resource for troubleshooting assistance.
The Power is in Your Hands: The Satisfaction of Building Your Own PC
Building your own PC is an empowering experience. You’ve defied the limitations of pre-built machines, crafting a computer tailored to your exact needs and preferences. The satisfaction of witnessing your creation come to life, from a collection of components to a humming powerhouse, is truly unmatched.
Beyond the initial build, the beauty of a DIY PC lies in its upgradeability. As technology evolves and your needs change, you have the freedom to upgrade individual components like RAM, storage, or even the graphics card to maintain peak performance. This level of control and customization is a privilege exclusive to the world of DIY PC building.
Conclusion
The journey of building your own PC can be both exciting and challenging. By equipping yourself with the right knowledge, tools, and a dash of courage, you’ll be well on your way to crafting your dream machine. Remember, the PC building community is a welcoming one, so don’t hesitate to ask questions and seek guidance along the way. With dedication and a little know-how, you’ll be conquering games, creating stunning visuals, or simply enjoying a PC that perfectly reflects your needs and personality.
Read Also
- How To Get Into Crypto With Little To No Capital
- The 3 classes of smartphones: Where does your smartphone belong?
- Power Up Your Play: Best Gaming Laptops in 2024
- “The Law of Attraction” by N.M. Silber
Frequently Asked Questions
1. Is building a PC difficult?
Building a PC requires some technical knowledge, but it’s not rocket science! With proper research and the right resources, even beginners can successfully navigate the process. This guide provides a solid foundation, and online tutorials offer visual aids to simplify the assembly process.
2. Is building a PC cheaper than buying pre-built?
In some cases, building a PC can be more cost-effective, especially if you prioritize specific components or find good deals on individual parts. However, pre-built PCs often come with warranties and easier troubleshooting support.
3. What if I damage a component during assembly?
The risk is minimal if you handle components with care and follow anti-static precautions. Most reputable retailers offer return policies in case of accidental damage.
4. Where can I find help if I get stuck during the build?
Online PC building communities and forums are invaluable resources. Experienced builders are often happy to answer questions and offer troubleshooting advice. Additionally, some computer stores have knowledgeable staff who can assist with part selection and basic build guidance.
5. How do I maintain my PC after building it?
Regular cleaning to remove dust buildup is crucial for optimal performance and cooling. Additionally, keeping your operating system and software updated ensures security and compatibility with new technologies.