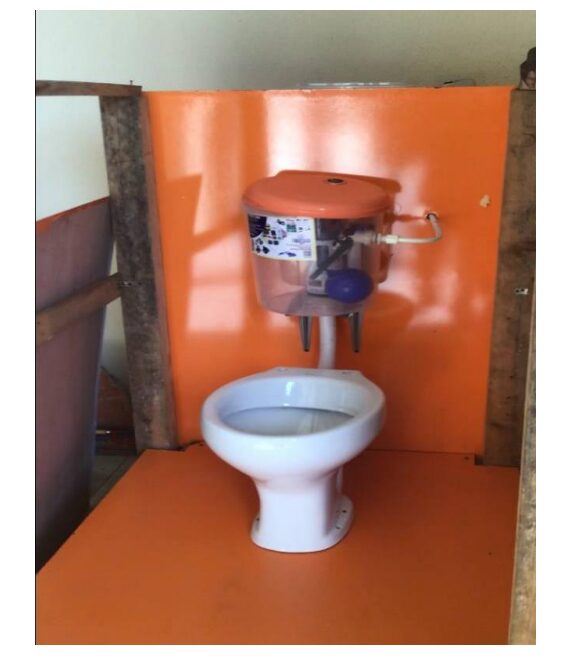
In this tutorial, we will be designing and constructing an automatic toilet flusher using the Arduino Uno board. In the modern age, convenience and hygiene are key factors in the design of public and private spaces. One area that has seen significant improvement is the toilet system. Traditional water closet systems often leave users guessing whether there’s enough water in the reservoir to flush properly, leading to an unpleasant experience. Moreover, the manual flushing process can contribute to the spread of germs and diseases, including COVID-19.
This blog post will guide you through building an automatic toilet flusher using an Arduino. The system is designed to show an indicator, a green light, at the entrance door, letting users know whether the toilet is available and if there’s enough water to flush. The flush is activated by a simple gesture, reducing the need for contact and promoting hygiene. If, on the other hand, there isn’t enough water to flush, the light at the entrance changes to red.
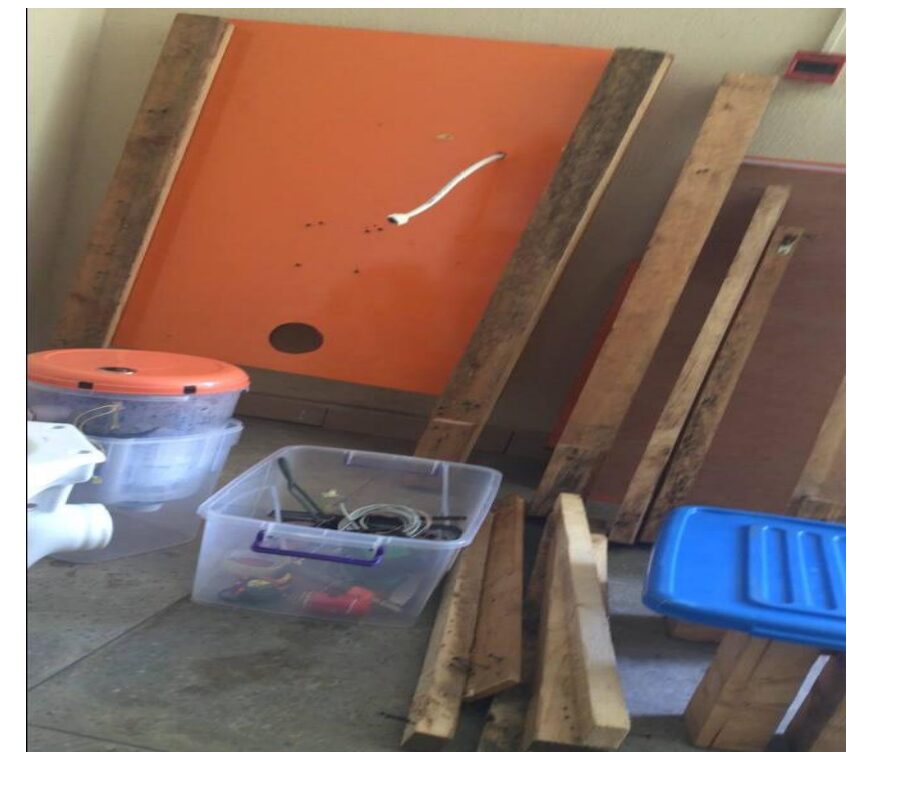
This project was designed as a mobile toilet that also included automatic non-contact disinfectant and fragrance to keep the place germ free and always having a nice smell. The project work dealt with using Arduino program to sense and actuate the processes involved in the work. To see the version that doesn’t involve Arduino code and programming language, go to this post here.
Components Needed
To build this automatic toilet flusher, you’ll need the following components:
- Arduino Uno: The brain of the system, controlling all operations.
- Ultrasonic Sensor: Detects hand gestures to trigger the flush.
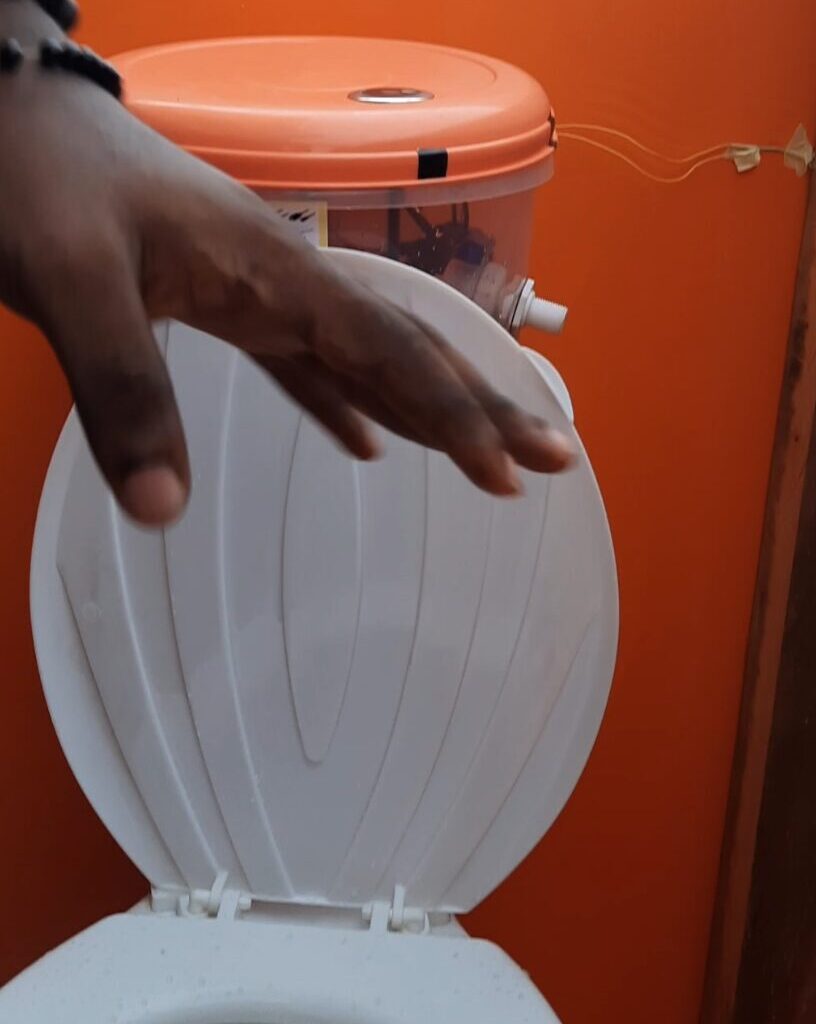
- Water Level Sensor: Monitors the water level in the reservoir.
- LED Indicators (Green and Red): Displays the toilet’s availability and water status.
- Relay Module: Controls the flushing mechanism.
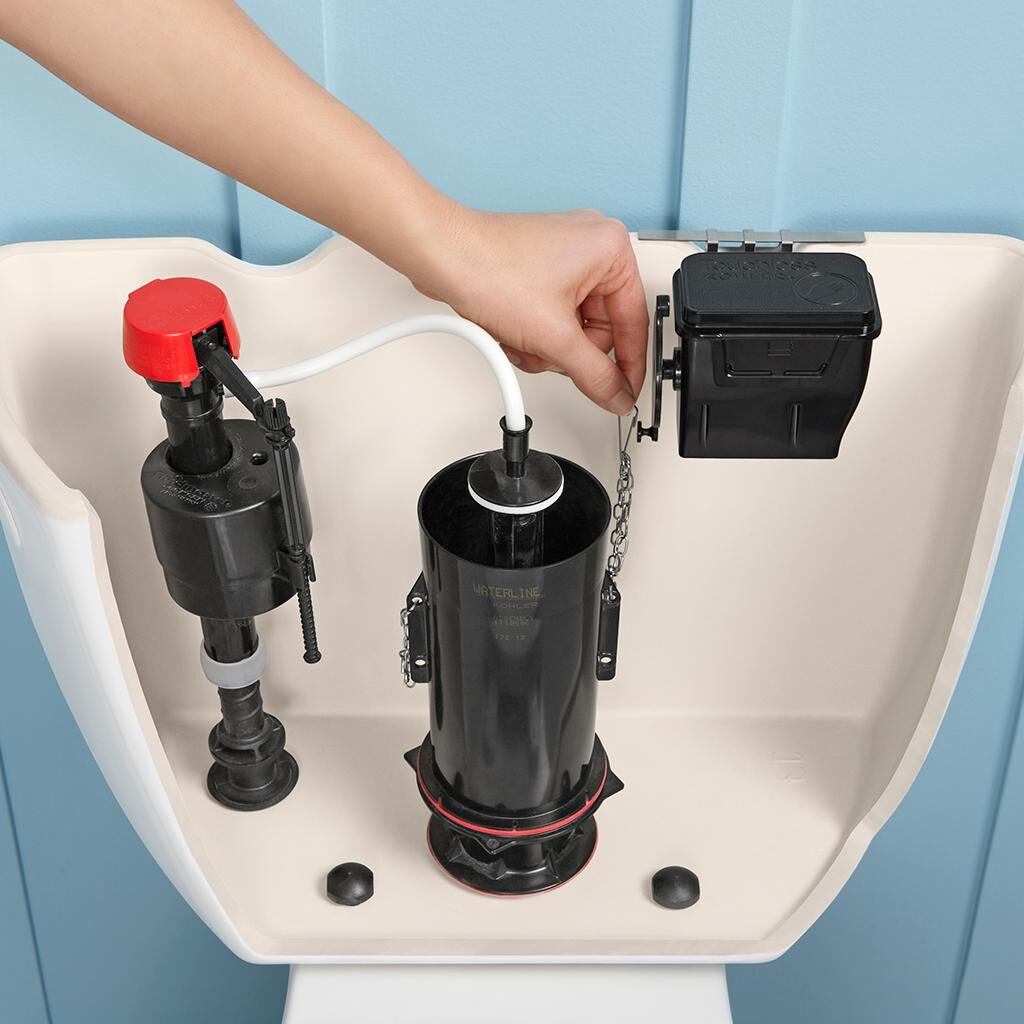
- Servo Motor: Activates the flush lever.
- Wires and Connectors: To connect all components.
- Power Supply: Powers the Arduino and other components.
- A non-contact disinfectant machine
- A fragrance system that will spray fragrance from time to time.
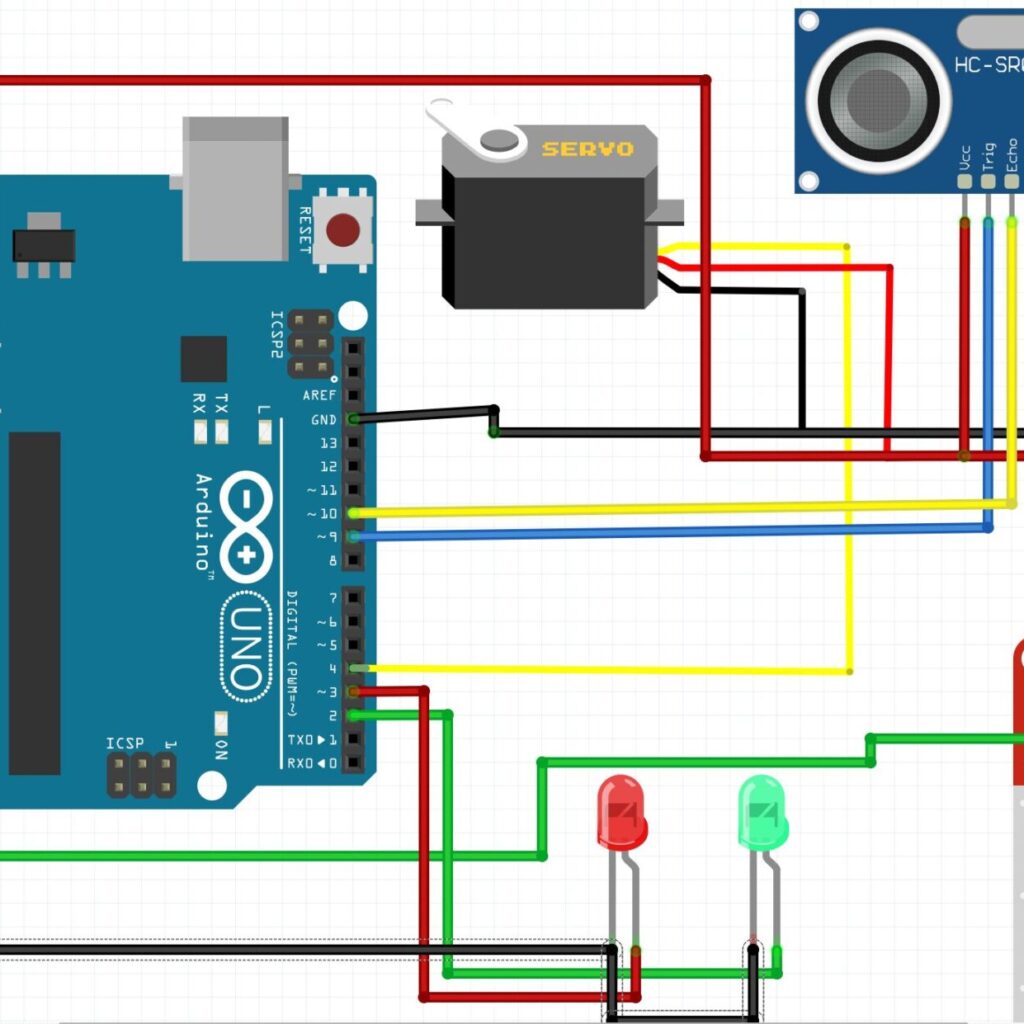
The Schematic Diagram of Automatic Toilet Flusher Using Arduino
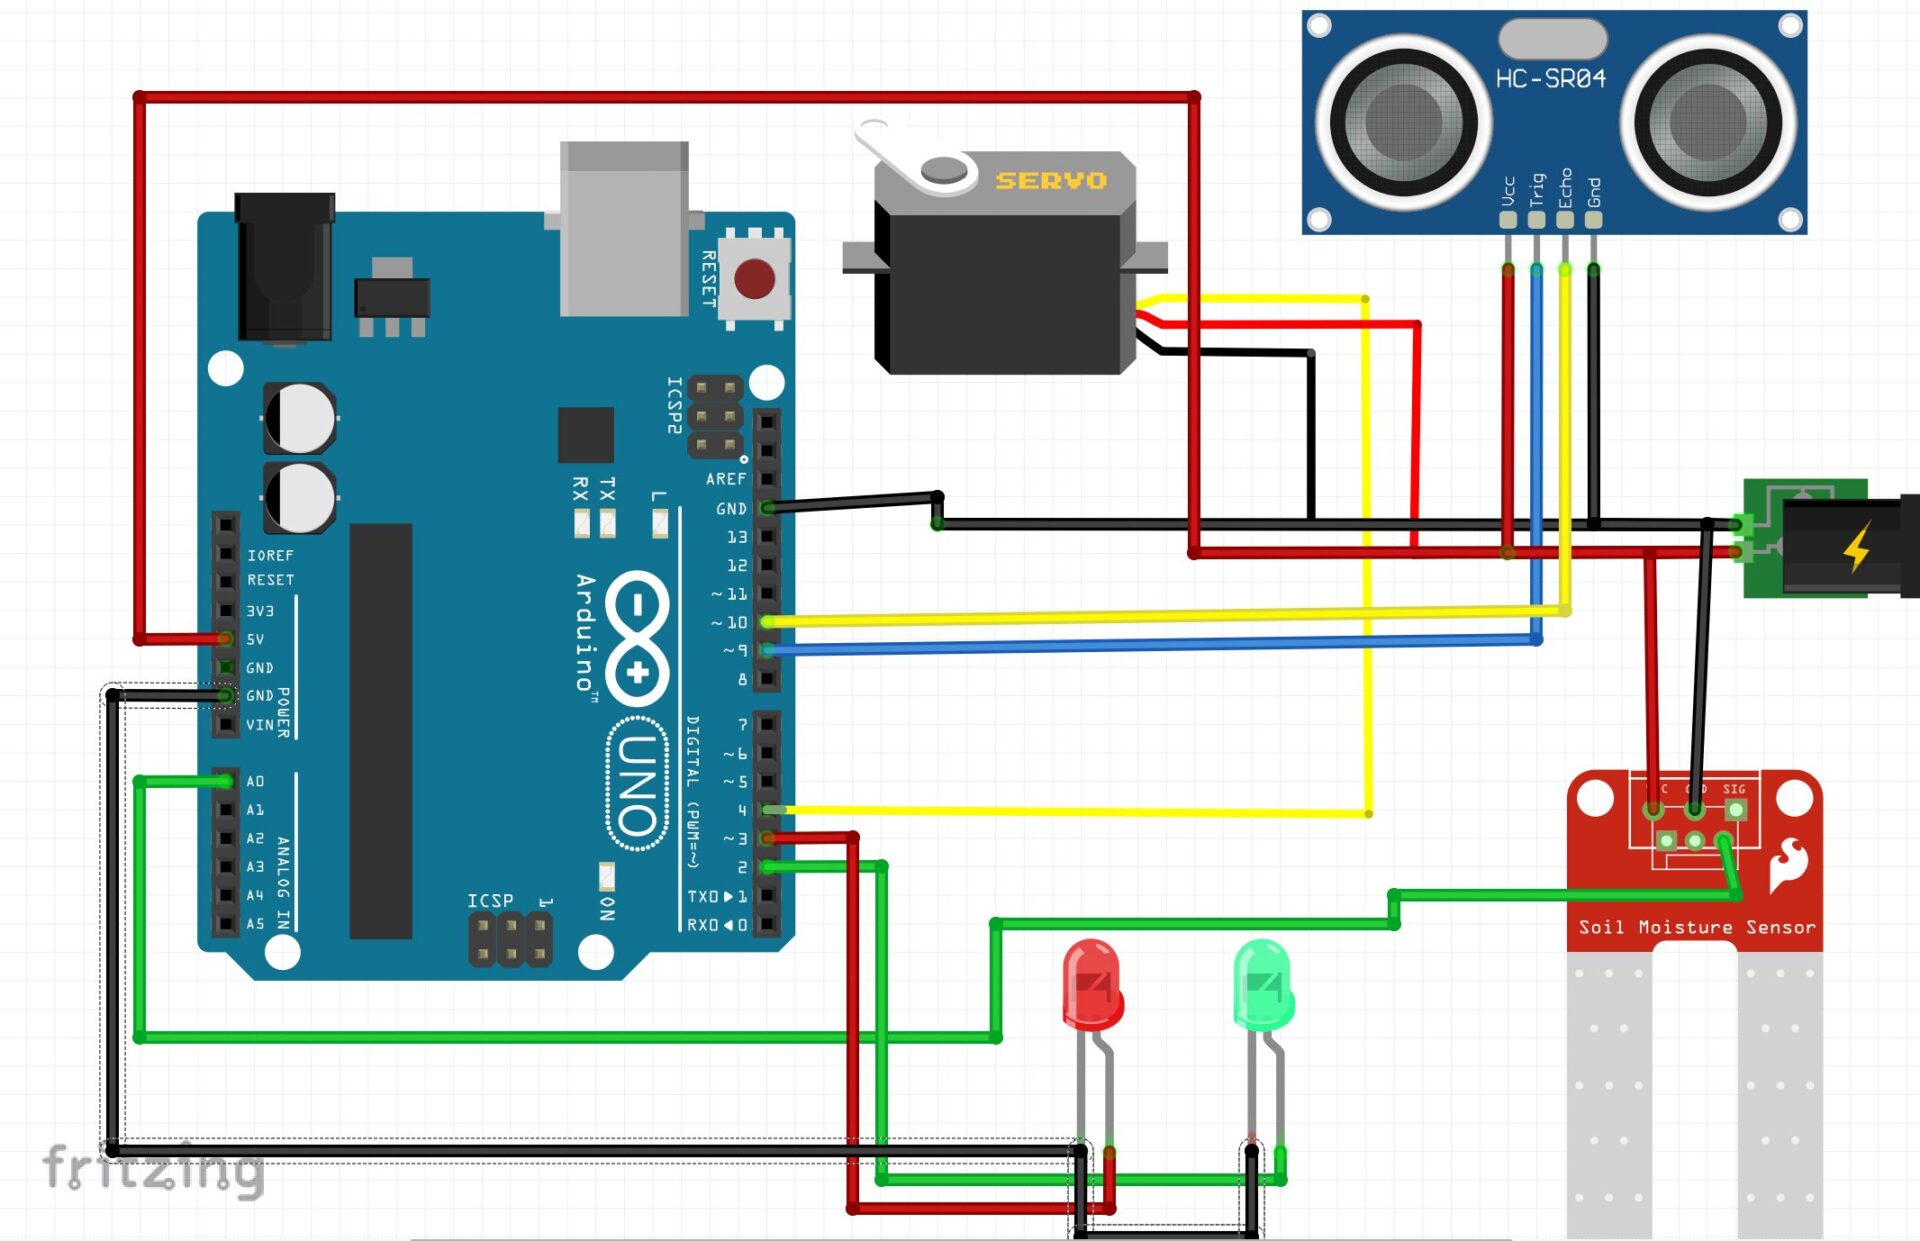
Explanation of the Schematic Diagram
We connected the Ultrasonic Sensor to the Arduino’s digital pins for gesture detection. The Water Level Sensor is connected to an analog pin to monitor the reservoir. Green and Red LEDs are connected to separate digital pins for signaling availability. The Arduino Uno controls the Servo Motor, which flushes the toilet by pulling the flusher in the reservoir.
Programming the Arduino
The Arduino code for this project involves reading inputs from the ultrasonic and water level sensors, processing these inputs, and triggering the appropriate outputs such as lighting up the LEDs and activating the flush via the servo motor.
#include <Servo.h>

const int trigPin = 9;
const int echoPin = 10;
const int waterLevelPin = A0;
const int greenLEDPin = 2;
const int redLEDPin = 3;
const int servoPin = 4;

Servo myServo;

void setup() {
  pinMode(trigPin, OUTPUT);
  pinMode(echoPin, INPUT);
  pinMode(greenLEDPin, OUTPUT);
  pinMode(redLEDPin, OUTPUT);
  pinMode(waterLevelPin, INPUT);
  myServo.attach(servoPin);
  myServo.write(0);  // Servo in initial position
}

void loop() {
  int waterLevel = analogRead(waterLevelPin);

  // Check water level
  if (waterLevel > 500) { // Adjust threshold as necessary
    digitalWrite(greenLEDPin, HIGH);
    digitalWrite(redLEDPin, LOW);
  } else {
    digitalWrite(greenLEDPin, LOW);
    digitalWrite(redLEDPin, HIGH);
  }

  // Check for gesture
  long duration, distance;
  digitalWrite(trigPin, LOW);
  delayMicroseconds(2);
  digitalWrite(trigPin, HIGH);
  delayMicroseconds(10);
  digitalWrite(trigPin, LOW);
  duration = pulseIn(echoPin, HIGH);
  distance = (duration / 2) / 29.1; // Distance in cm

  if (distance < 15 && waterLevel > 500) { // Adjust distance threshold as necessary
    myServo.write(90); // Activate flush
    delay(3000); // Adjust delay to match the flush duration
    myServo.write(0); // Reset servo position
  }

  delay(100);
}
Explanation of Source Code for the Arduino Base Automatic Toilet Flusher
This source code is designed to control an automatic toilet flusher system using an Arduino, a servo motor, an ultrasonic sensor, a water level sensor, and two LEDs. The Servo.h library is used to control the servo motor that simulates the flushing mechanism. In the setup function, the input and output pins are configured: the ultrasonic sensor’s trigger and echo pins, the water level sensor, and the LEDs. The servo motor is also initialized and set to its initial position.
In the loop function, the water level is continuously monitored using the analogRead function. If the water level is above a certain threshold, the green LED is turned on, indicating that there is enough water to flush, while the red LED remains off. If the water level is too low, the green LED turns off, and the red LED lights up to signal that flushing is not possible. The ultrasonic sensor is used to detect if someone gestures near the sensor (within a certain distance), and if the water level is sufficient, the servo motor activates, simulating a flush by rotating to a certain angle for a specified duration before returning to its original position. The delay function is used to ensure that the system has time to reset before checking the inputs again.
Testing and Working Mechanism

Water Level Monitoring: The water level sensor continuously monitors the reservoir, ensuring that the system only flushes when there’s enough water.
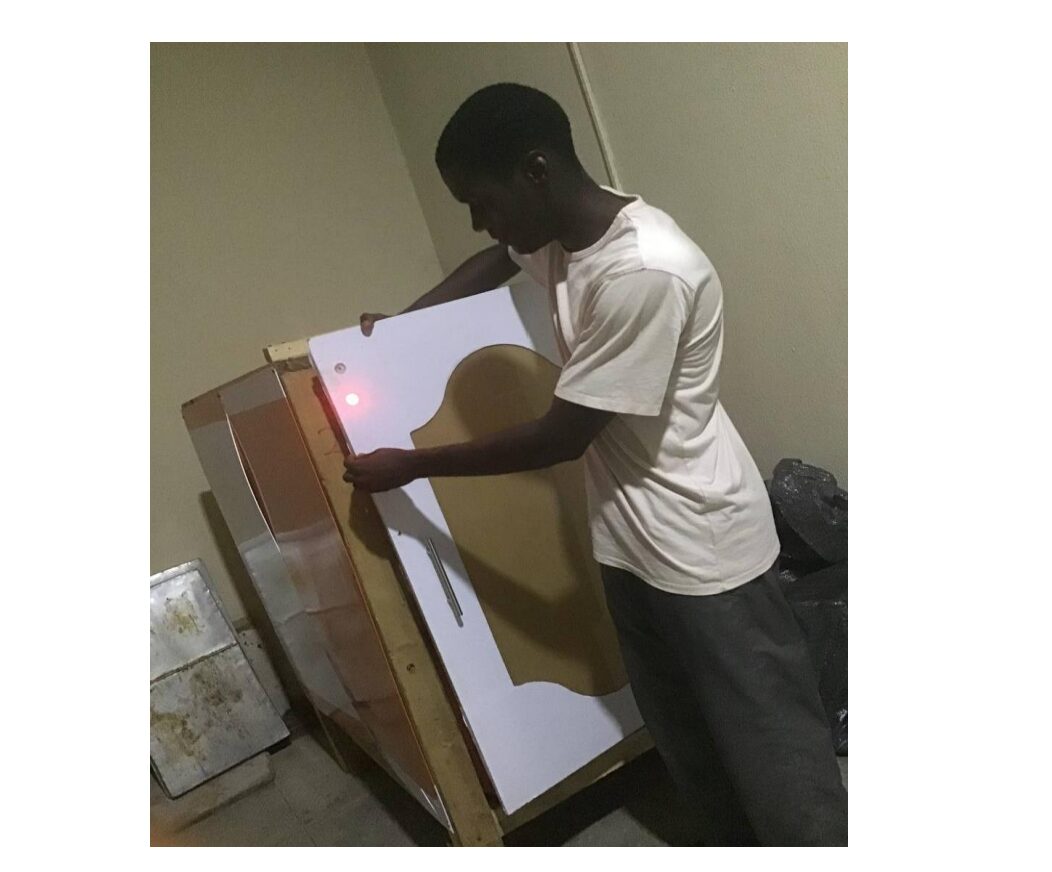
Entrance Indicators: The green LED lights up when the water level is sufficient and the toilet is unoccupied, signaling that the toilet is ready to use. The red LED indicates either insufficient water or that the toilet is currently in use.
Gesture-Based Flushing: After using the toilet, the user waves their hand above the sensor. If the water level is adequate, the system triggers the servo motor to flush the toilet automatically.
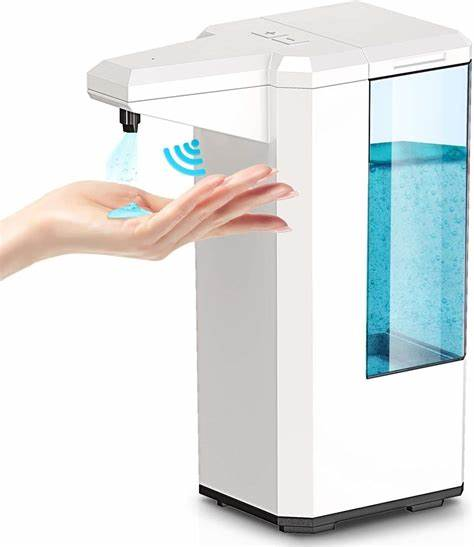
The automatic disinfectant and the fragrance machine were device that worked independently on their own. They have rechargeable batteries and could work for longer hours without needing to be plugged to an external power source.
Read Other Arduino-based Projects Like…
- How to Build an IoT Based Temperature Control Poultry Farm Arduino
- How to Build an IoT Pulse Rate Monitoring with ESP32 Arduino
- IoT Health Monitoring with LoRa, ESP32 Arduino for Real-Time Tracking
Benefits of the Automatic Toilet Flusher
- Hygiene: Non-contact flushing reduces the risk of spreading germs and viruses.
- Water Conservation: The system ensures that water is only used when necessary, avoiding wastage.
- User Convenience: Users are informed about the toilet’s status before entering, enhancing the overall experience.
Conclusion
The automatic toilet flusher is a significant improvement over traditional toilet systems. By combining Arduino with sensors, you can create a system that is not only user-friendly but also promotes better hygiene and water conservation. This project is ideal for public restrooms where reducing contact points is essential for health and safety.
Read Also…
- How to Make Money on Facebook Marketplace
- Feeling Flat? Replenish Your Body with Mineral-Rich Foods
- Feeling Flat? Replenish Your Body with Mineral-Rich Foods
Frequently Asked Questions (FAQs)
- What is the purpose of the water level sensor in this project? The water level sensor ensures that the toilet only flushes when there is enough water in the reservoir, preventing incomplete flushes and conserving water.
- How does the gesture-based flushing work? The system uses an ultrasonic sensor to detect hand gestures. When a user waves their hand above the sensor, it triggers the flush mechanism.
- Can this system be used in public restrooms? Yes, this system is particularly beneficial in public restrooms, where it can reduce the spread of germs and improve the user experience by indicating the toilet’s availability.
- What happens if there’s not enough water in the reservoir? If the water level is too low, the system will light up a red LED at the entrance, indicating that the toilet cannot be used until it is refilled.
- Is the system compatible with all types of toilets? The system can be adapted to work with most traditional water closet systems, but some modifications may be required depending on the specific toilet design.
This DIY project is not only educational but also practical, providing a real-world solution to common issues in public and private restrooms. By following this guide, you can build your own automatic toilet flusher that enhances hygiene and user satisfaction.

