Switching to solar power is one of the best investments you can make for your home or business. By installing solar panels, inverters, and batteries, you can harness the sun’s energy to reduce your electricity bills and contribute to a greener planet. In this guide, we’ll take you through the process of installing a solar power system, including mounting panels, setting up inverters, and choosing between lithium-ion and tubular batteries. Whether you’re working with systems as small as 2.5kVA or as large as 40kVA, this article will help you understand the steps and considerations involved.
Why Go Solar?
Solar energy offers numerous benefits:
- Cost Savings: Reduce or eliminate electricity bills.
- Energy Independence: No reliance on the grid.
- Eco-Friendly: Reduce your carbon footprint.
- Scalability: Systems can be designed to fit small homes or large businesses.
- Reliability: With battery backups, you’re protected from power outages.
Read Also: IoT Smart Electricity Meter with Real-Time Monitoring
Components of a Solar Power System
Before diving into installation, let’s review the essential components:
1. Solar Panels
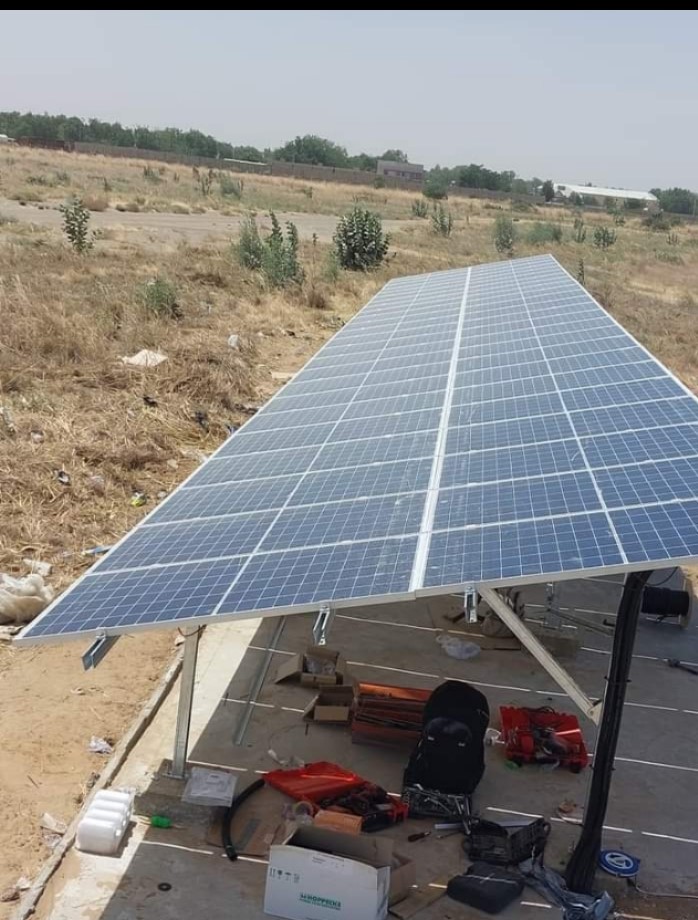
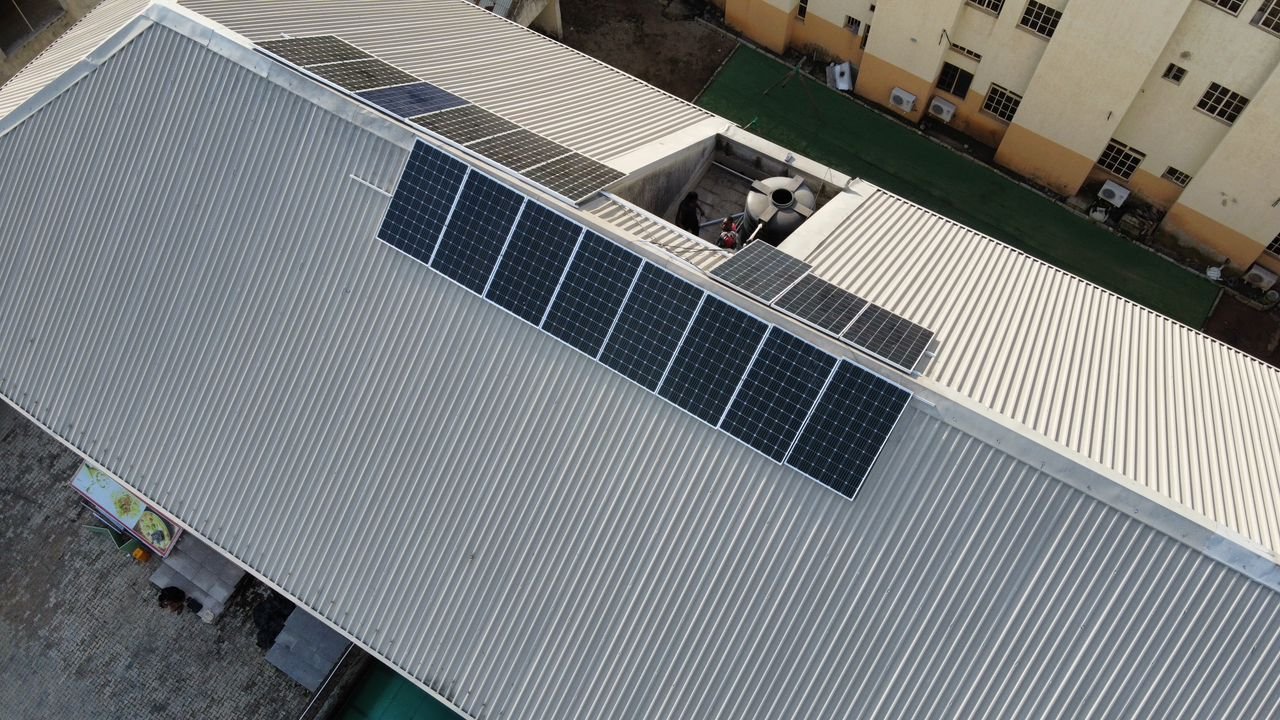
Solar panels convert sunlight into direct current (DC) electricity. They’re mounted on rooftops or open spaces to maximize sun exposure.
Read Also: IoT Based Solar Tracker With Weather Station Monitoring With Arduino ESP8266
2. Inverters

Inverters convert DC electricity from the panels into alternating current (AC) for use in your home or business. Depending on your needs, you can use inverters ranging from 2.5kVA for small setups to 40kVA for larger installations.
If You have more question on the type of batter to be used you can ask us question on WhatsApp or Telegram by just chatting us up right away.
3. Batteries
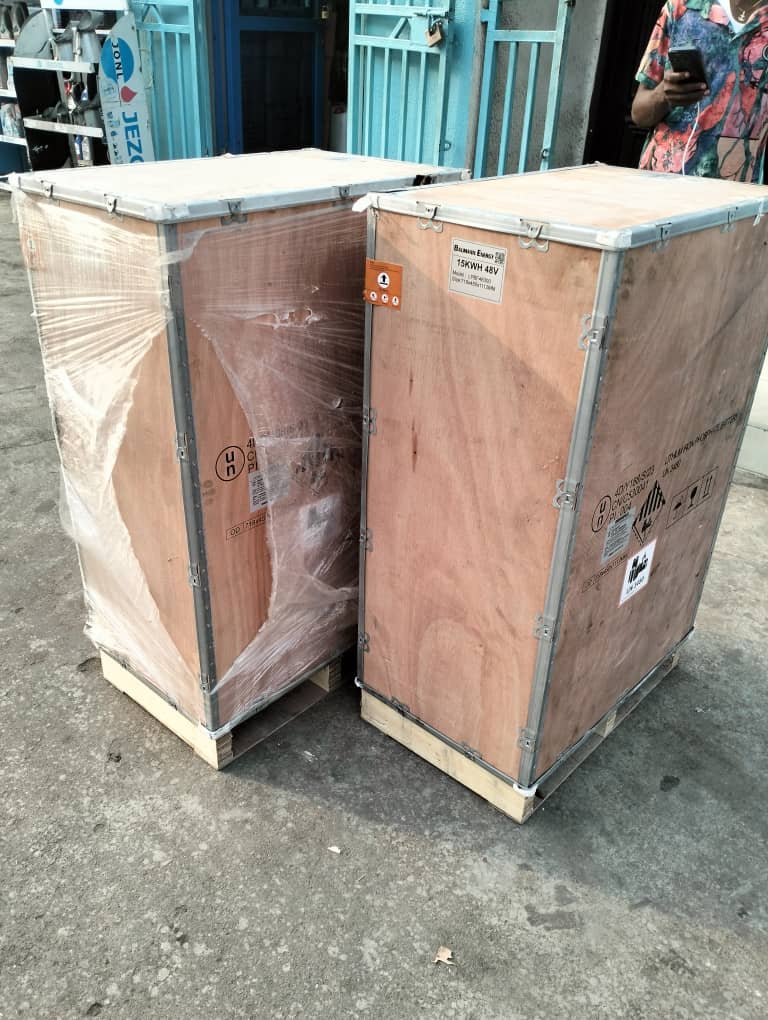
Batteries store energy for later use, ensuring your system provides power even at night or during cloudy days. The two main options are:
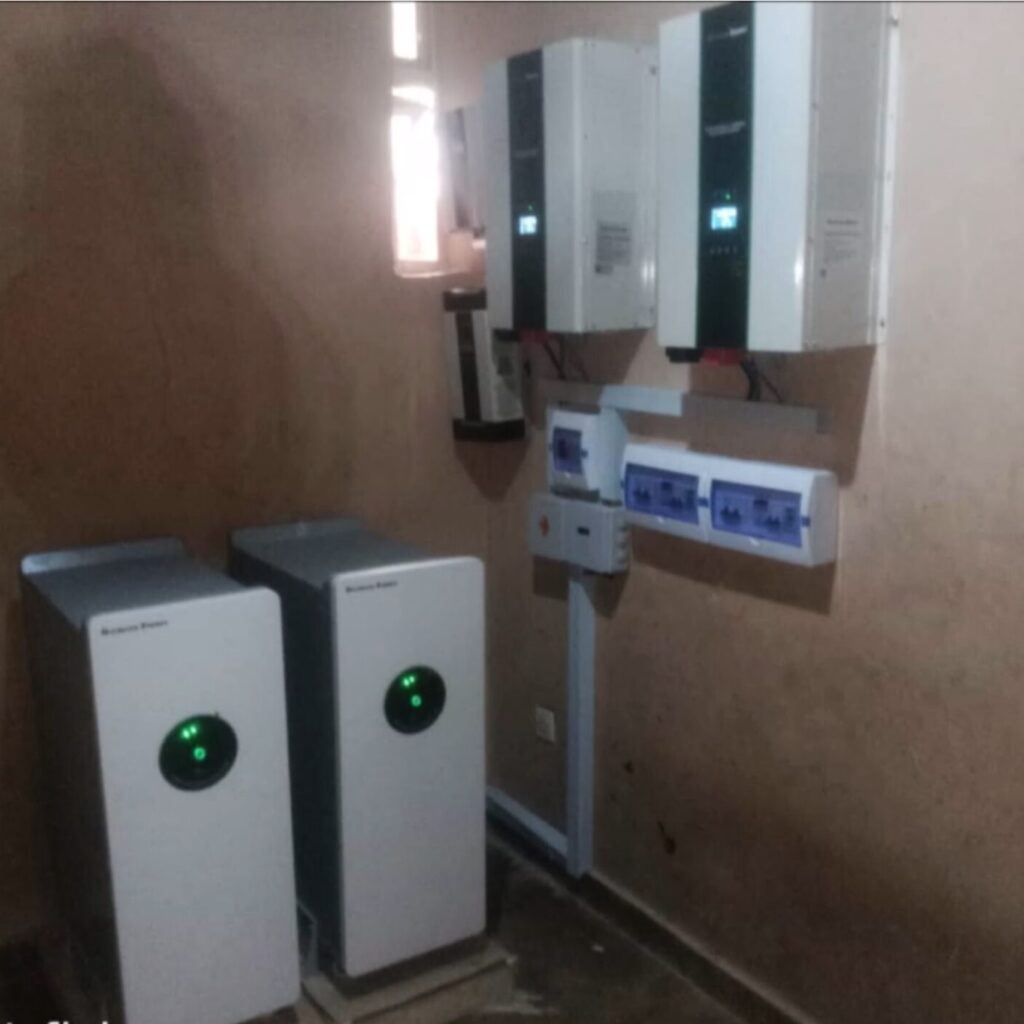
- Lithium-Ion Batteries: Lightweight, high energy density, and long lifespan (5kWH, 10kWH or 15kWh systems) as shown in the casing above.
- Tubular Batteries: Cost-effective and durable for deep cycling.

4. Charge Controllers

These manage the flow of electricity from the panels to the batteries, preventing overcharging. You can also go through a complete setup of a solar power system of installing inverters without using a charge controller. All you have to do is to get a Hybrid Based Inverter. Solar Power company brands like Felicity has these type of inverter.
5. Mounting Structures and Accessories

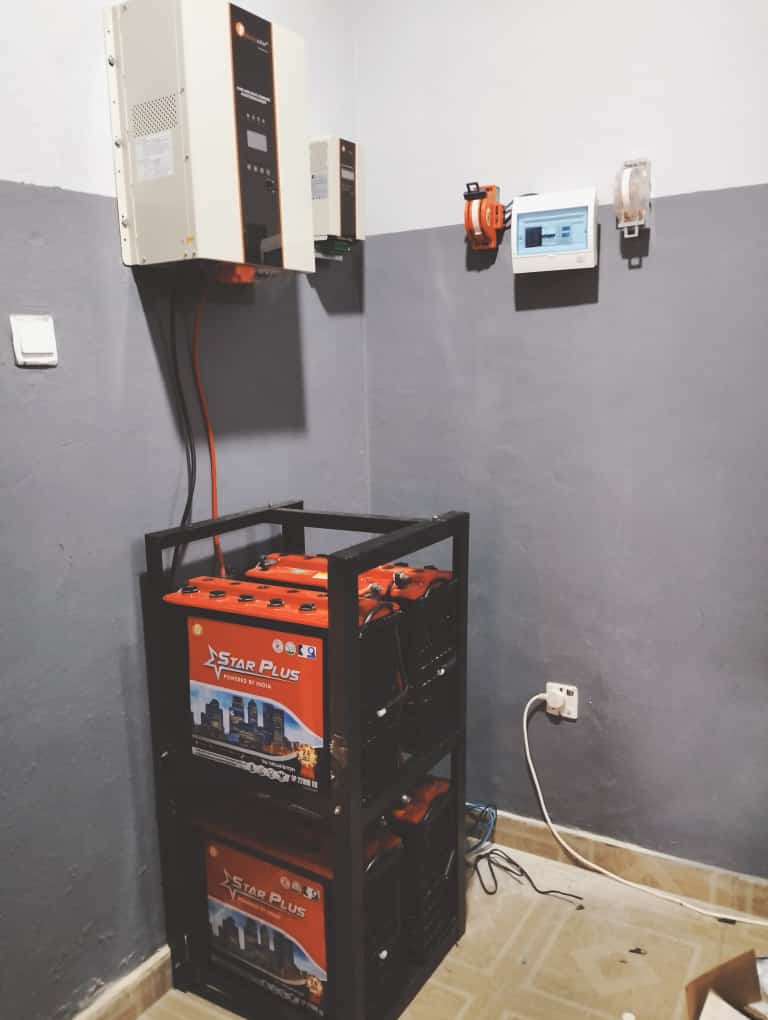
Mounting structures secure the panels, while wiring, connectors, and circuit breakers complete the system. If you opt for a tubular battery system, you will need a battery rack as shown above.
Step-by-Step Guide to Installing a Solar Power System
Step 1: Assess Your Energy Needs

Calculate your daily energy consumption by reviewing your electricity bills. This will determine the size of the solar system you need.
Step 2: Select the Right Components
- Choose solar panels based on your energy needs and available roof space.
- Select an inverter with a capacity slightly higher than your calculated load.
- Decide between lithium-ion and tubular batteries based on budget, space, and energy requirements.
Step 3: Design the Layout
- Plan the placement of the panels to ensure maximum sunlight exposure.
- Determine where to install the inverter and batteries for easy access and ventilation.
Step 4: Mounting the Solar Panels

- Set Up the Mounting Structure: Secure it at an angle optimal for your region (usually 15-30 degrees).
- Attach the Panels: Use clamps to fix the panels to the mounting structure.
- Connect Panels: Wire the panels in series or parallel, depending on your system voltage requirements.
- Run the Cables: Use UV-resistant cables and conduit to route wires from the panels to the inverter.
Step 5: Install the Inverter
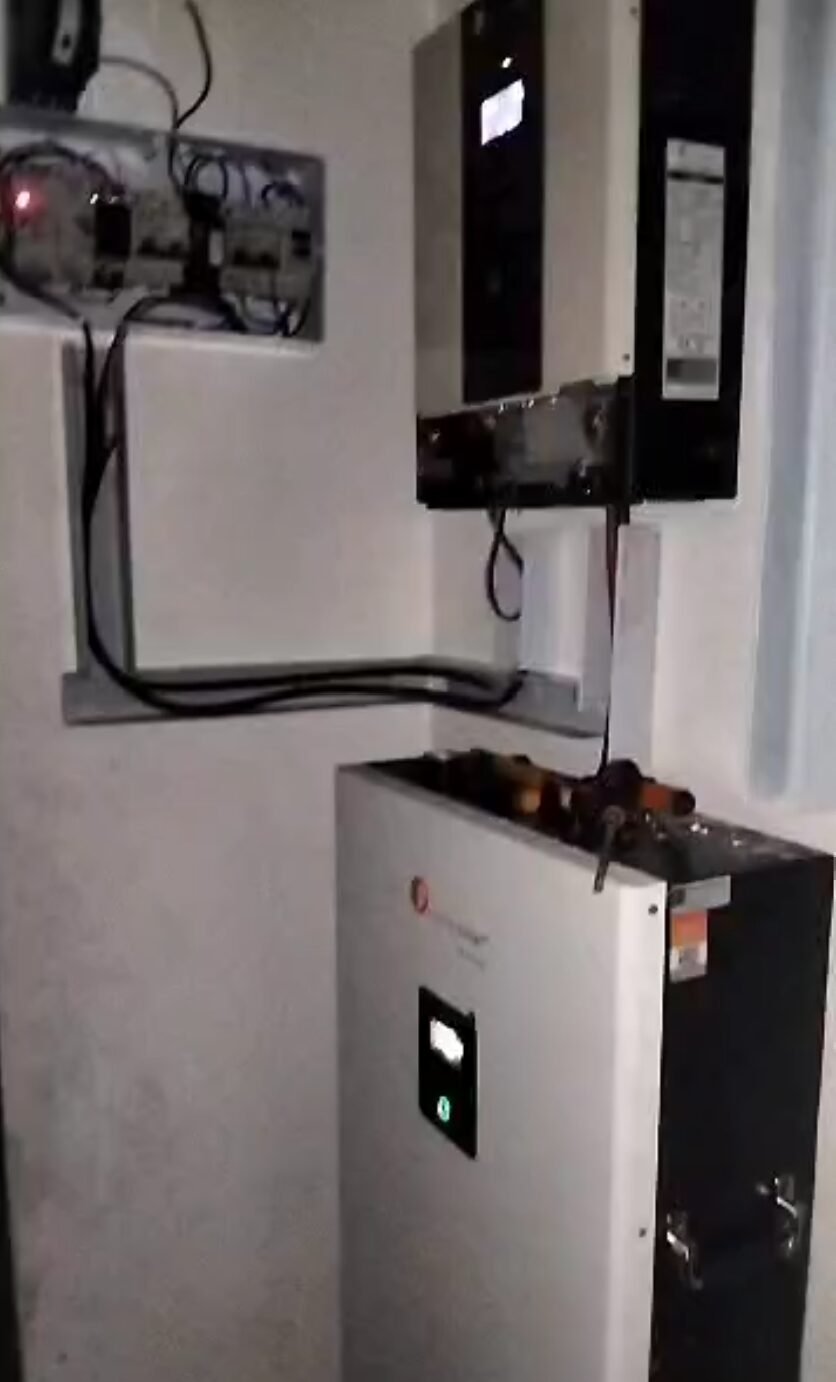
- Choose a Safe Location: Install the inverter indoors or in a shaded area to protect it from extreme weather.
- Connect the Panels to the Inverter: Match the DC output of the panels to the inverter’s input.
- Connect to the Grid (Optional): For hybrid systems, link the inverter to the grid using the provided terminals.
Step 6: Set Up the Batteries
For Lithium-Ion Batteries:
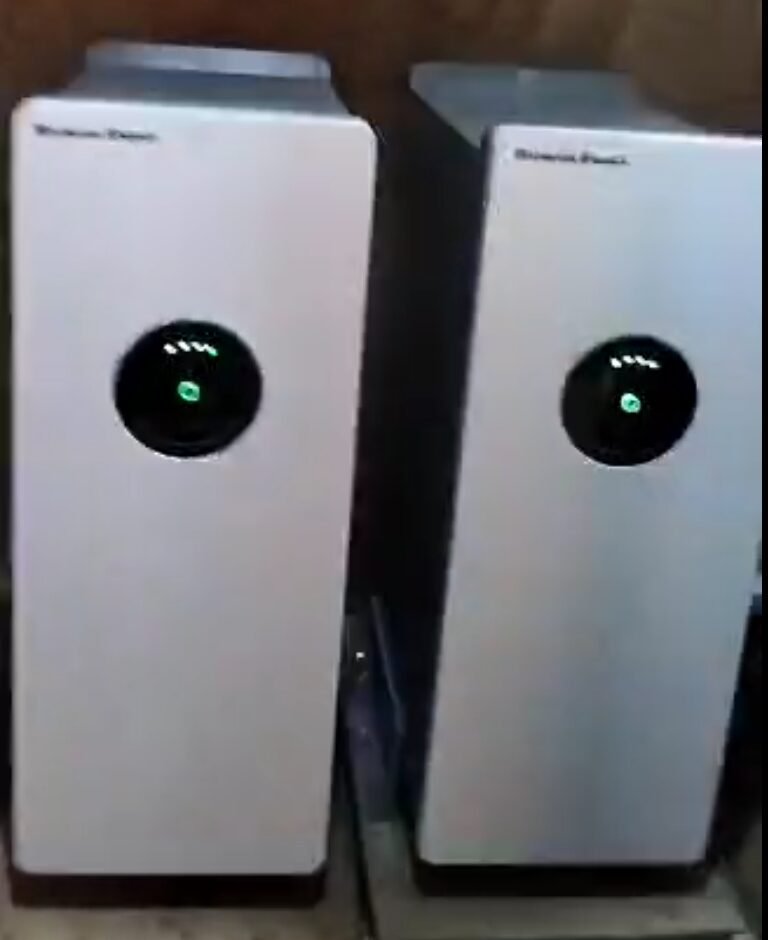
- Place the batteries in a well-ventilated, temperature-controlled environment.
- Connect the battery management system (BMS) to monitor performance.
- Wire the batteries to the inverter.
For Tubular Batteries:
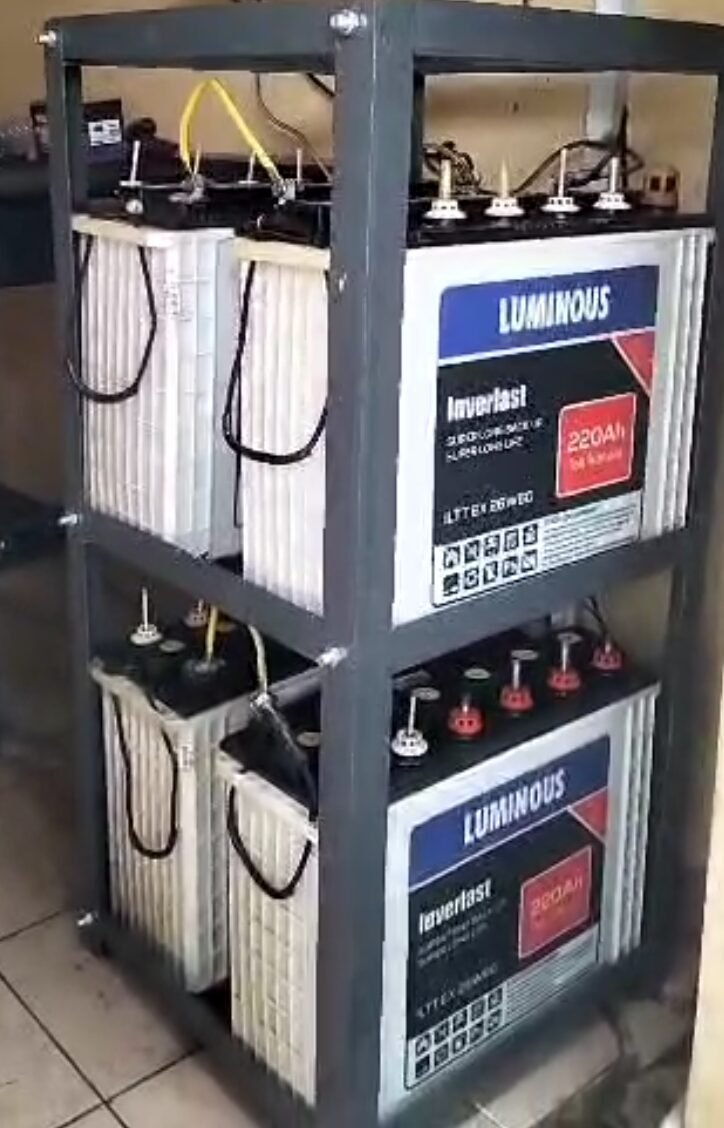
- Use a sturdy rack to house the batteries.
- Ensure proper ventilation to prevent hydrogen gas buildup.
- Connect the batteries in series or parallel to match your system’s voltage.
Step 7: Connect the System
- Link the inverter, batteries, and solar panels as per the manufacturer’s instructions. You can also watch the video or just drop a comment below.
- Use proper circuit breakers and fuses for safety.
- Ensure all connections are secure and insulated.
Step 8: Test the System
- Turn on the inverter and check for power output.
- Verify that the batteries are charging and discharging correctly.
- Use a multimeter to confirm proper voltage and current levels.
- Test appliances to ensure seamless operation.
Key Considerations
Choosing Between Lithium-Ion and Tubular Batteries
| Feature | Lithium-Ion | Tubular |
|---|---|---|
| Cost | High upfront cost | More affordable |
| Lifespan | 10+ years | 4-5 years |
| Energy Density | High | Medium |
| Weight | Lightweight | Heavy |
| Maintenance | Minimal | Requires regular checks |
Sizing the System Correctly
- Use an online solar calculator or consult us the professionals to avoid undersizing or oversizing.
Safety Tips
- Always switch off the system before making adjustments.
- Use gloves and insulated tools during installation.
- Ensure proper earthing to prevent electrical hazards.
Common Challenges and Solutions
Panel Misalignment
Ensure the panels are correctly angled and cleaned regularly to maximize efficiency.
Overloading the Inverter
Avoid connecting appliances that exceed the inverter’s capacity. Check the load before installation.
Battery Performance Issues
For tubular batteries, top up electrolyte levels as needed. For lithium-ion, ensure the BMS is functioning properly.
Our Installation Examples
Example 1: Small Home System (2.5kVA)
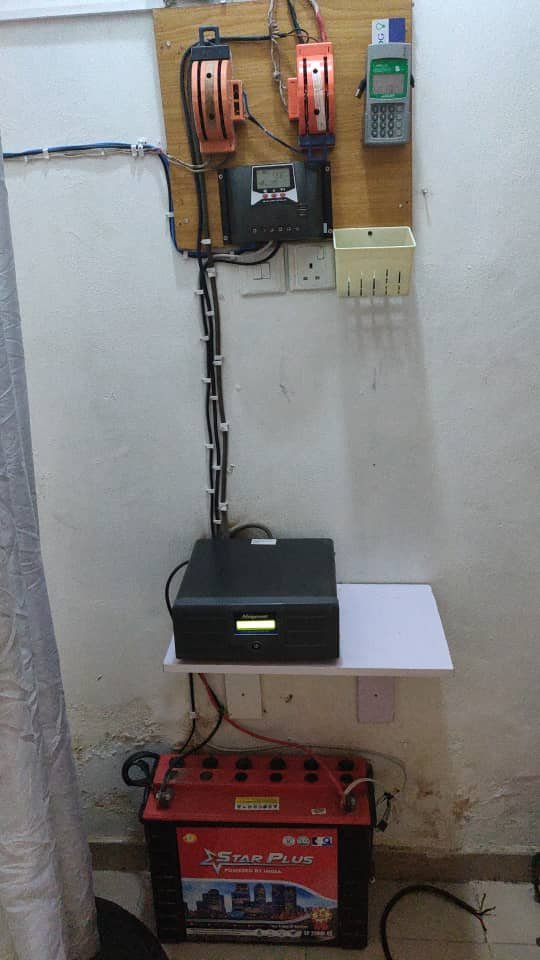
- Components: 1kW panels, 2.5kVA inverter, 220AH tubular battery.
- Purpose: Powering lights, fans, and small appliances.
- Result: Reduced dependency on grid power by 70%.
Example 2: Large Commercial System (>20kVA)

- Components: 20kW panels, 40kVA inverter, 15kWh lithium-ion batteries.
- Purpose: Running office equipment and HVAC systems.
- Result: Full energy independence with surplus power sold to the grid.
Conclusion
Installing a solar power system with inverters, lithium-ion, or tubular batteries can transform how you power your home or business. Whether you’re opting for a small-scale setup or a large commercial installation, this guide simplifies the process, ensuring a seamless transition to renewable energy. Start your solar journey today and enjoy the benefits of clean, sustainable power!
Call to Action: Have questions about solar installations or want to share your experience? Leave a comment below and join the discussion!
