Introduction
Have you ever looked at your electricity bill and thought, “There has to be a better way”? With rising energy costs and growing environmental concerns, solar power has become an increasingly attractive option for homeowners. But can you install solar panels yourself, or is it a task best left to professionals? In this guide, we’ll break down everything you need to know about DIY solar panel installation, from costs and benefits to potential challenges and risks.
Understanding Solar Power Basics
How Do Solar Panels Work?
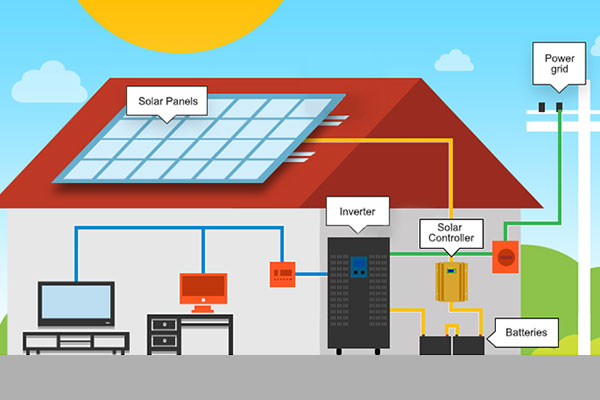
Solar panels convert sunlight into electricity using photovoltaic (PV) cells. When sunlight hits these cells, it generates direct current (DC) electricity, which is then converted into alternating current (AC) electricity through an inverter. This AC electricity powers your home, reducing reliance on the grid.
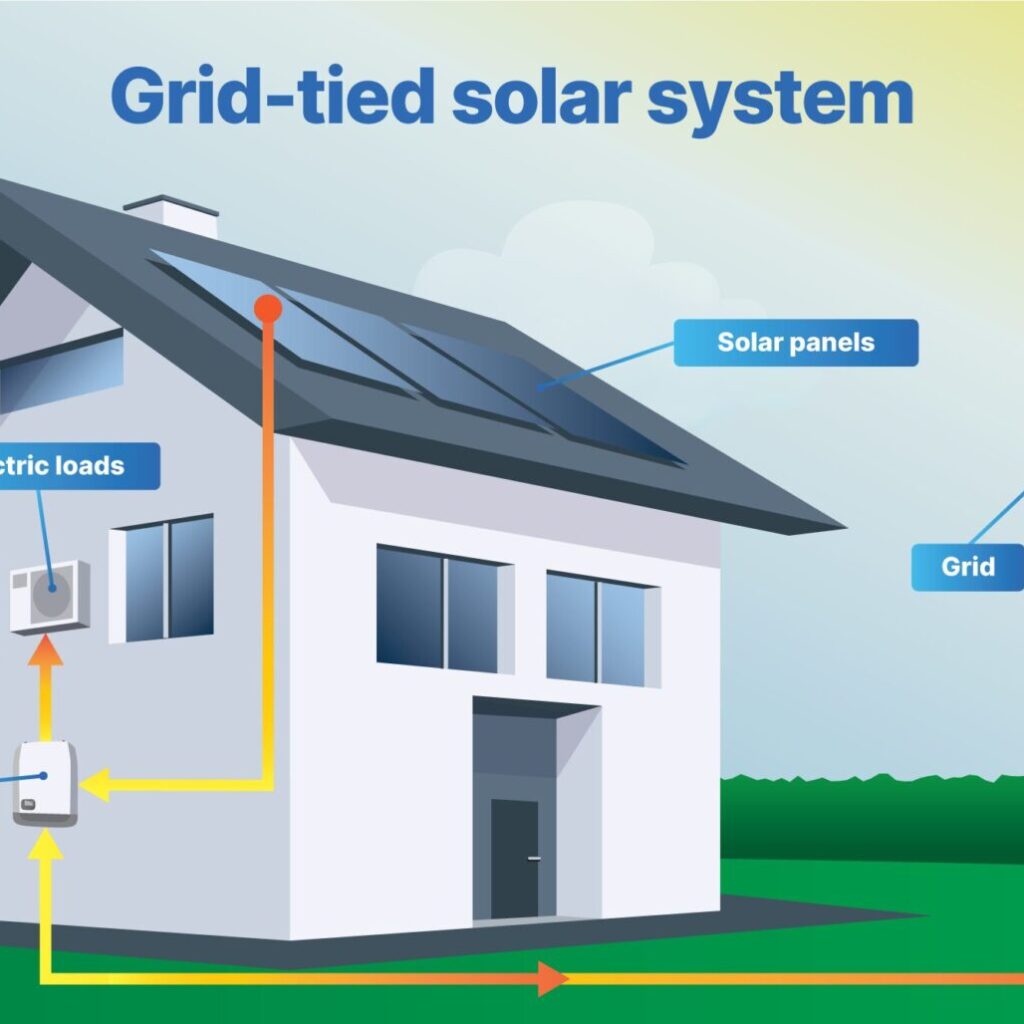
Types of Solar Panel Systems
- Grid-Tied Systems: Connected to the utility grid, allowing you to sell excess power back.
- Off-Grid Systems: Independent systems with battery storage, ideal for remote areas.
Smart Poultry Farming: Monitoring Environmental Conditions with IoT
- Hybrid Systems: A combination of grid-tied and off-grid, using batteries for backup power.

The Feasibility of DIY Solar Installation
Is DIY Solar Installation Legal?
Before diving in, check your local regulations. Some areas require professional installation, while others allow DIY projects if they meet specific guidelines and pass inspections.
Can You Install Solar Panels Yourself?
Yes, but it requires technical knowledge. If you’re comfortable with electrical work, construction, and obtaining permits, DIY installation may be feasible. Otherwise, hiring a professional might be the safer route.
Pros and Cons of DIY Solar Panel Installation
Benefits
- Cost Savings: Avoid labor costs, which can be 10-30% of the total installation price.
- Learning Experience: Gain hands-on knowledge about renewable energy systems.
- Customization: Design a system tailored to your specific needs.
Challenges
- Complexity: Requires electrical knowledge and compliance with safety standards.
- Time-Consuming: May take weeks compared to a few days with professionals.
- Potential Mistakes: Errors can lead to inefficiencies, hazards, or voided warranties.
Step-by-Step Guide to DIY Solar Panel Installation
1. Assess Your Energy Needs
Analyze your electricity consumption to determine the number of solar panels required. Look at past utility bills and use online calculators to estimate your needs.
2. Choose the Right Solar Panels and Equipment
- Monocrystalline Panels: High efficiency but more expensive.
- Polycrystalline Panels: Less efficient but more affordable.
- Thin-Film Panels: Lightweight and flexible but lower efficiency.
You’ll also need an inverter, battery storage (if off-grid), charge controller, and mounting hardware.
3. Site Evaluation and Roof Preparation
Ensure your roof receives sufficient sunlight without obstructions like trees or buildings. Check the roof’s structural integrity and reinforce it if needed.
4. Obtain Permits and Approvals
Most local governments require permits for solar panel installations. Contact your city or county office to obtain the necessary documentation.
5. Install the Mounting System
The mounting system secures solar panels to your roof. It must be installed at the correct angle and direction for maximum sunlight exposure.
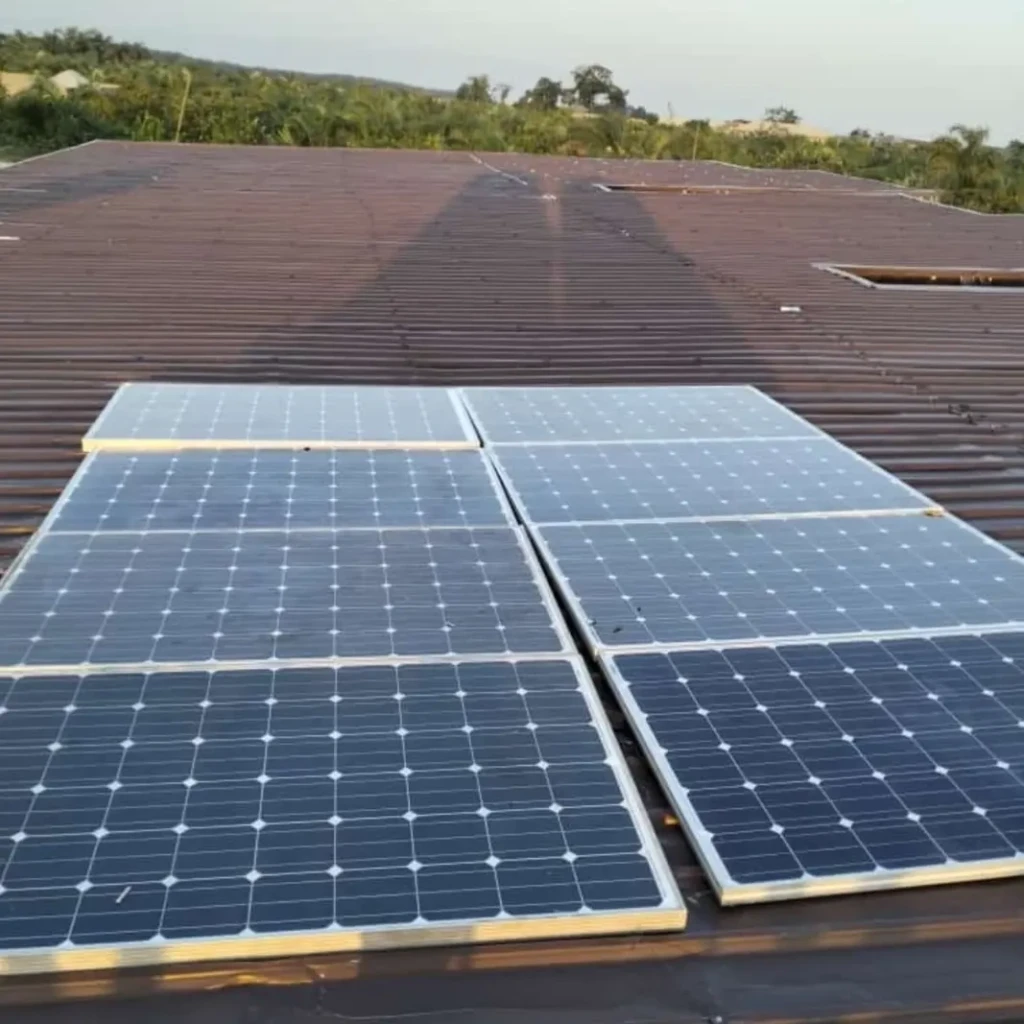
6. Install the Solar Panels
Attach the panels to the mounting system securely, ensuring they’re properly aligned and tilted for optimal energy absorption.
7. Wire the System
Connect the solar panels to the inverter and then to your electrical panel. This step requires electrical knowledge, so consider hiring an electrician if unsure.
8. Connect to the Grid (If Applicable)
If using a grid-tied system, coordinate with your utility company for proper interconnection. They may require inspections before granting approval.
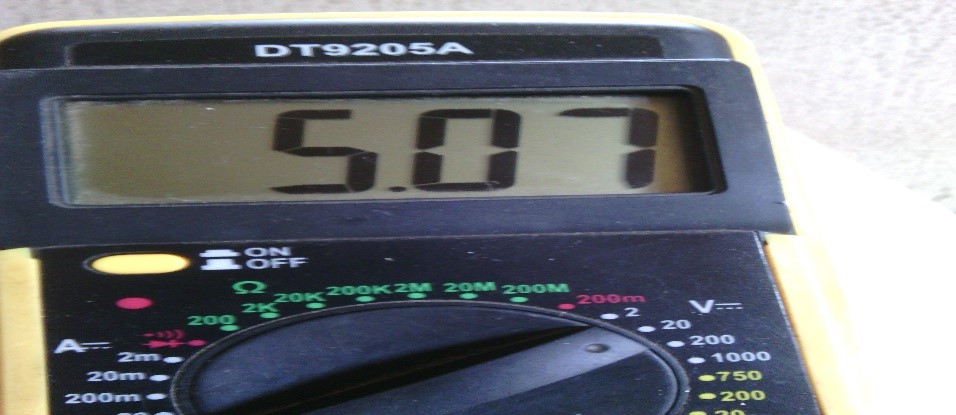
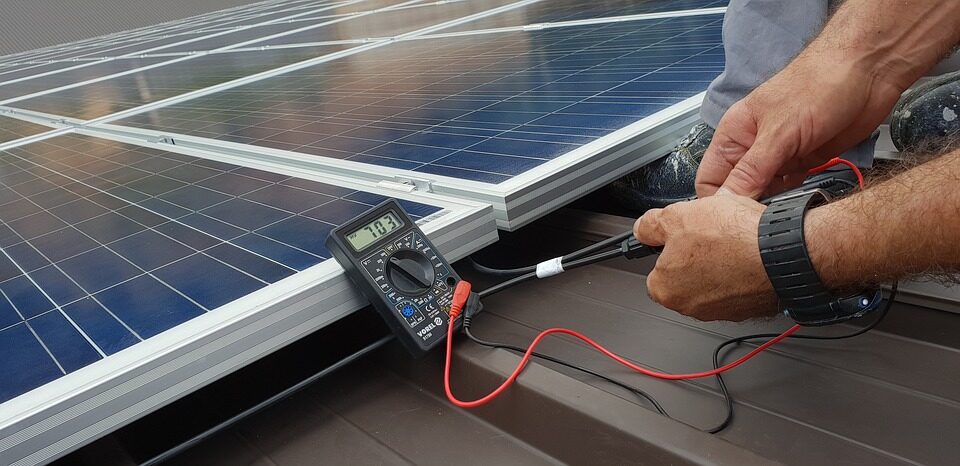
9. Test the System
Once everything is connected, test your system to ensure it’s generating electricity efficiently. Monitor the inverter and battery (if applicable) for any issues.
Costs Involved in DIY Solar Installation
Breakdown of Expenses
- Solar Panels: $5,000 – $15,000
- Inverter: $1,000 – $3,000
- Mounting Hardware: $500 – $2,000
- Batteries (if off-grid): $2,000 – $7,000
- Wiring & Miscellaneous: $500 – $1,500
Total estimated cost: $10,000 – $25,000, depending on system size and quality.
DIY vs. Professional Installation Costs
A professional installation can cost between $15,000 – $30,000, making DIY a potential money-saver if done correctly.
Potential Risks of DIY Solar Installation
- Electrical Hazards: Risk of electrocution if handled improperly.
- Roof Damage: Poor installation can lead to leaks or structural issues.
- Lower Efficiency: Improper alignment or wiring can reduce energy output.
- Code Violations: Non-compliance may lead to fines or system disapproval.
When Should You Hire a Professional?
- If you’re uncomfortable with electrical work.
- If your local regulations require professional installation.
- If you want a warranty-backed system.
- If time is a constraint and you need quick installation.
Maintenance and Monitoring
Regular maintenance ensures optimal performance. Clean panels periodically, check for debris, and monitor system output using solar monitoring apps.
Conclusion
DIY solar panel installation is feasible, but it requires technical knowledge, time, and effort. If you’re confident in your abilities and willing to tackle the challenges, you can save money while gaining hands-on experience. However, if safety, compliance, and efficiency are concerns, hiring a professional may be the better choice. Either way, investing in solar energy is a smart move toward sustainability and energy independence.
FAQs
1. Can I install solar panels myself without an electrician?
Yes, but electrical work can be dangerous. If unsure, hire an electrician to handle wiring and grid connections.
2. How long does a DIY solar installation take?
It depends on system size and experience level. A small system might take a few days, while a larger setup could take weeks.
3. Will DIY installation qualify for tax incentives?
Yes, but requirements vary. Ensure your installation meets government guidelines to qualify for rebates and tax credits.
4. What tools do I need for DIY solar installation?
Basic tools include a drill, wrenches, wire cutters, a multimeter, and safety gear like gloves and goggles.
5. How do I know if my solar system is working efficiently?
Monitor your inverter readings and use solar monitoring apps to track energy production. If numbers drop, check for shading, dirt, or technical issues.